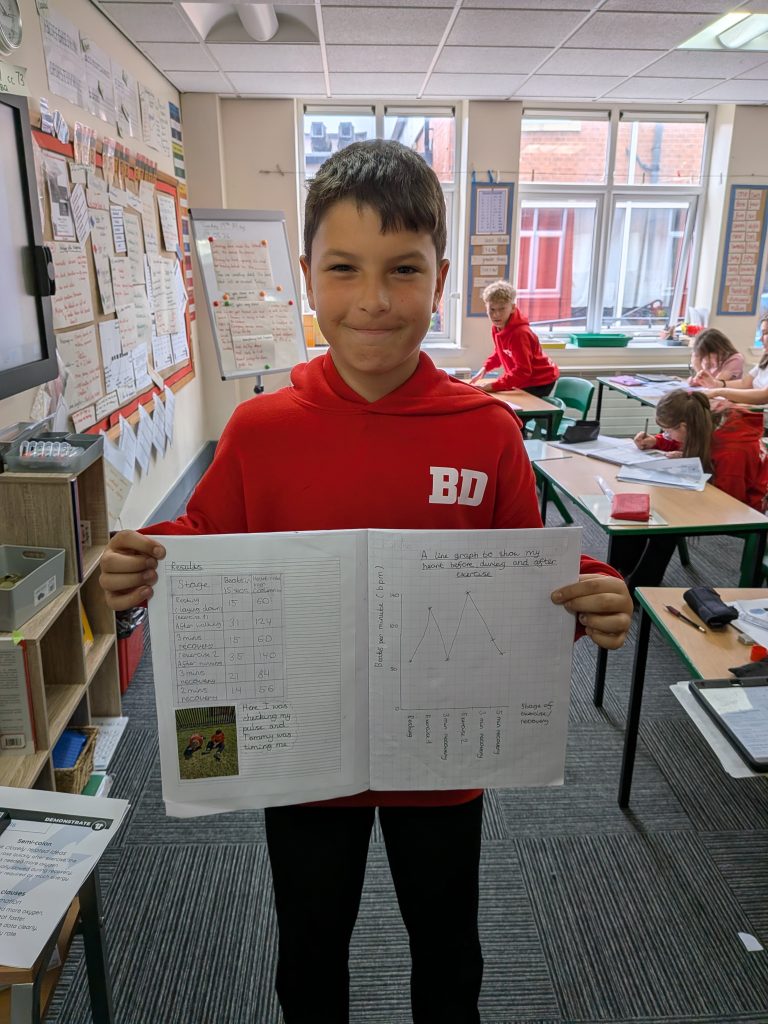
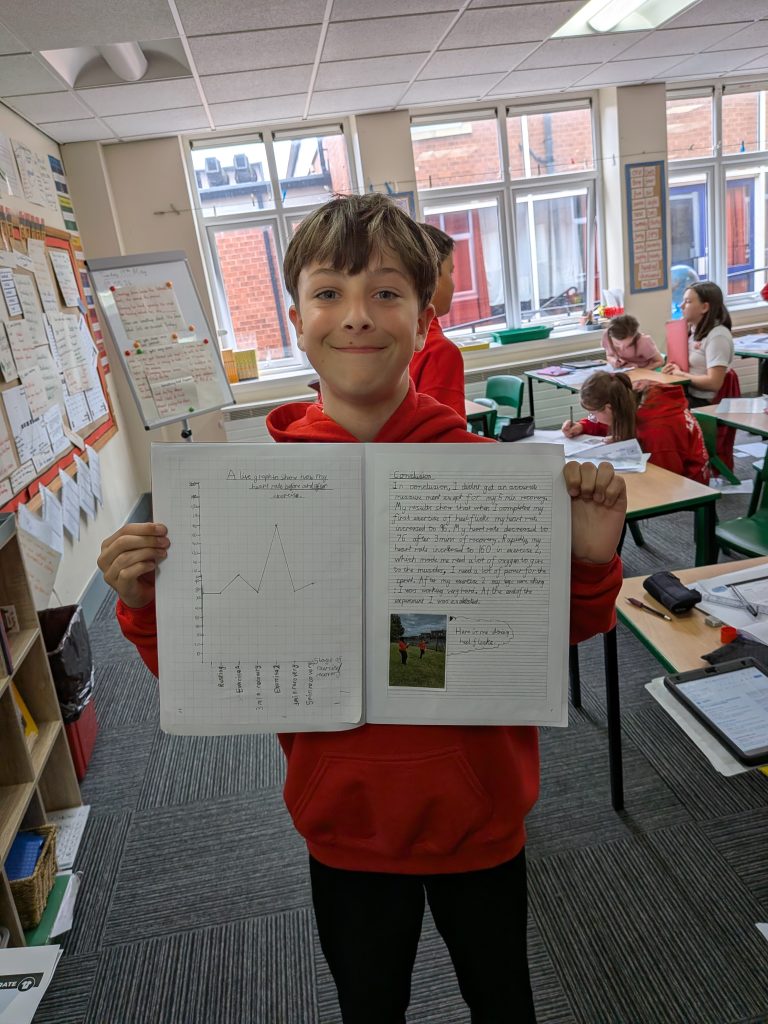
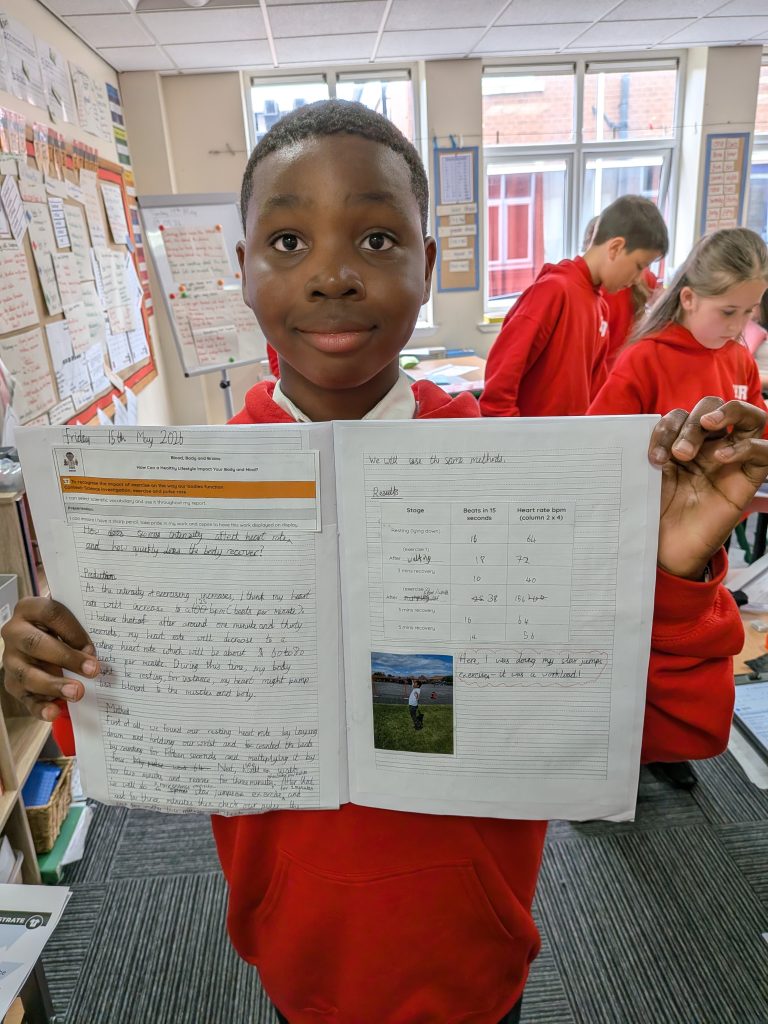
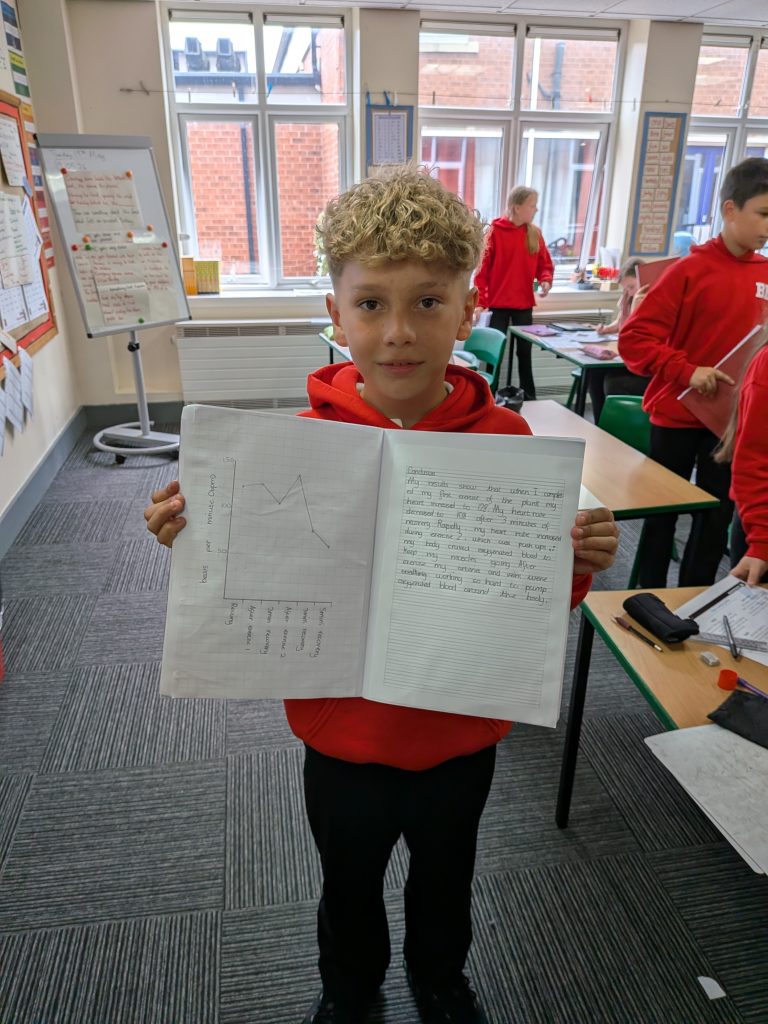
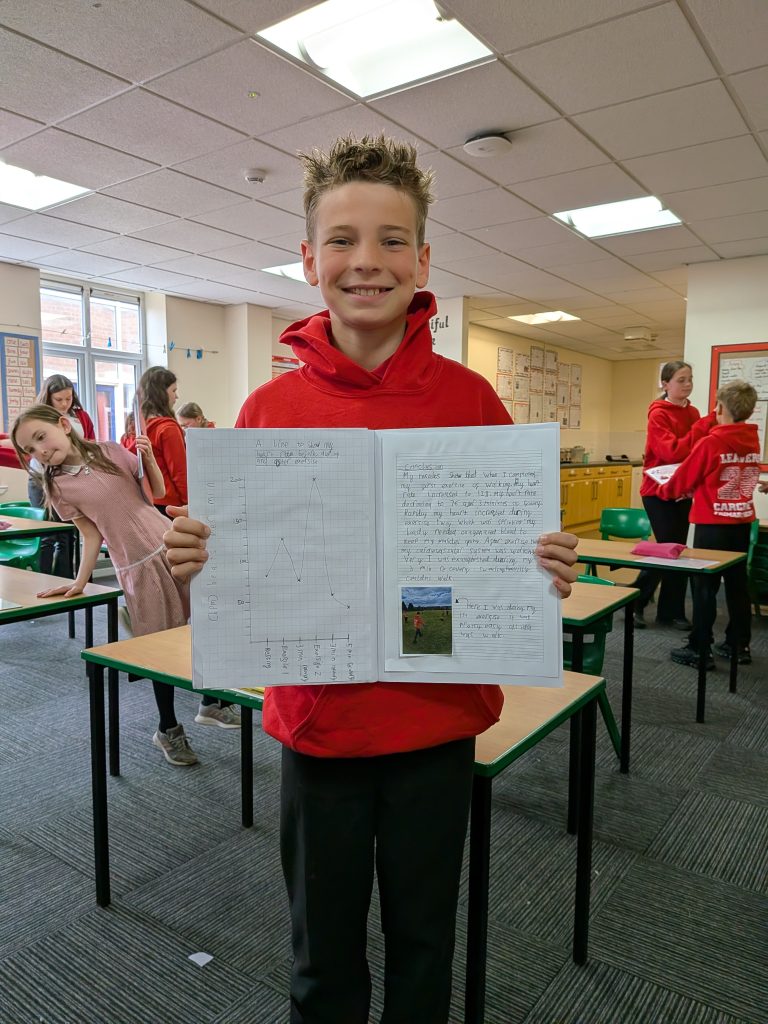
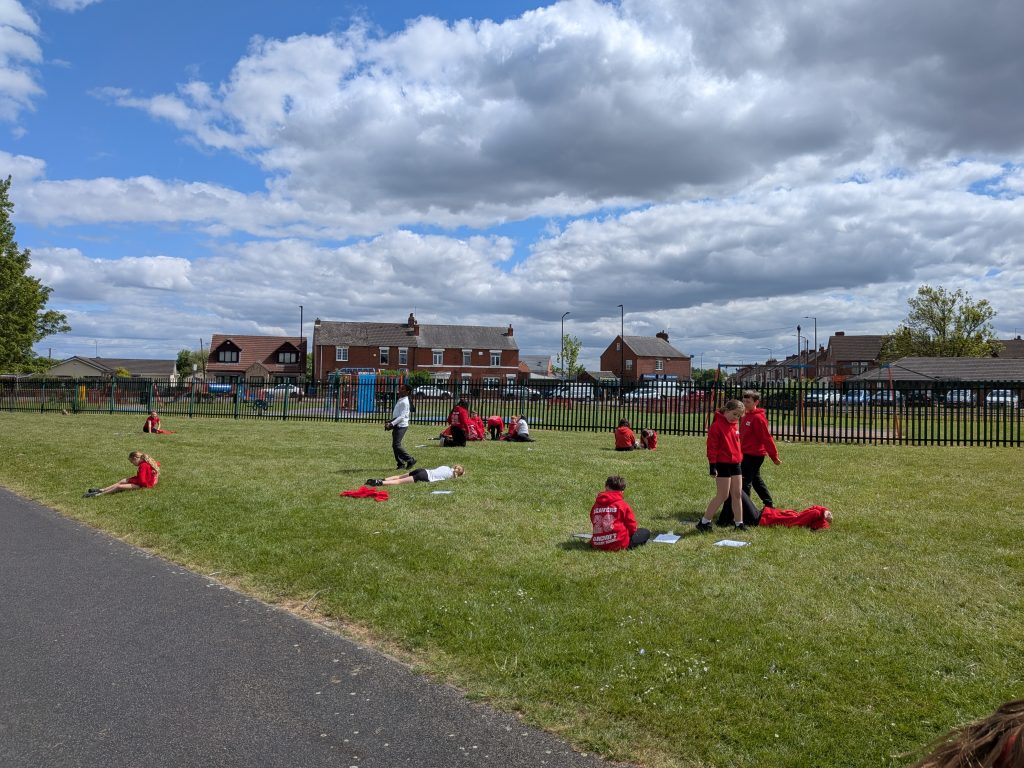
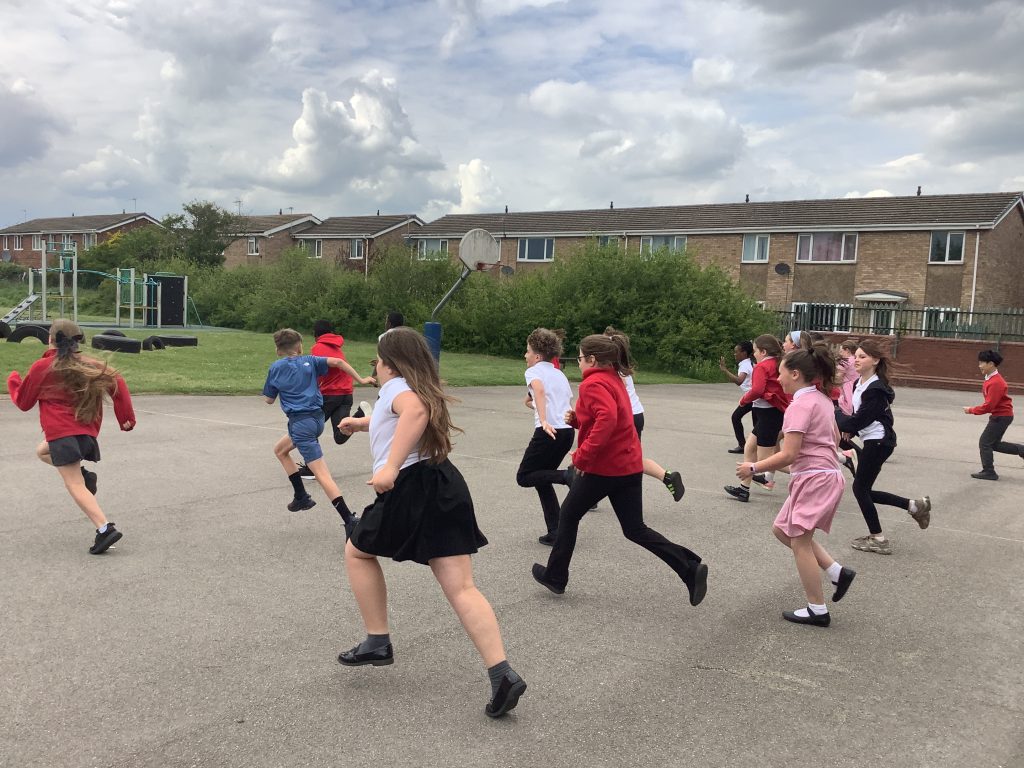
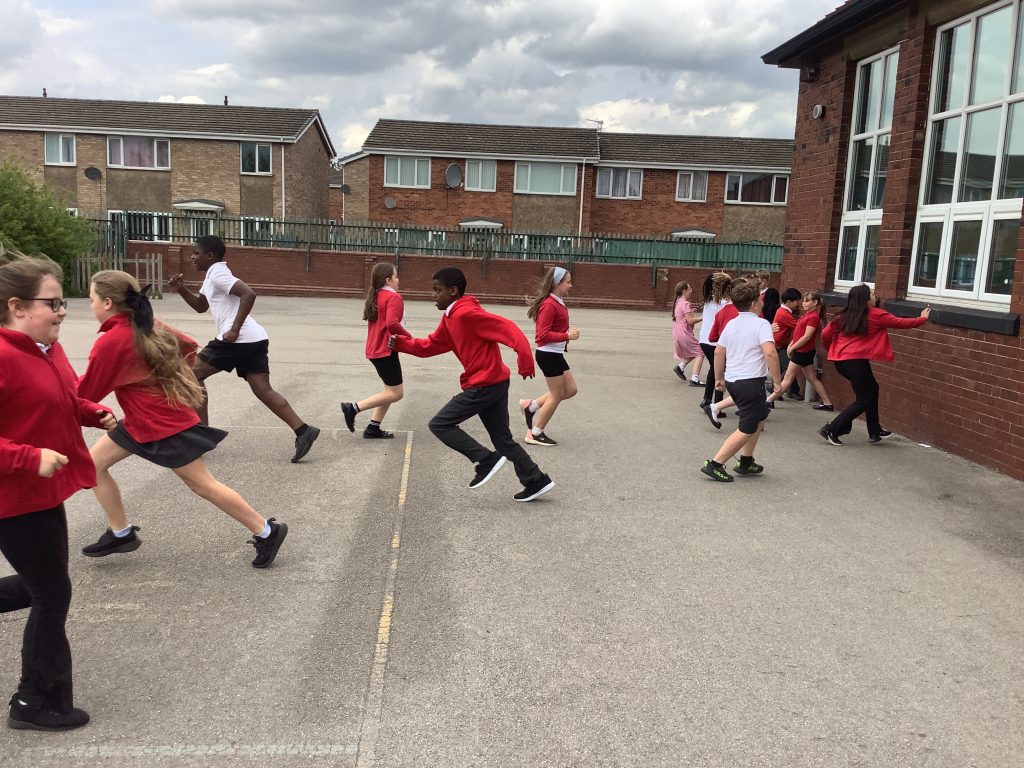
In Crew White, we’ve been investigating the effects of exercise on the heart. We completed a full science investigation including prediction, method, results, presenting results and a conclusion. We chose which two exercises we would do, with the second being more intense than the first. We measured our pulse rates and then wrote up our investigation.
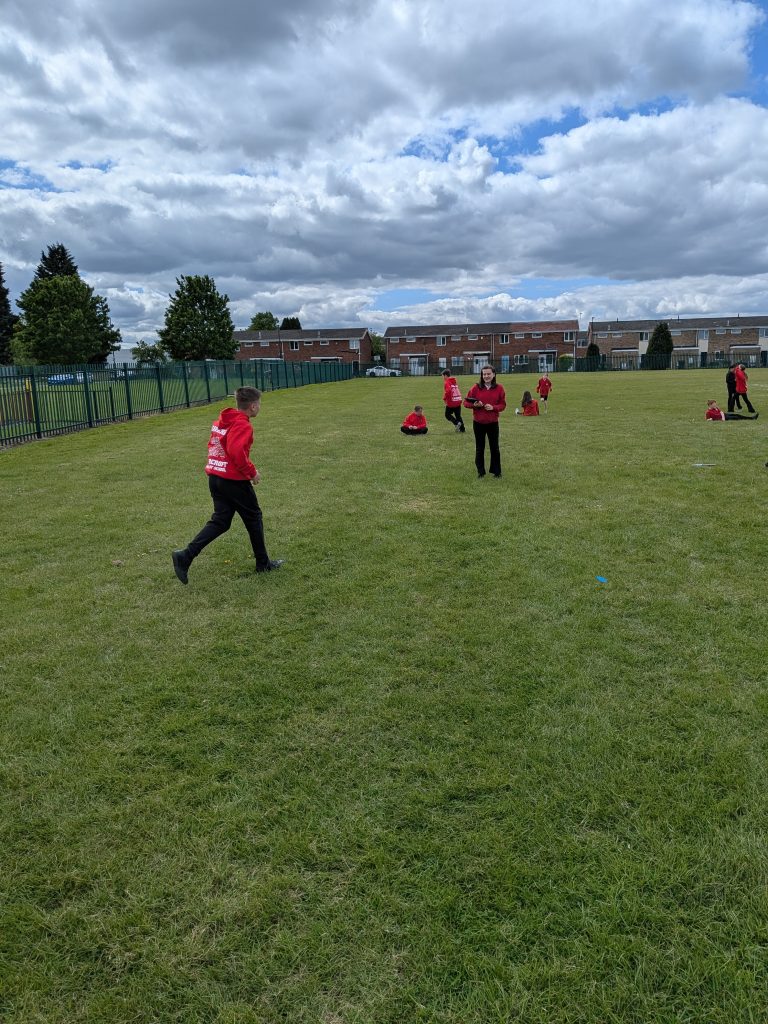
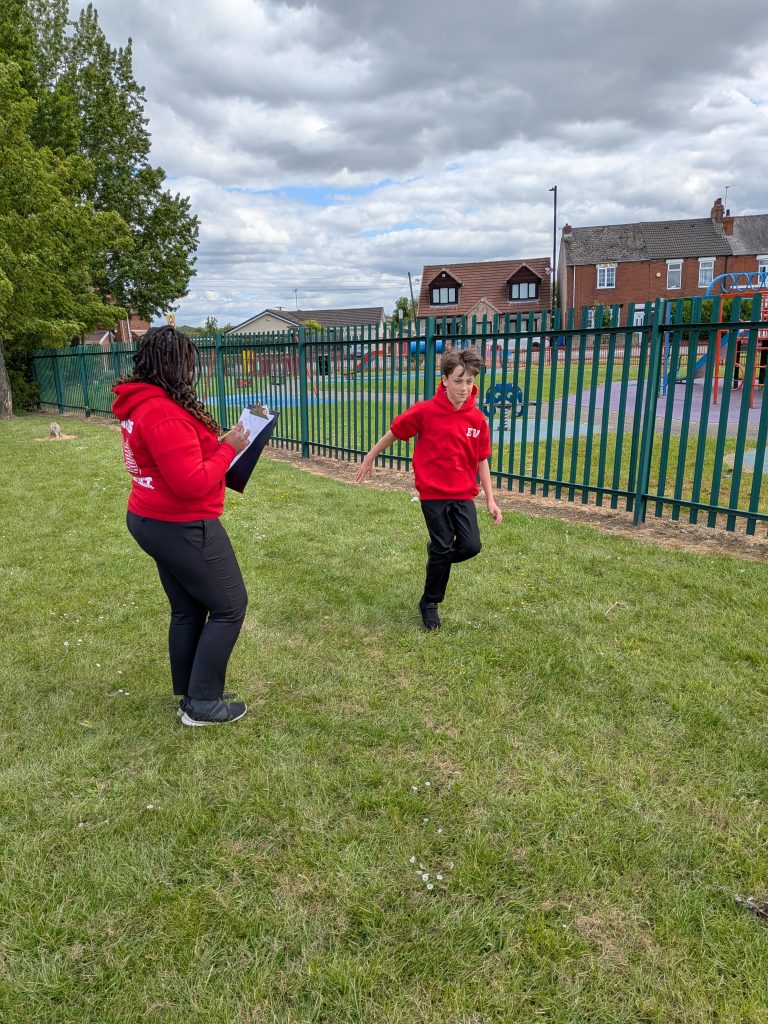
Today, Crew White began an investigation into the affects of exercise on heart rate and the time it takes the heart to recover after exercise. We made predictions, wrote a method and then went outside to test our hearts. We completed moderately intense exercise followed by intense exercise and had recovery breaks in between and afterwards. We took our pulse rate at different times to check how our heart was coping with the increased workload.
Next week, we will present our findings and write up our conclusions.
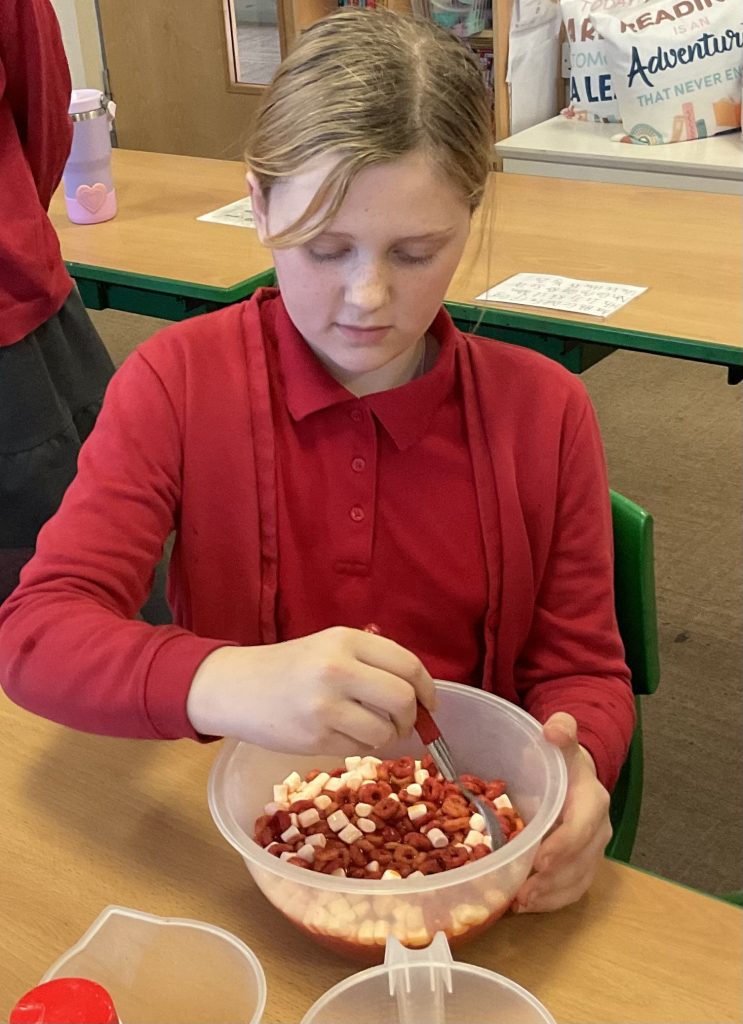
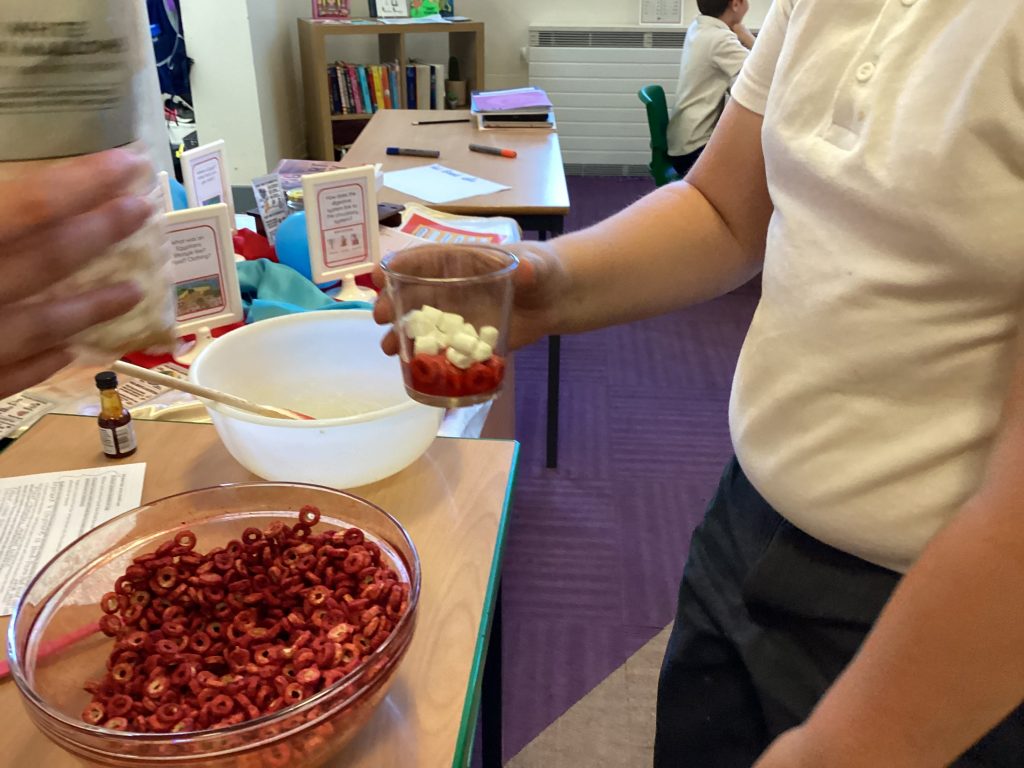
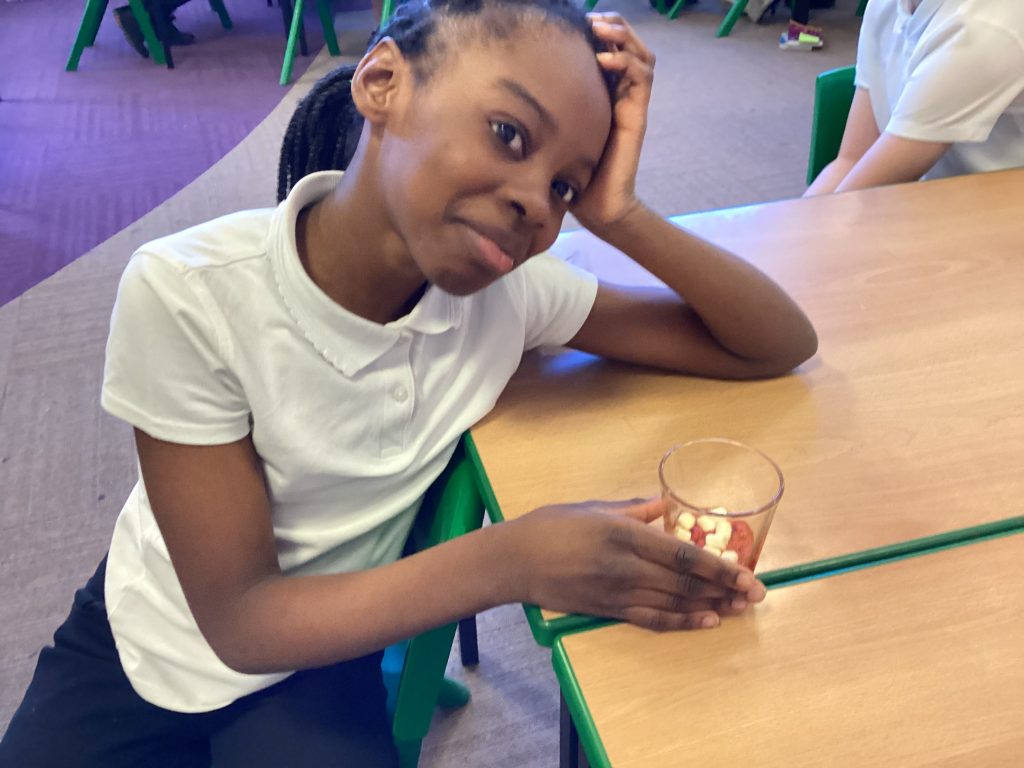
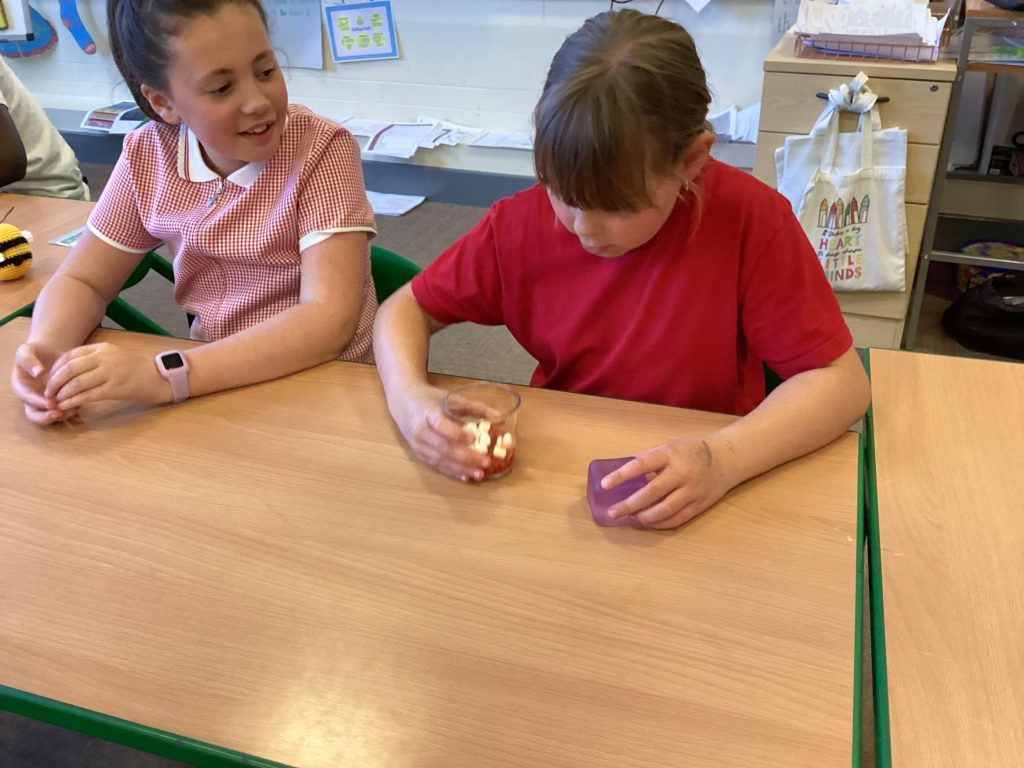
In Crew Gray, we have been discovering all about blood and what it is made of! During an exciting hands-on lesson, we explored the four main components of blood and uncovered the important job each one has to keep our bodies healthy.
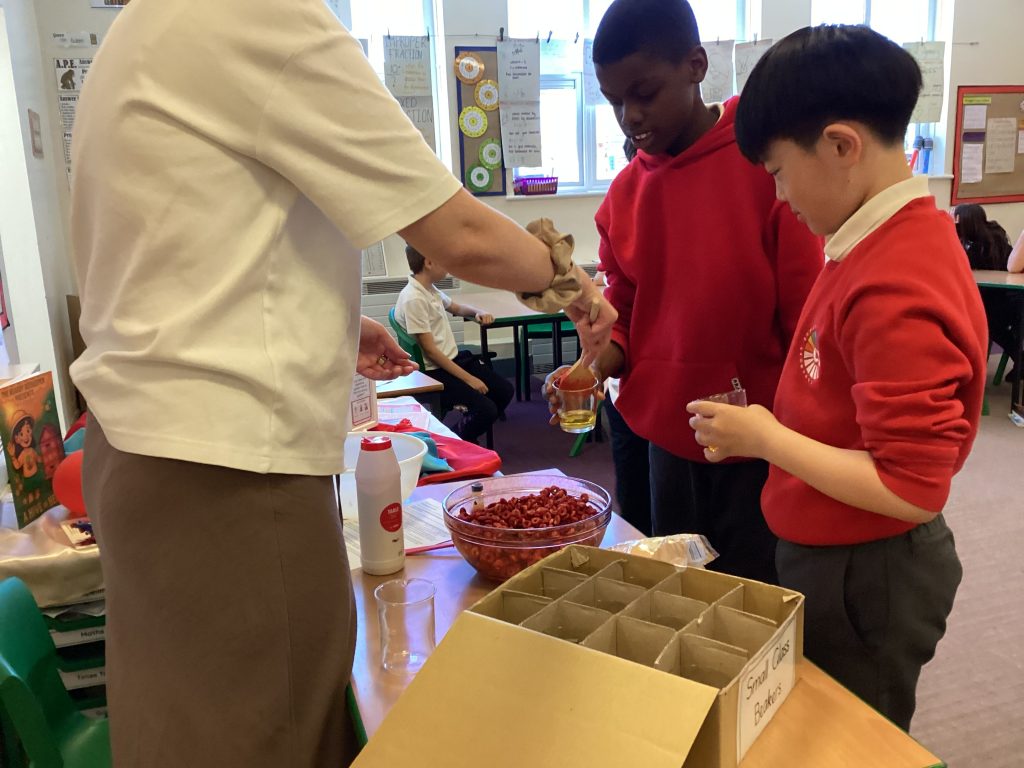
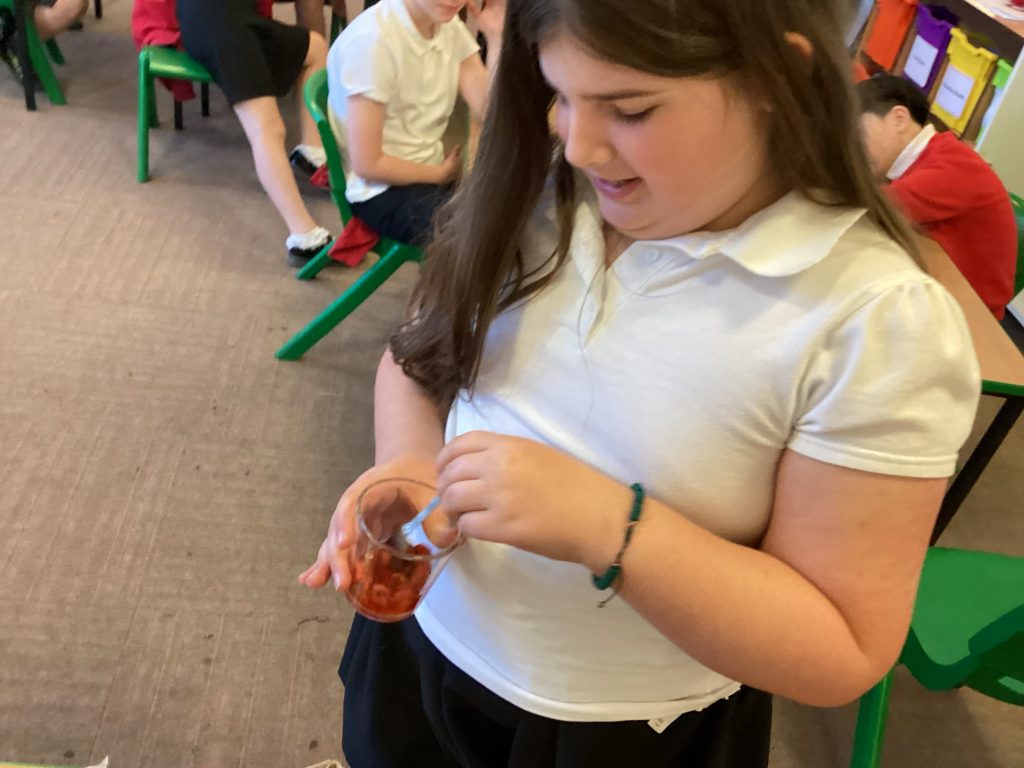
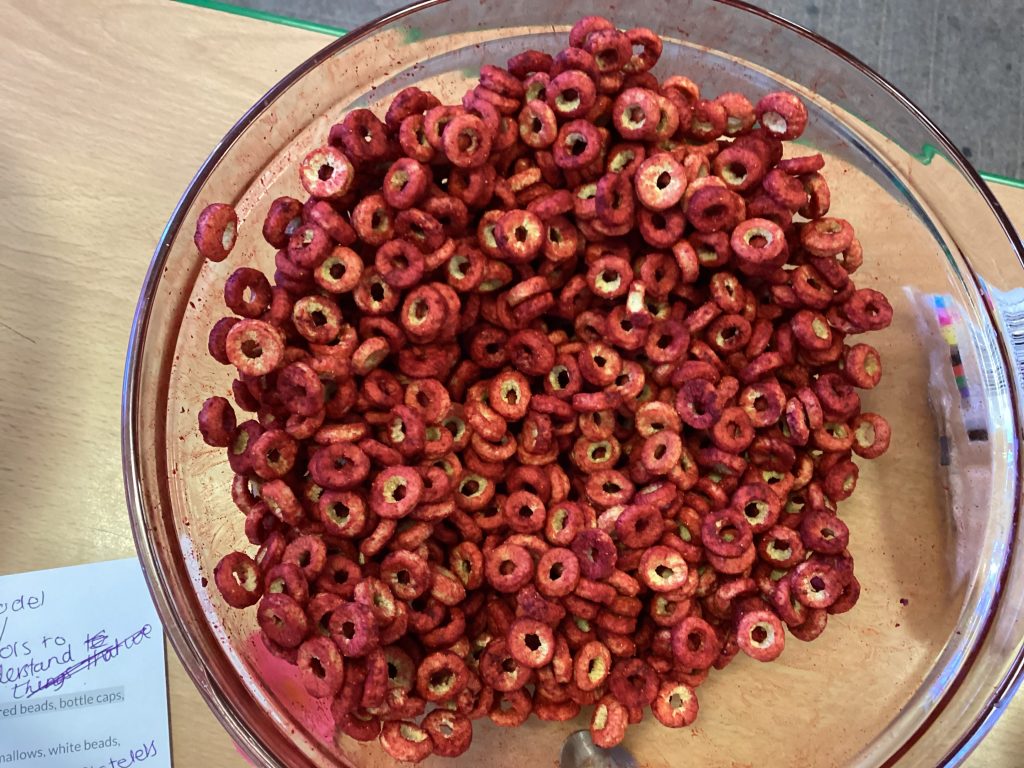
We used water mixed with yellow food colouring to represent the plasma, which gave the liquid a realistic look. Marshmallows were used to show the white blood cells, which help the body fight infections. Cheerios represented the red blood cells, which carry oxygen throughout the body and give blood its red colour. Small pieces were also added to represent platelets, which help blood clot when we get a cut. As we carefully added each part to create our own “blood model”, we were amazed to see how these components work together to help our bodies function every day.
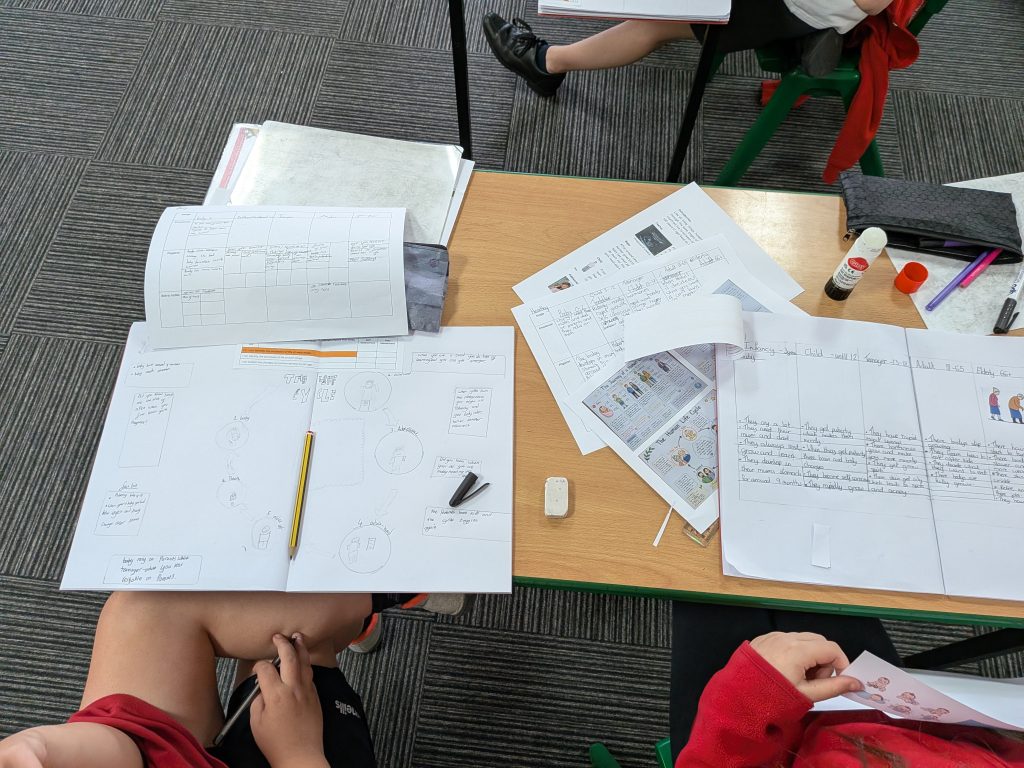
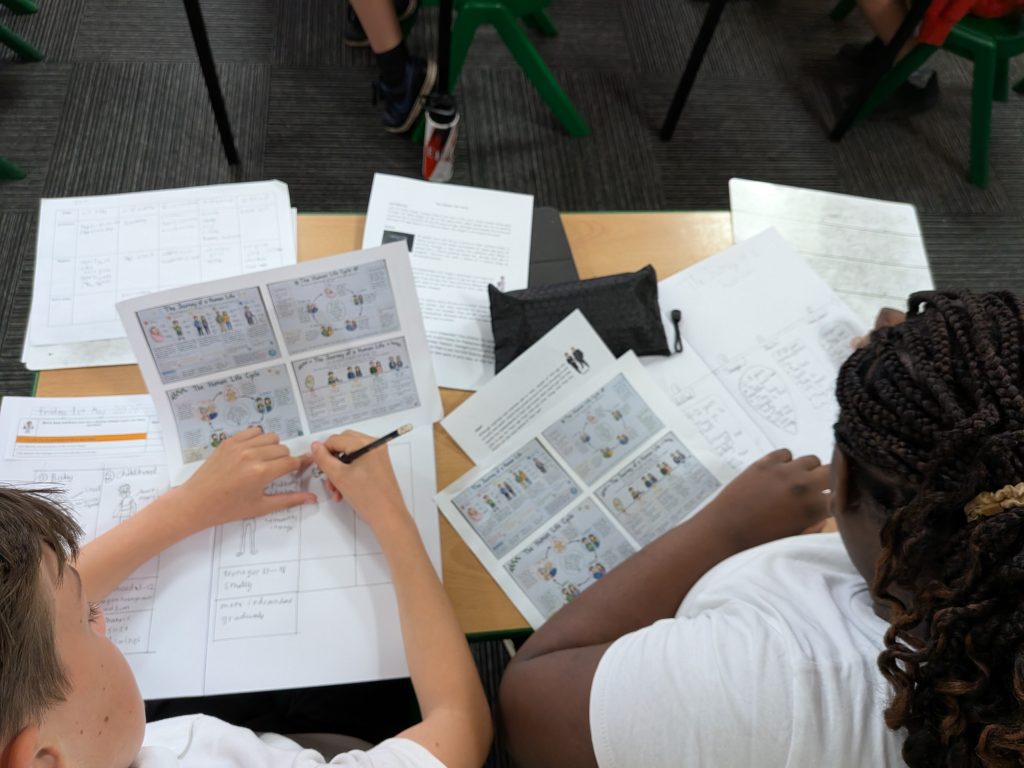
In Crew White, as well as preparing for our SATs, we have been learning about human life cycles. We have learnt particularly about the emotional and behavioural changes, along with the physical changes that the body goes through.
We produced double page spreads to show off our understanding, thinking about our audience and the purpose of explaining and informing.
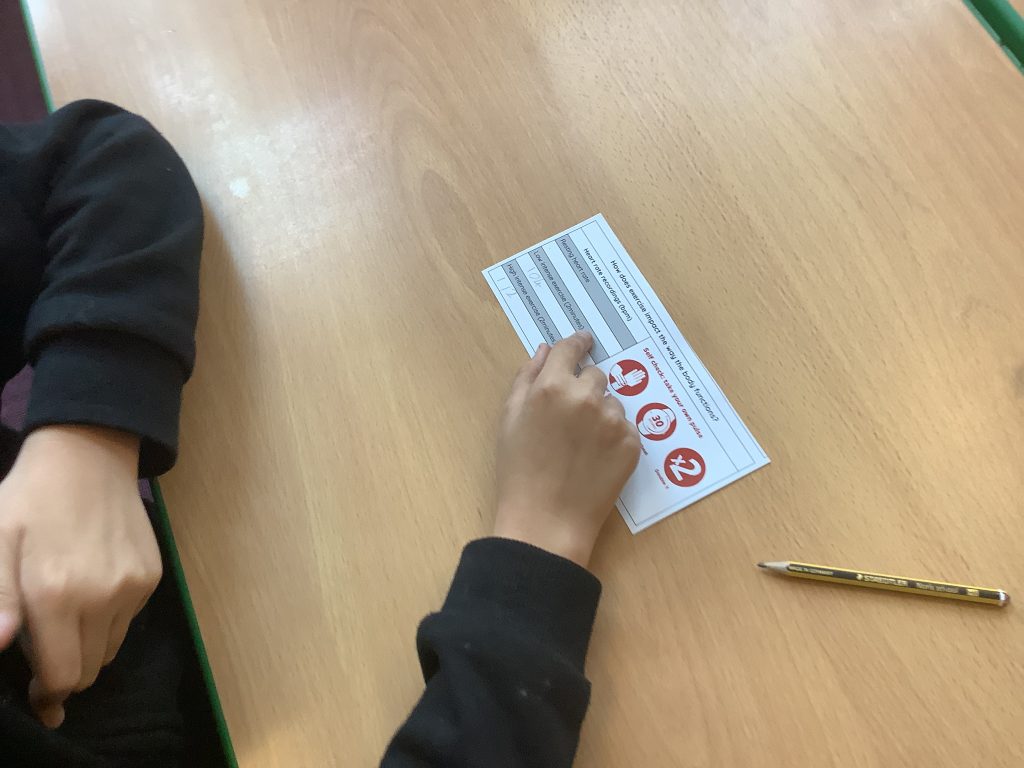
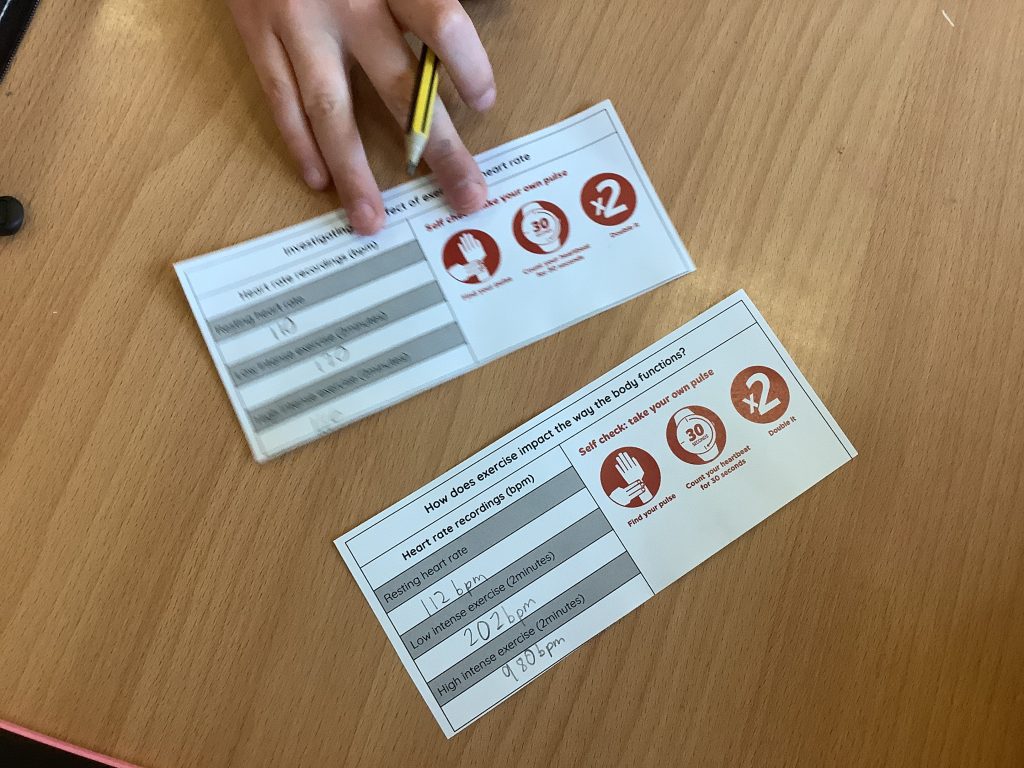
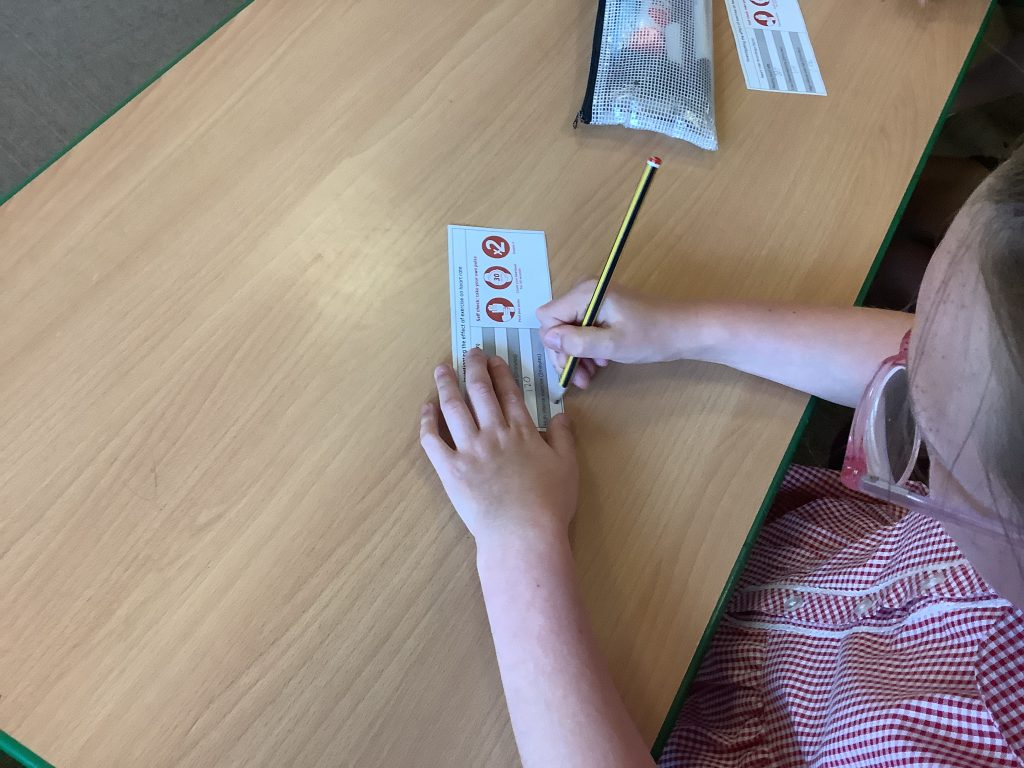
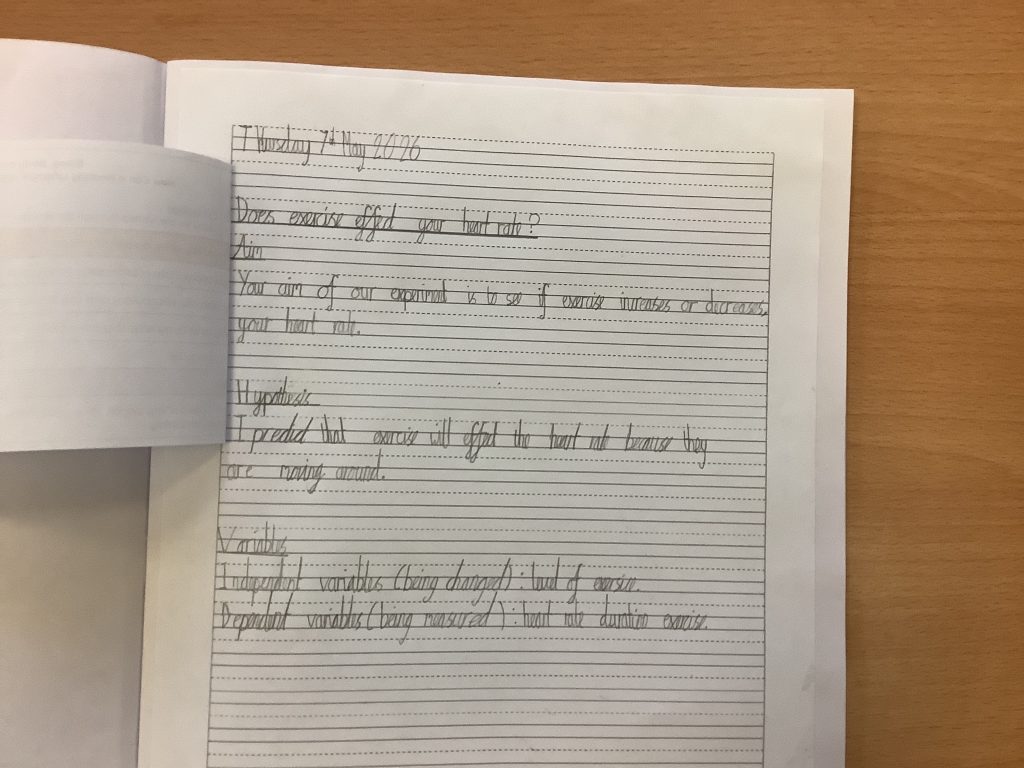
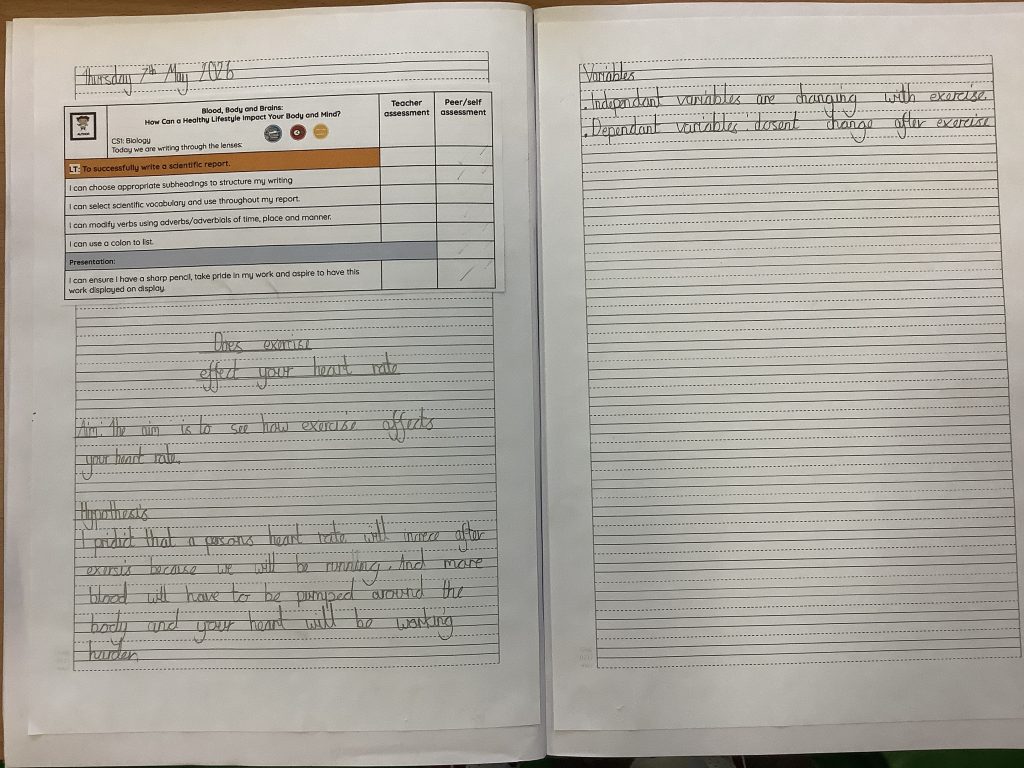
Today, Crew McLoughlin successfully initiated their scientific investigation by drafting their title, aim, hypothesis and variables before diving into active testing. To determine if exercise directly impacts our heart rate. They conducted a controlled experiment measuring heart rate at resting, low intensity exercise and high intensity. By documenting their pulse before and after activity, they were able to gather their findings.
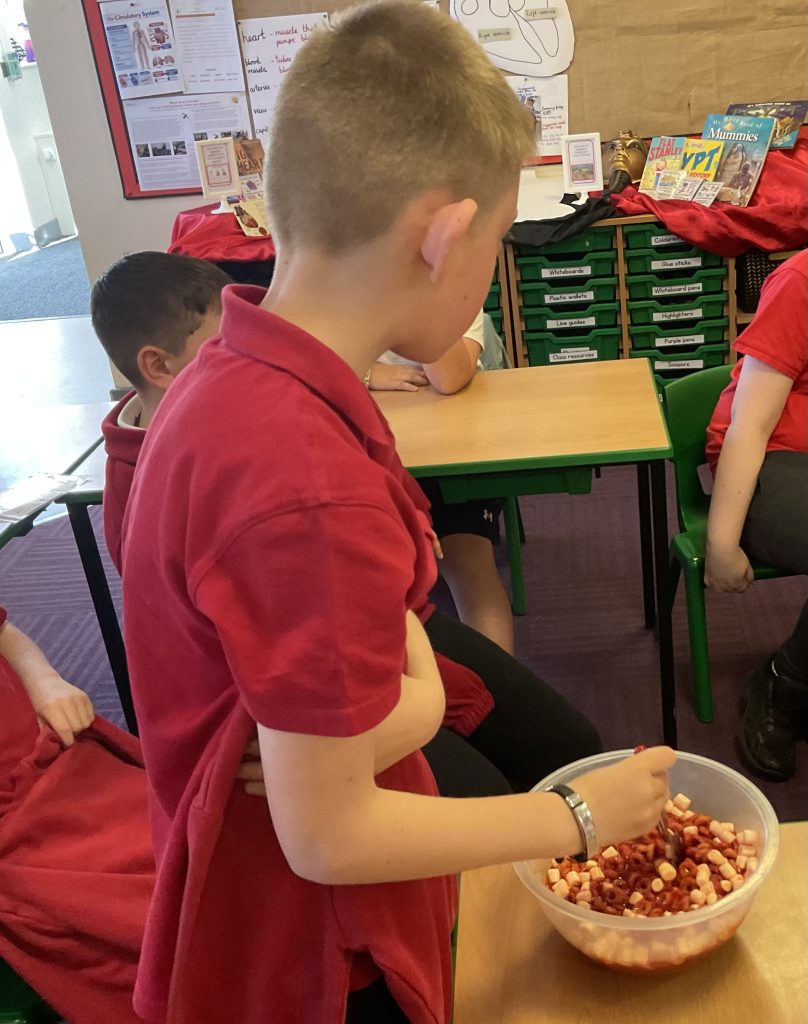
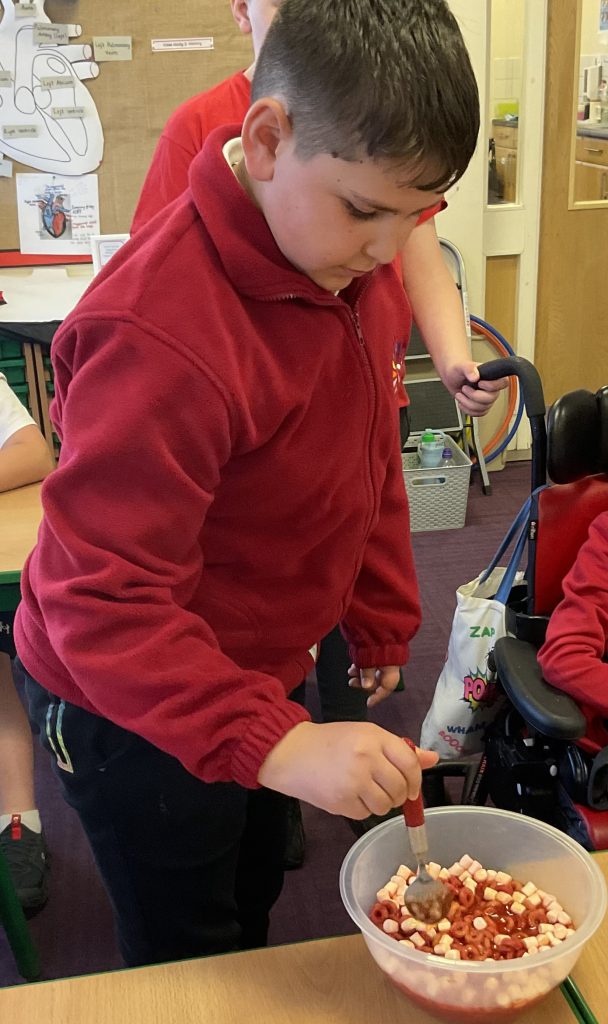
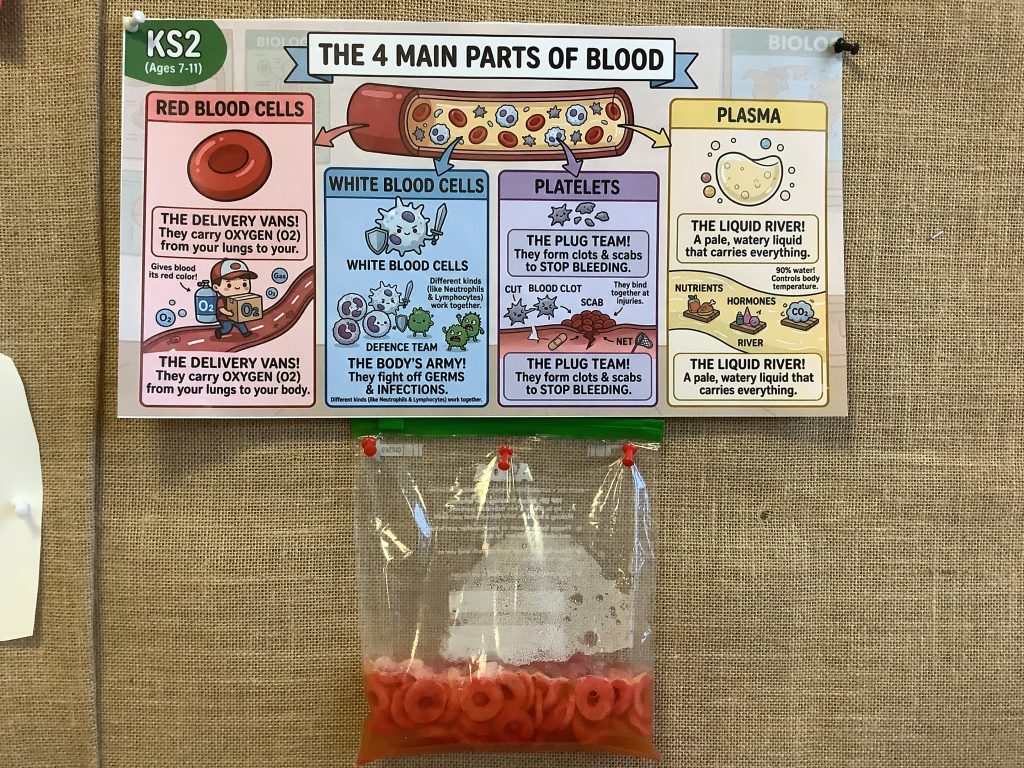
In this lesson, Miss taught us about the four main components of blood. Rather than simply reading from a textbook, we explored the topic through a creative step-by-step “construct and demonstrate” activity, which made the concepts much easier to understand.
Miss explained that blood is made up of four key parts: plasma, red blood cells, white blood cells and platelets. Each part has an important job in keeping our bodies healthy.
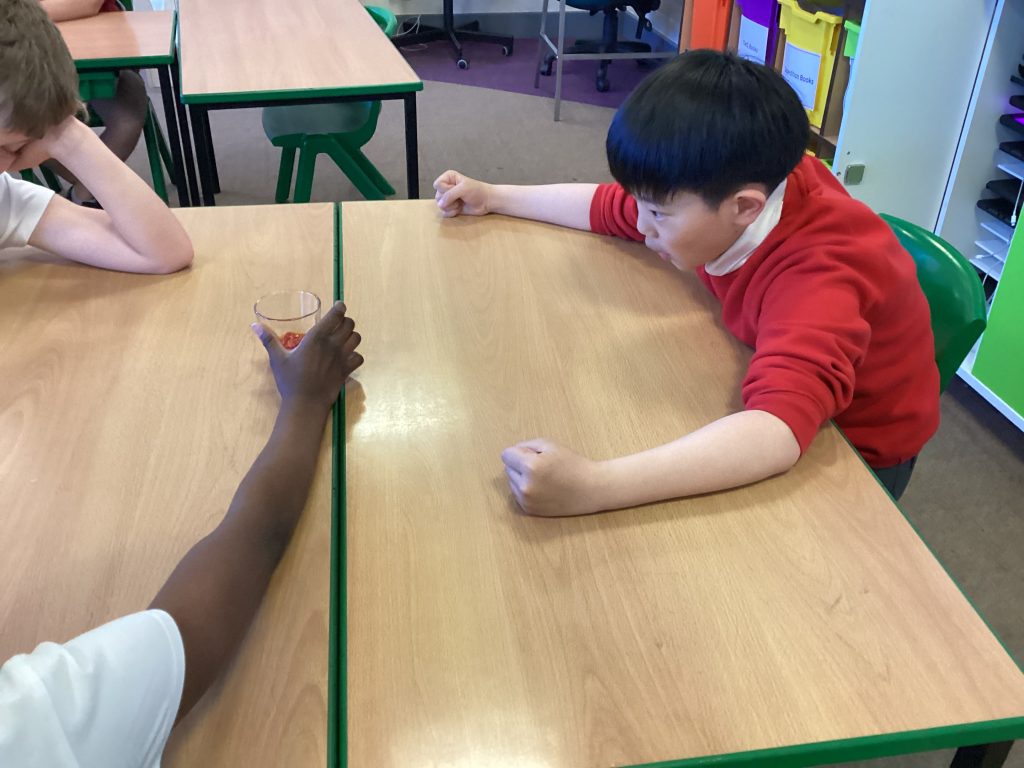
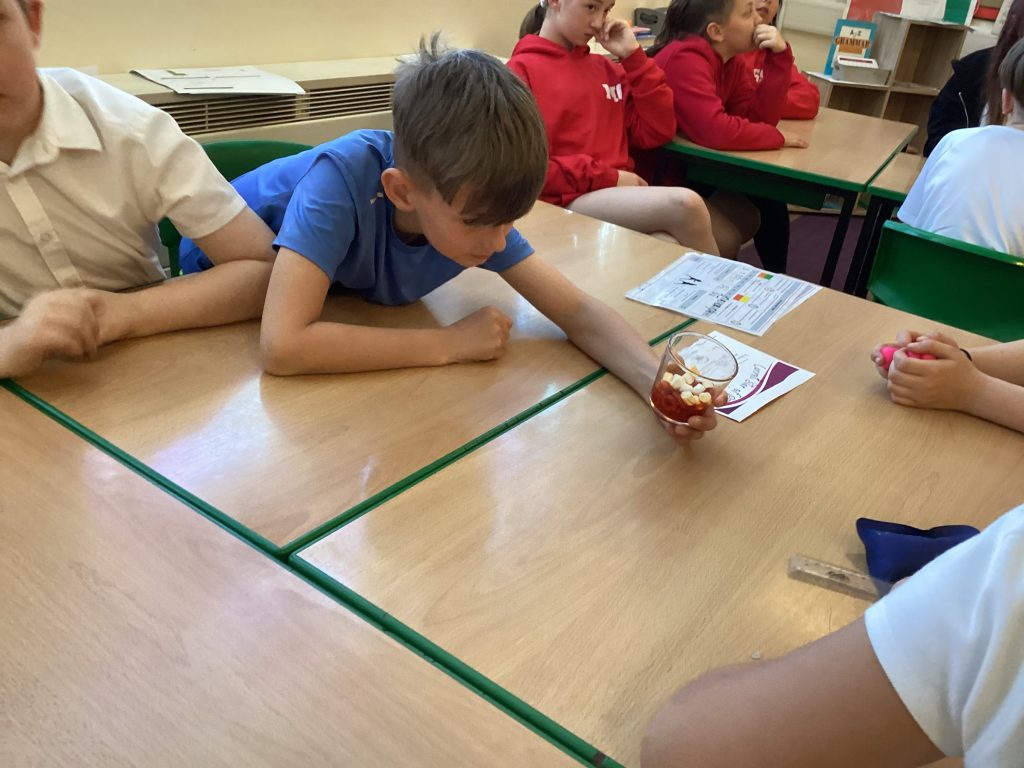
To help us visualise this, we carried out a fun hands-on activity by creating a blood model. We used water and yellow food colouring to represent the plasma, giving the liquid its realistic appearance. Marshmallows were added to show the white blood cells, which help fight infections. Cheerios represented the red blood cells, carrying oxygen around the body and giving blood its distinct red colour. We also included small pieces to represent platelets, which help our blood clot when we get a cut. Building our own “blood model” made it much easier to understand how all the components work together.
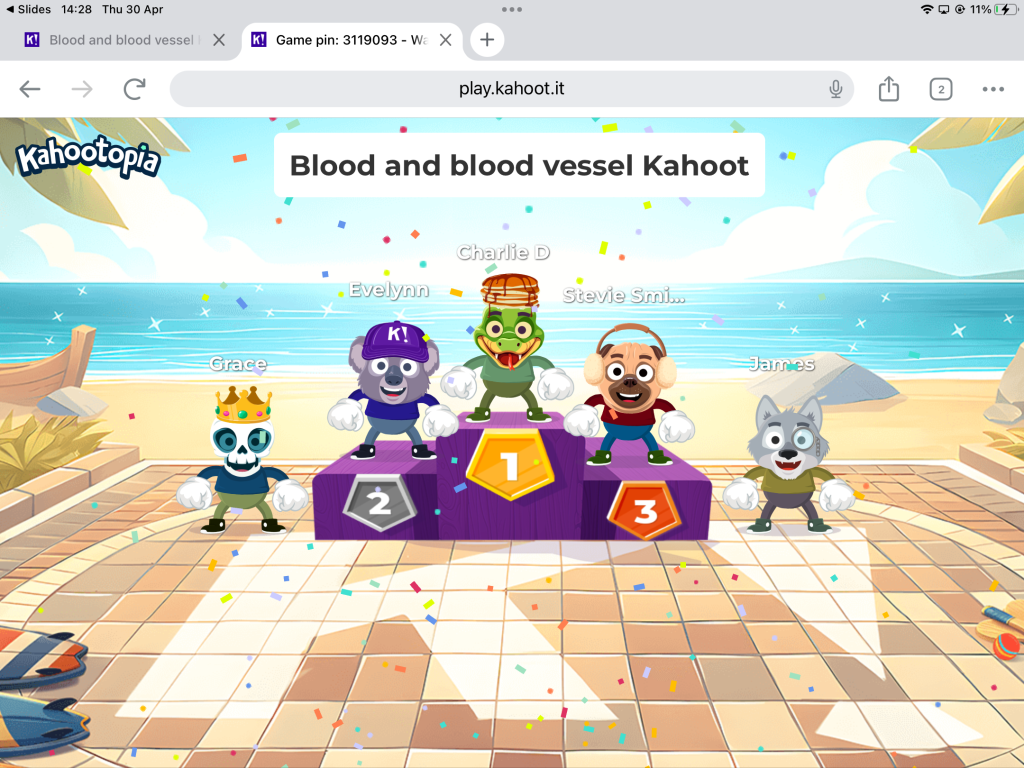
We finished with a kahoot to test our knowledge to exit out of the lesson.
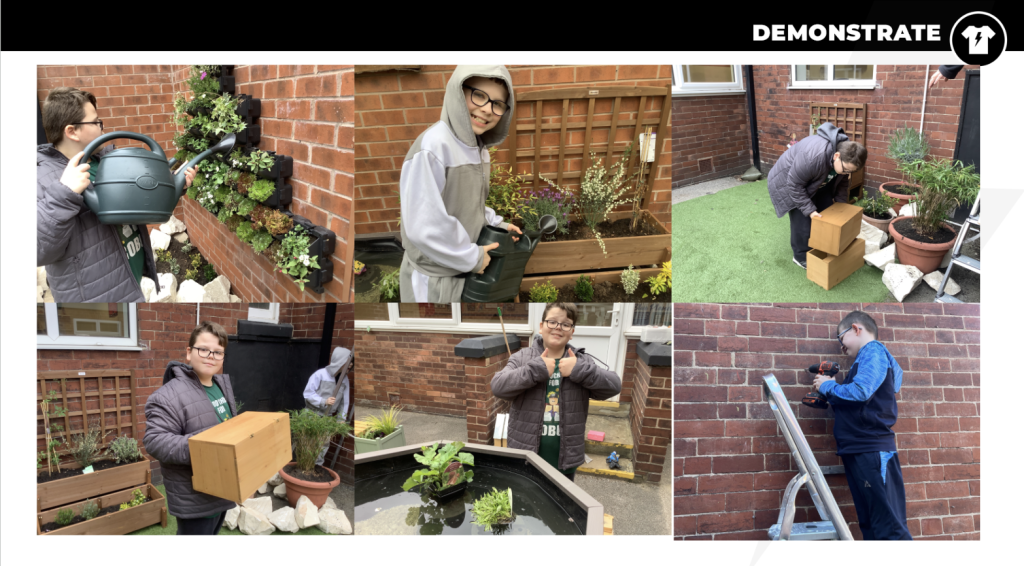
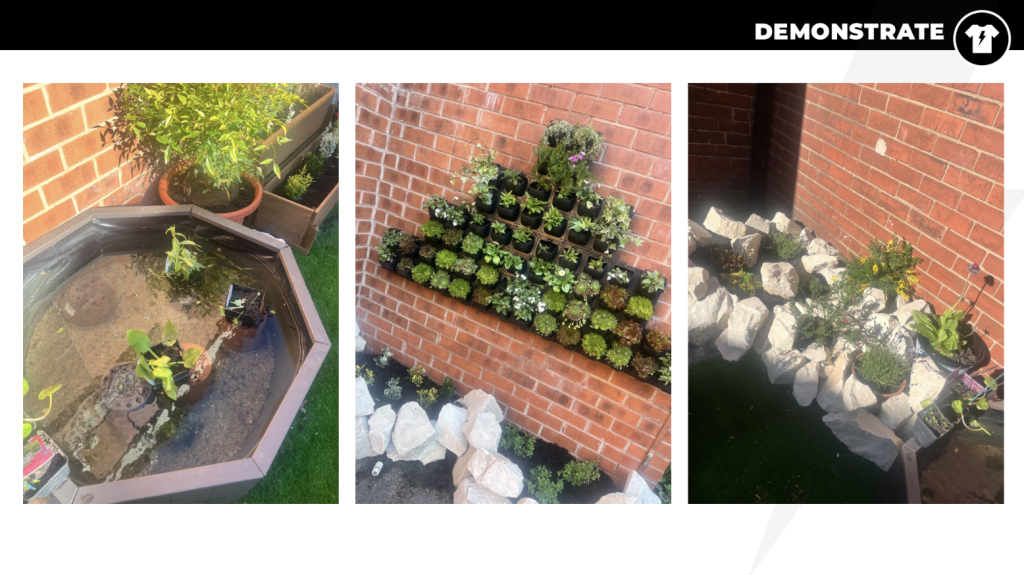
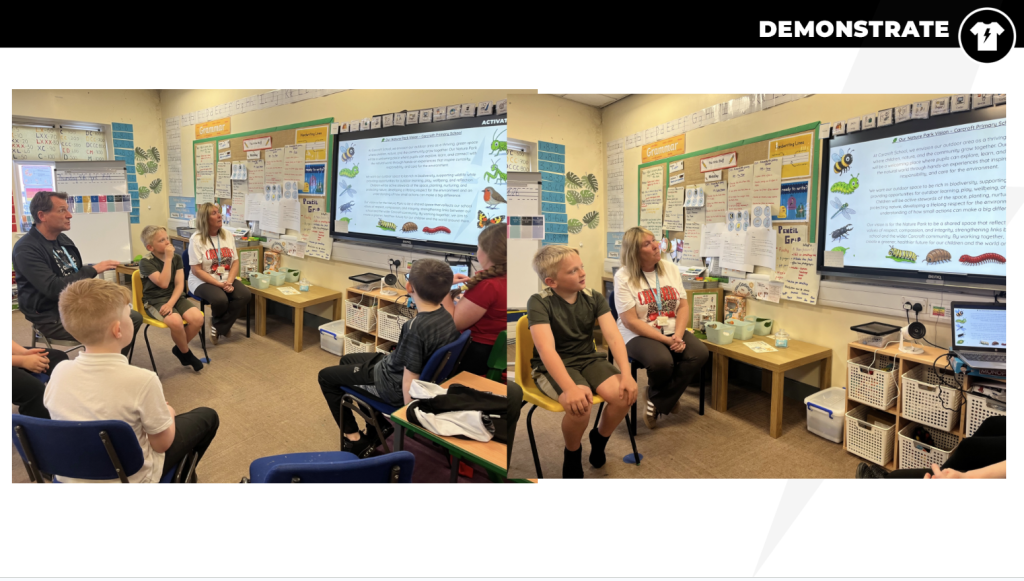
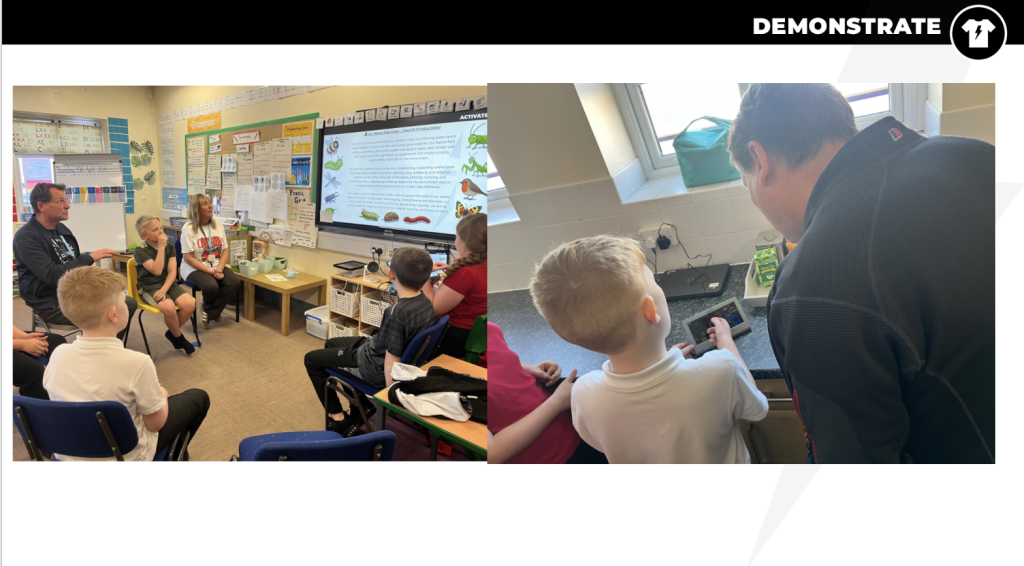
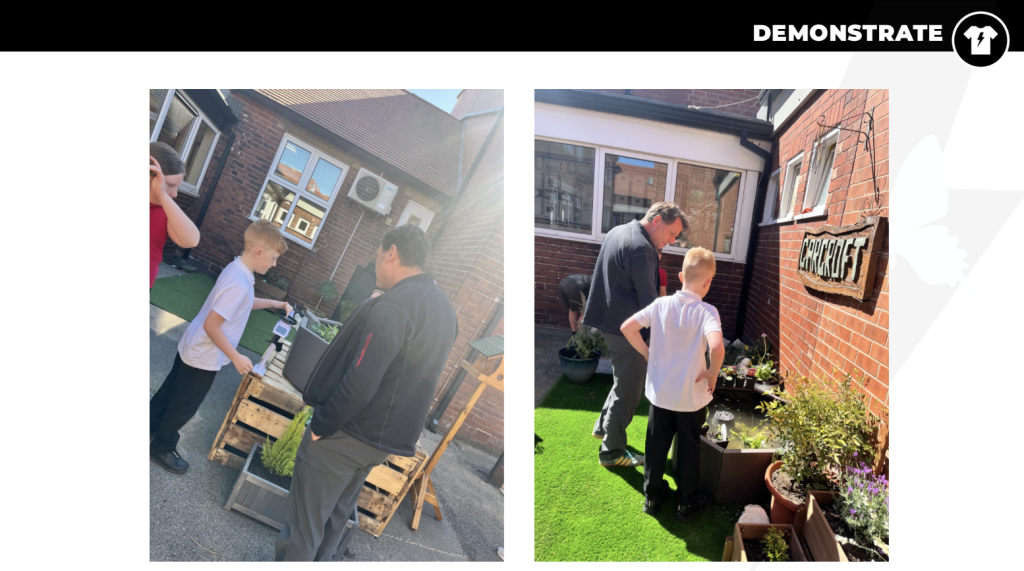
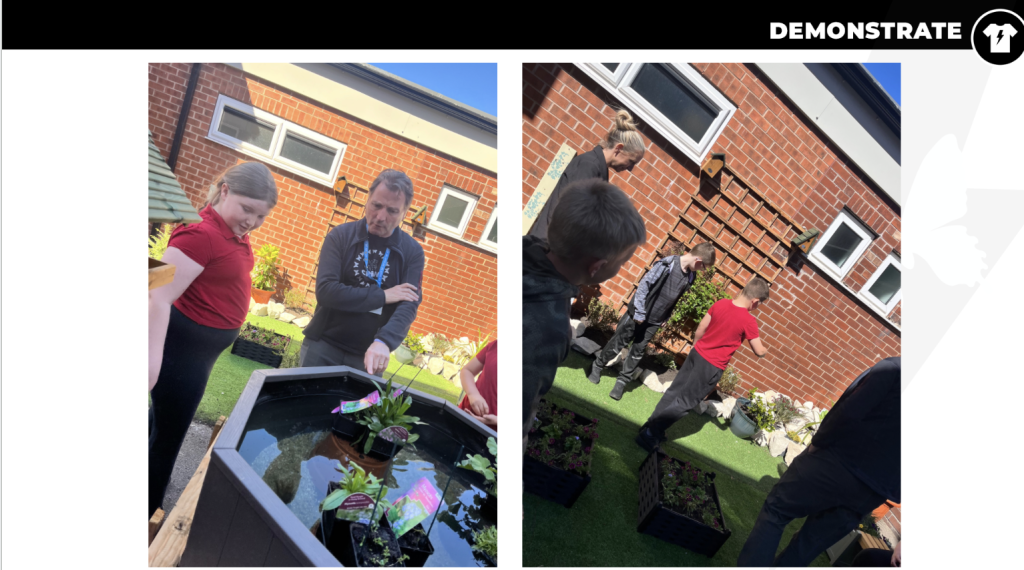
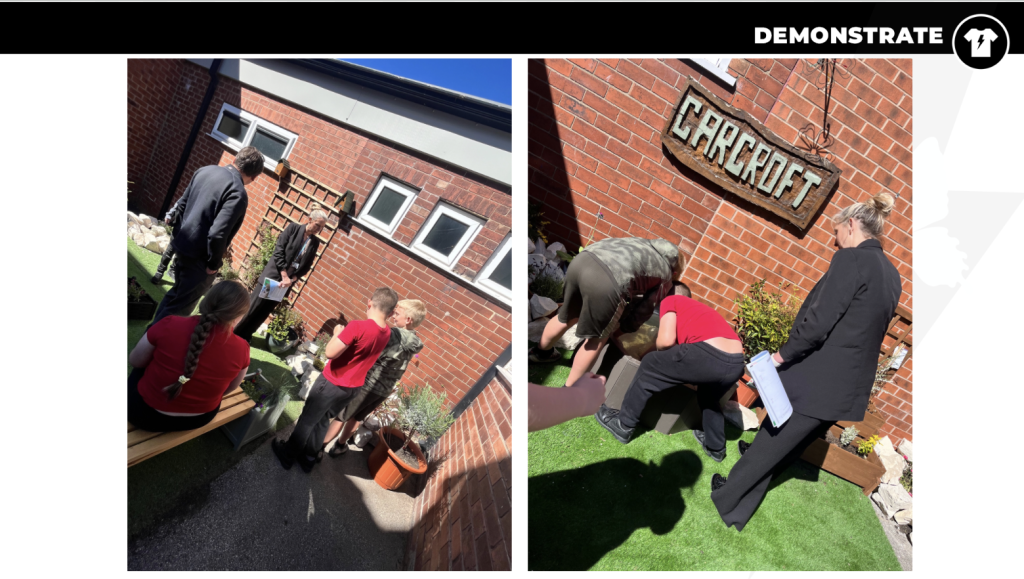
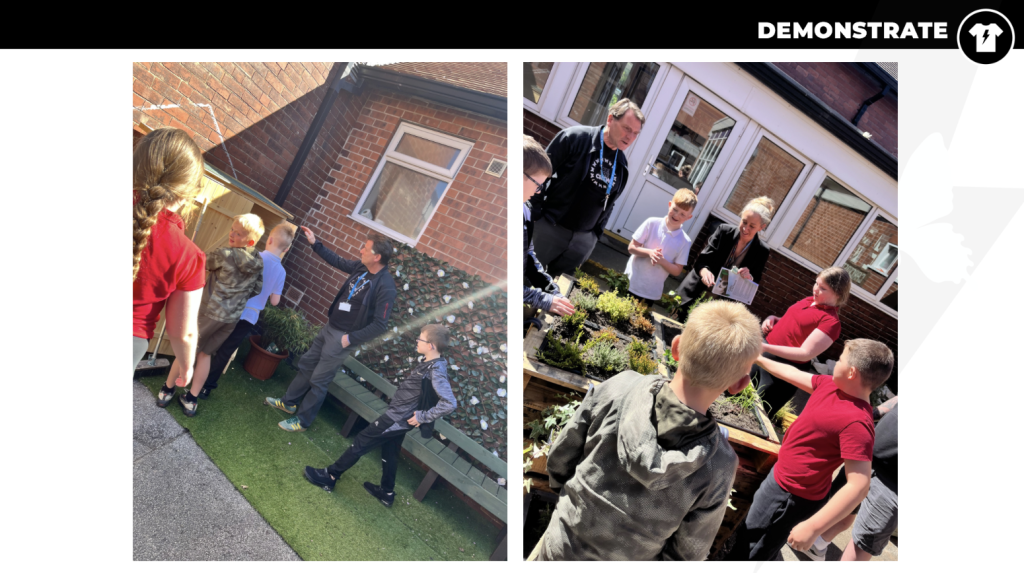
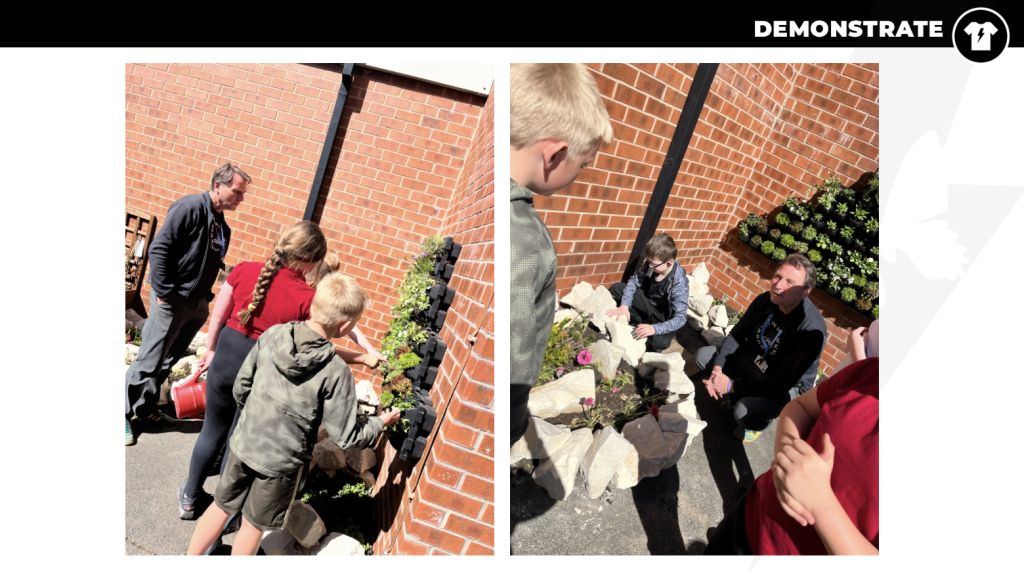
The whole of Crew Godley were absolutely fantastic during our recent presentation with Mr Sprakes. Every single pupil rose to the occasion and demonstrated just how much effort and dedication they had put into their learning. They showed real courage when reading aloud, supporting one another and taking pride in sharing their ideas, even when it felt challenging.
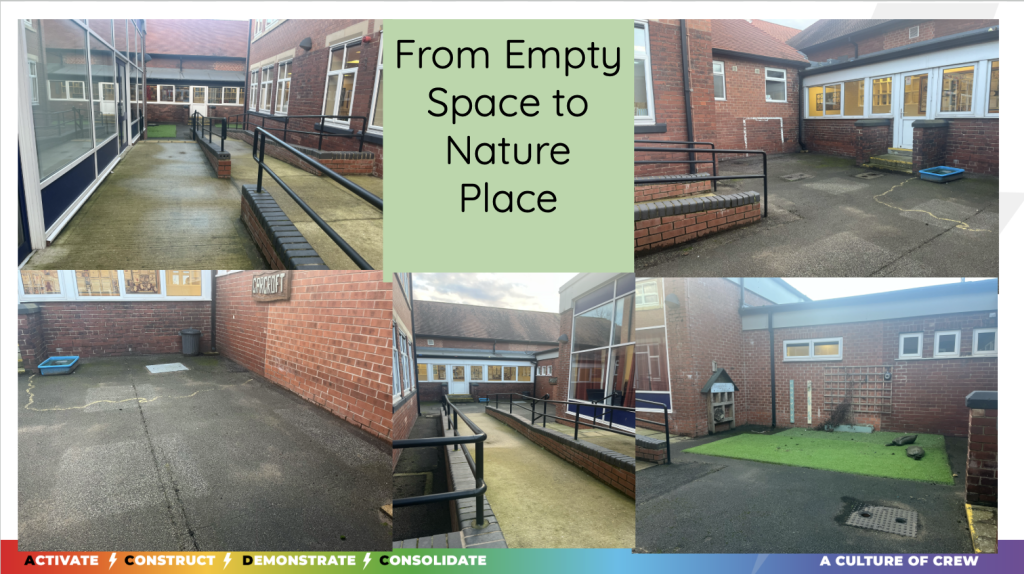
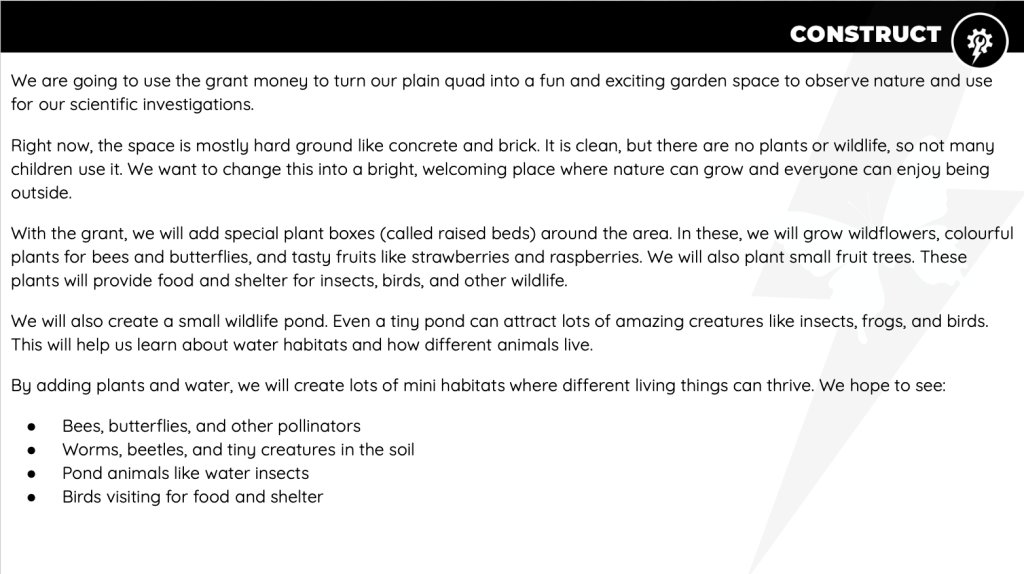
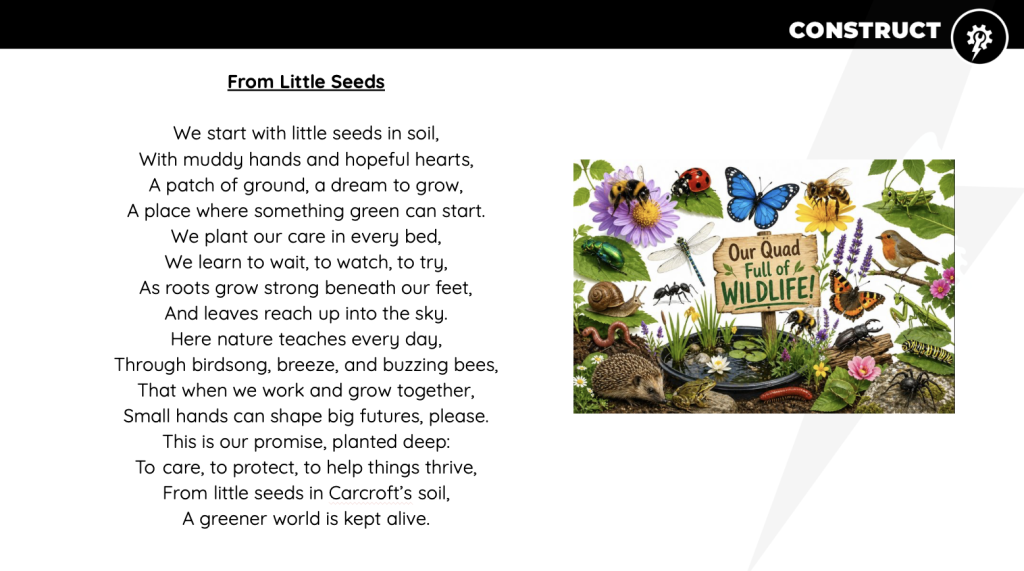
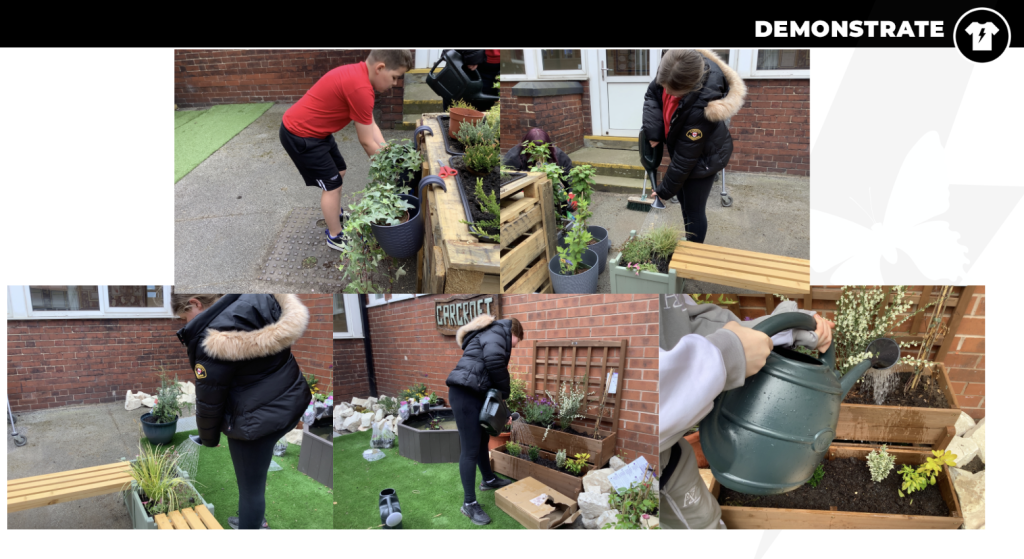
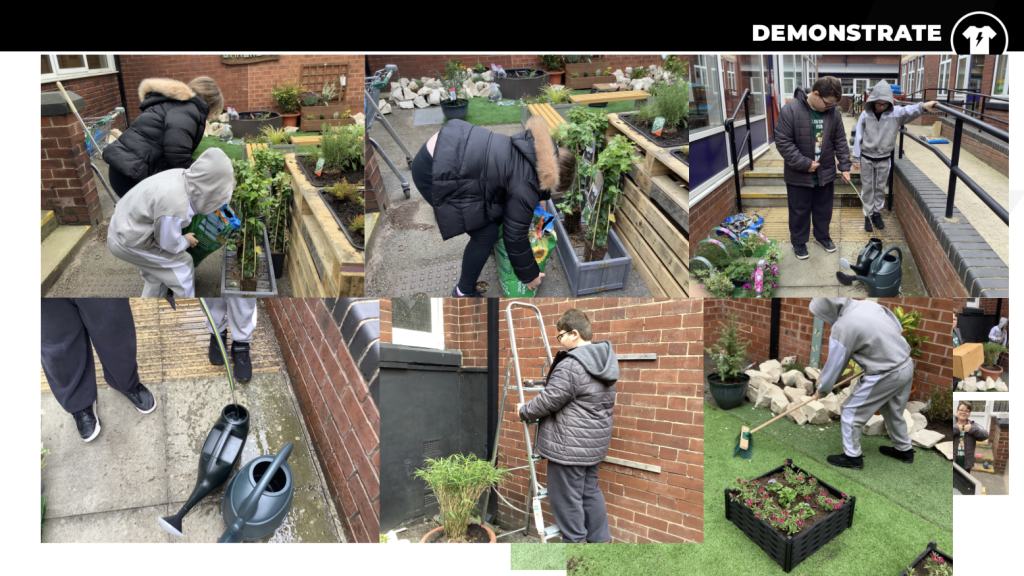
They spoke with growing confidence and clarity, articulating their thoughts in a way that truly engaged their audience. What stood out most was their ability to explain, in thoughtful detail, how they developed the quad area. They didn’t just describe what they had done – they explained the reasoning behind their choices, showing a deep understanding of how to create and sustain a biodiverse environment.
It was clear that they had developed not only their knowledge but also crew and communication skills throughout the project. Watching them present with such enthusiasm, ownership, and pride was a genuinely special moment. I was absolutely bursting with pride at everything they have achieved.
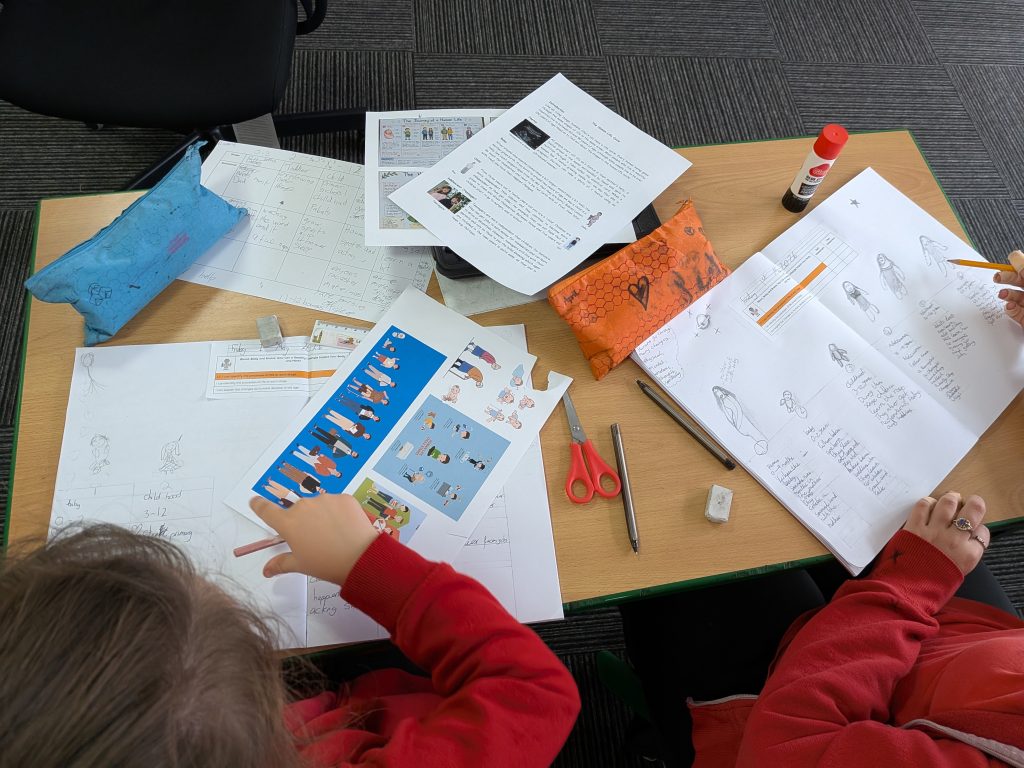
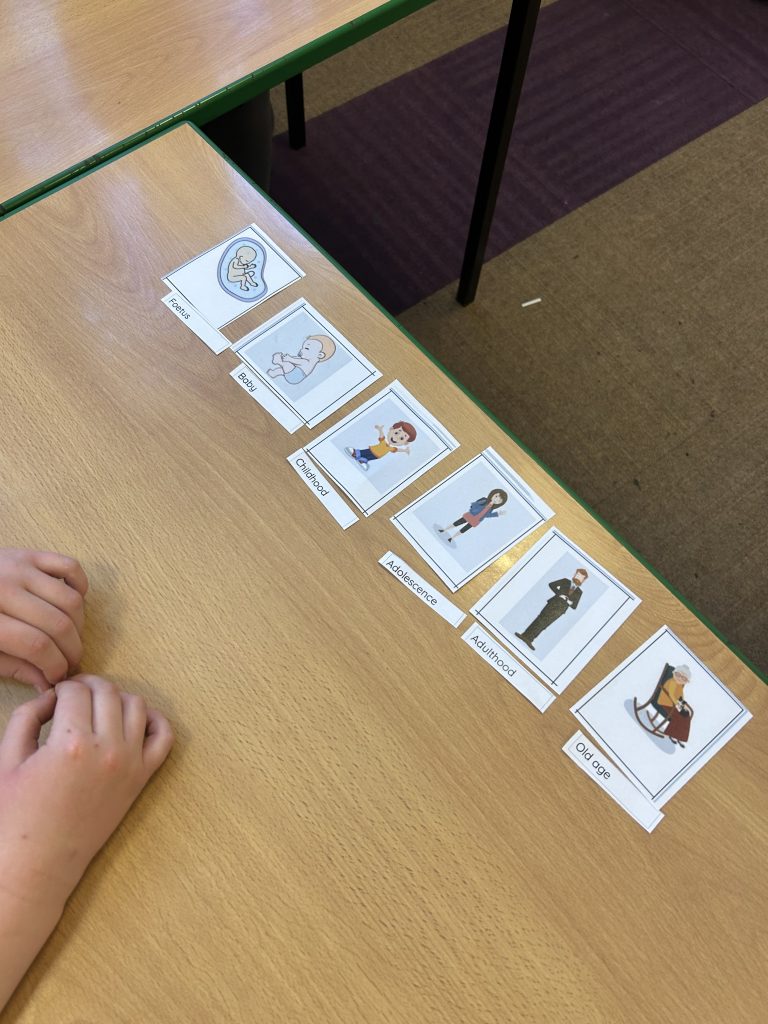
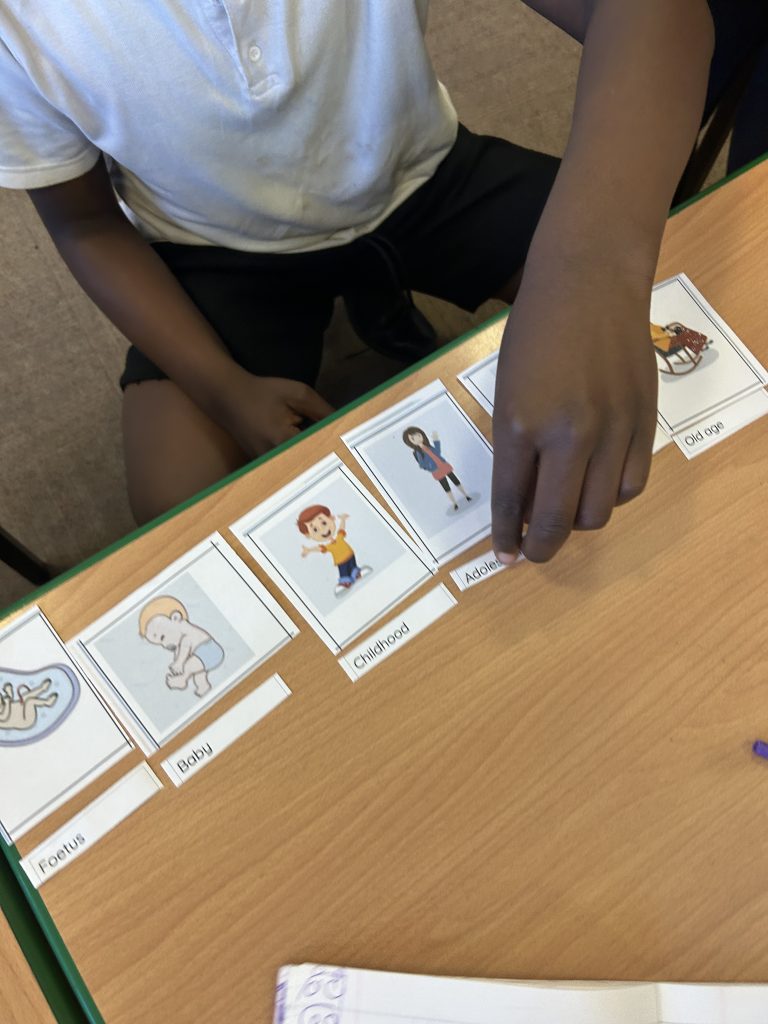
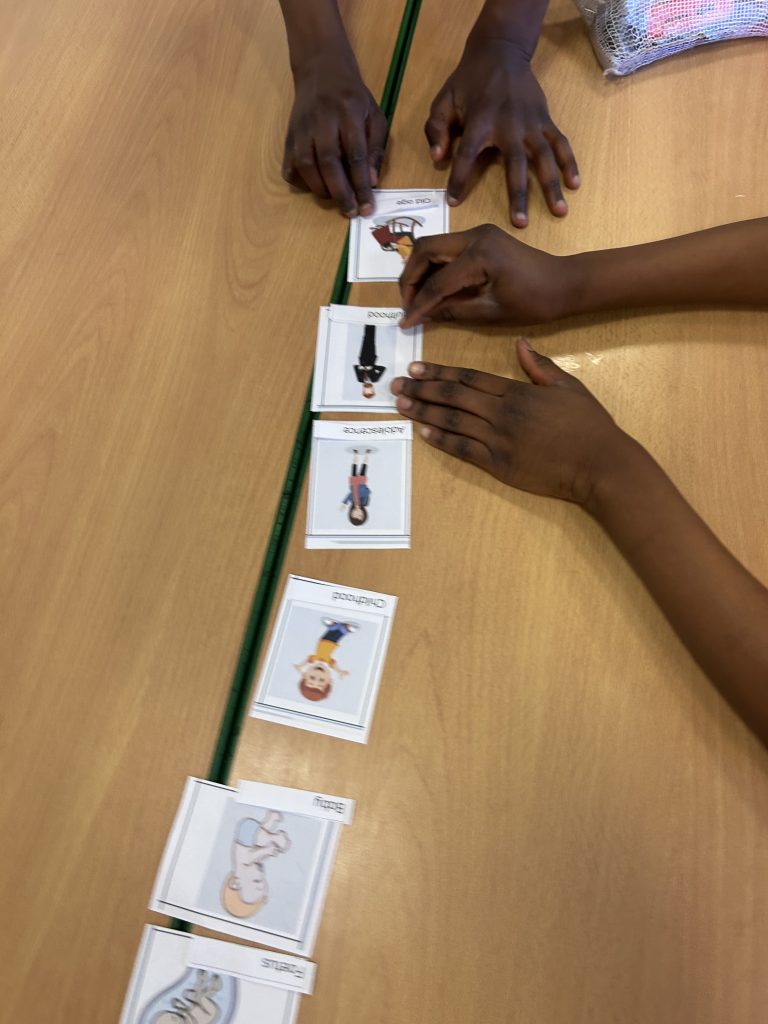
Today, Crew McLoughlin dove into the fascinating world of biology by creating our own visual life cycles. The students mapped out the distinct stages of growth and transformation, from prenatal to late adulthood.
Today, Crew Godley have been exploring air resistance in a hands-on way! We began by planning our investigation, thinking carefully about the controlled elements (things we kept the same) and the variable elements (things we changed) to make it a fair test. We started by dropping paperclips attached to parachutes to see how the parachute slows their fall. Once we understood the basics, we took on the challenge of protecting eggs from breaking! We discovered that parachutes with larger surface areas slowed the eggs’ descent more effectively, keeping them safe on impact.
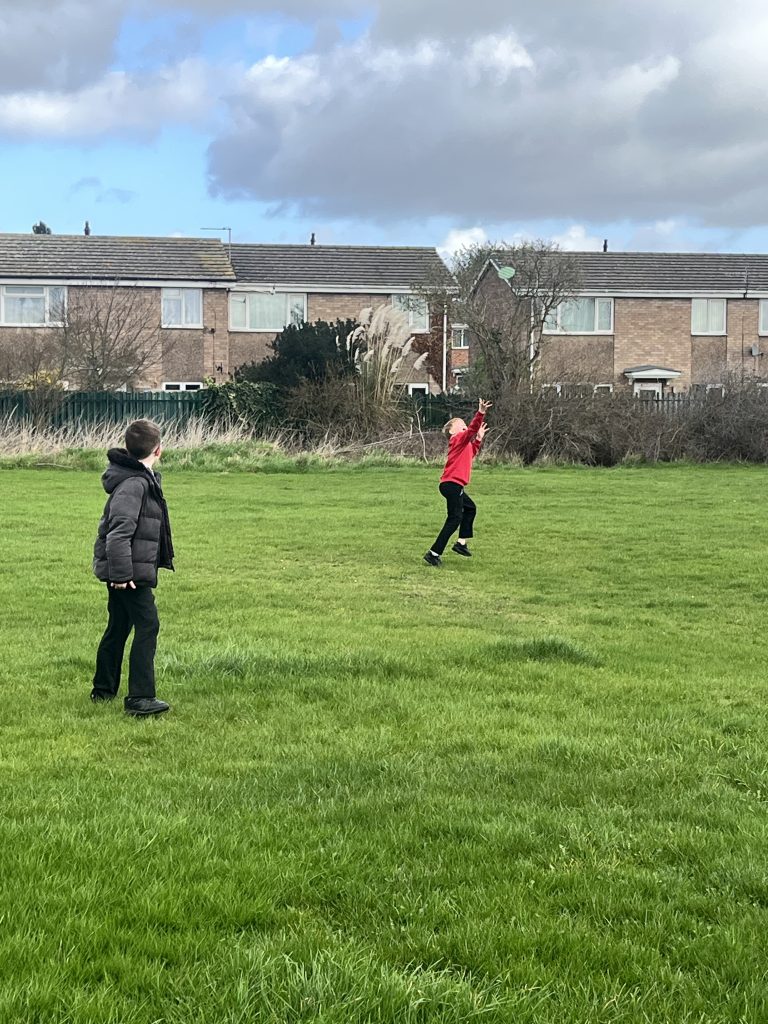
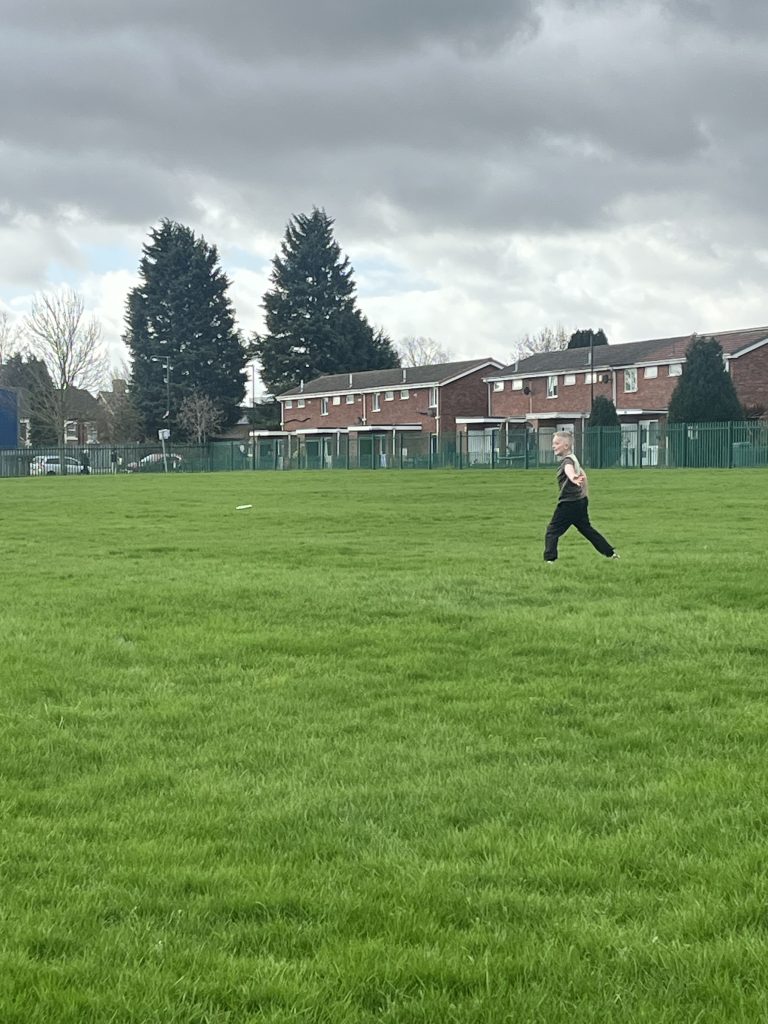
Crew Godley have been exploring air resistance and motion using frisbees! We planned the investigation by deciding what variables to change, like the angle and speed of the throw, and what to keep the same, so our tests were fair. By experimenting with different throwing techniques, we observed how the shape and orientation of the frisbee affects how far and smoothly it flies. This helped us understand how air resistance and forces work in real life, all while having lots of fun outdoors! We can’t wait to apply this to our learning tomorrow.