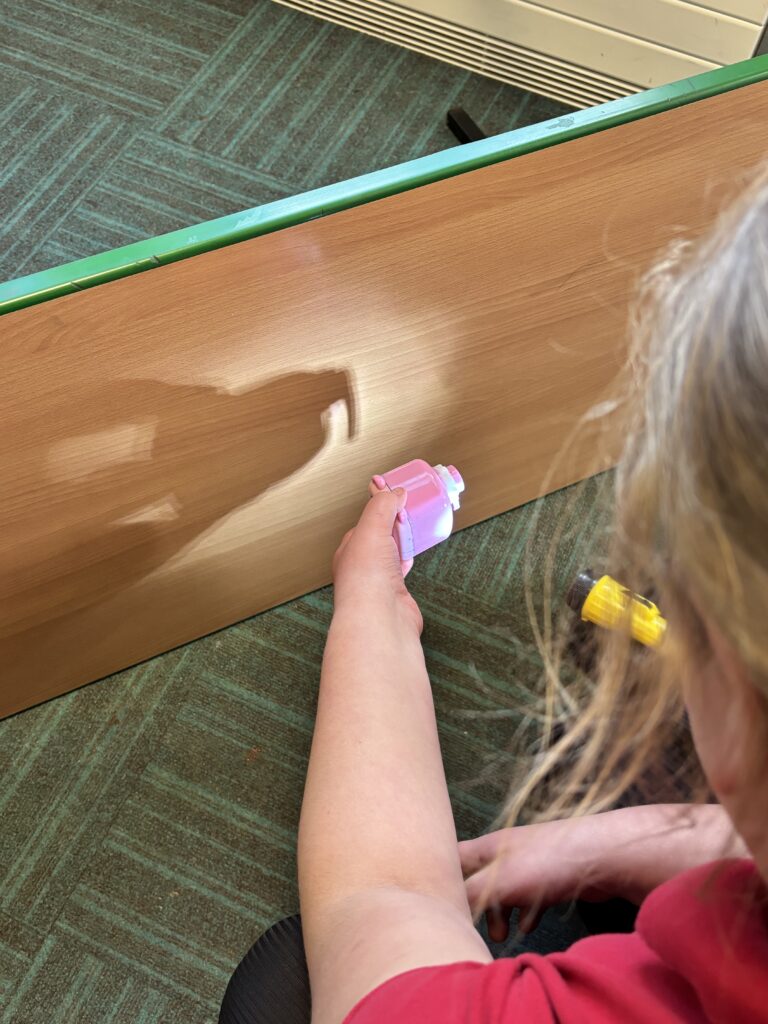
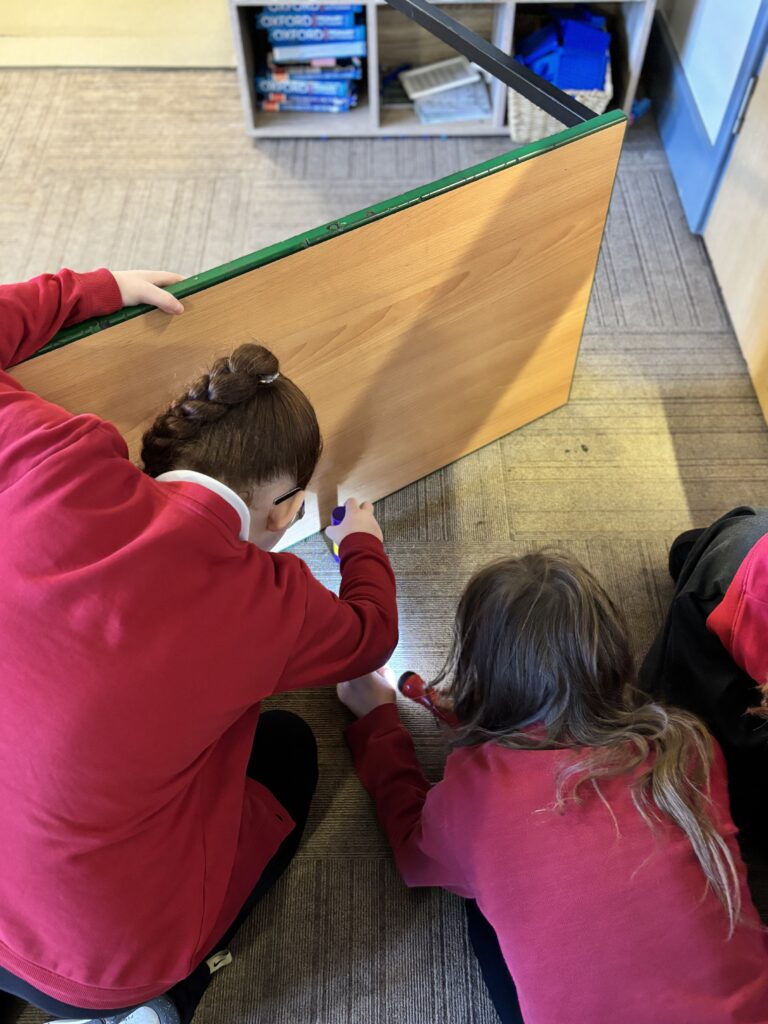
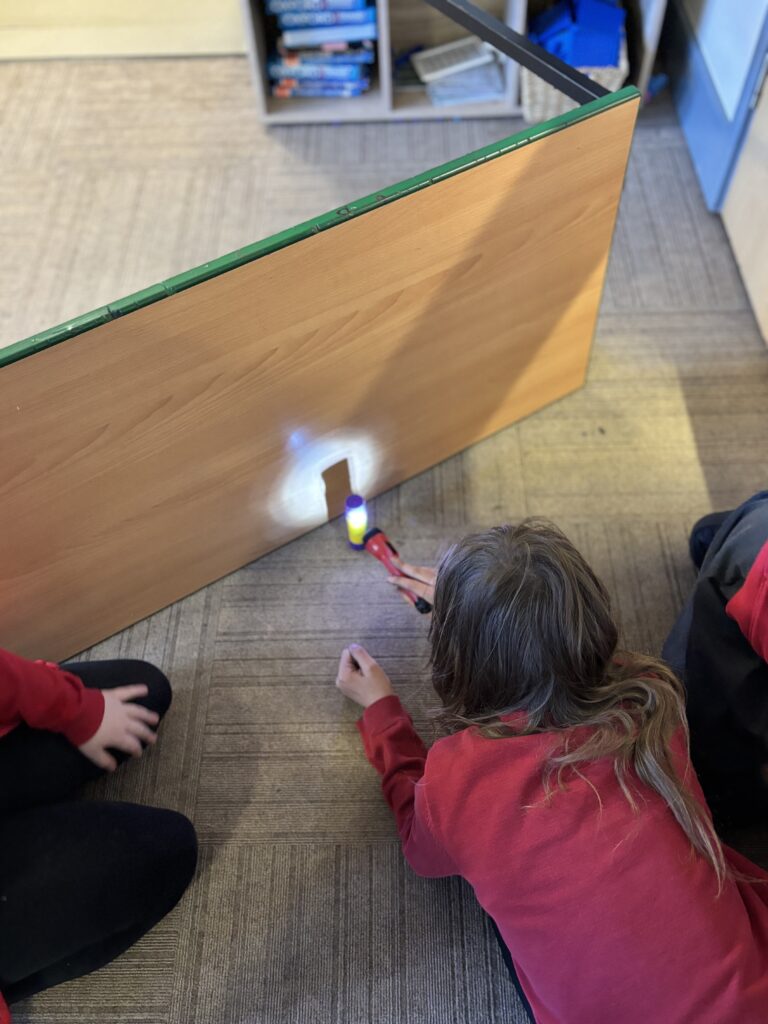
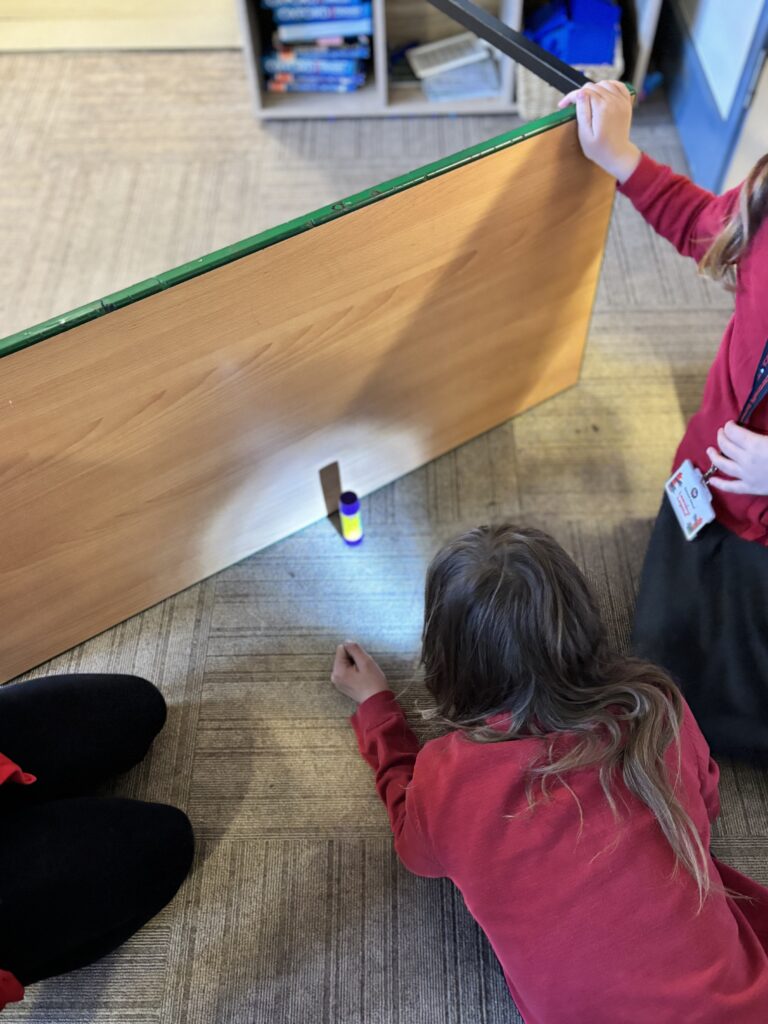
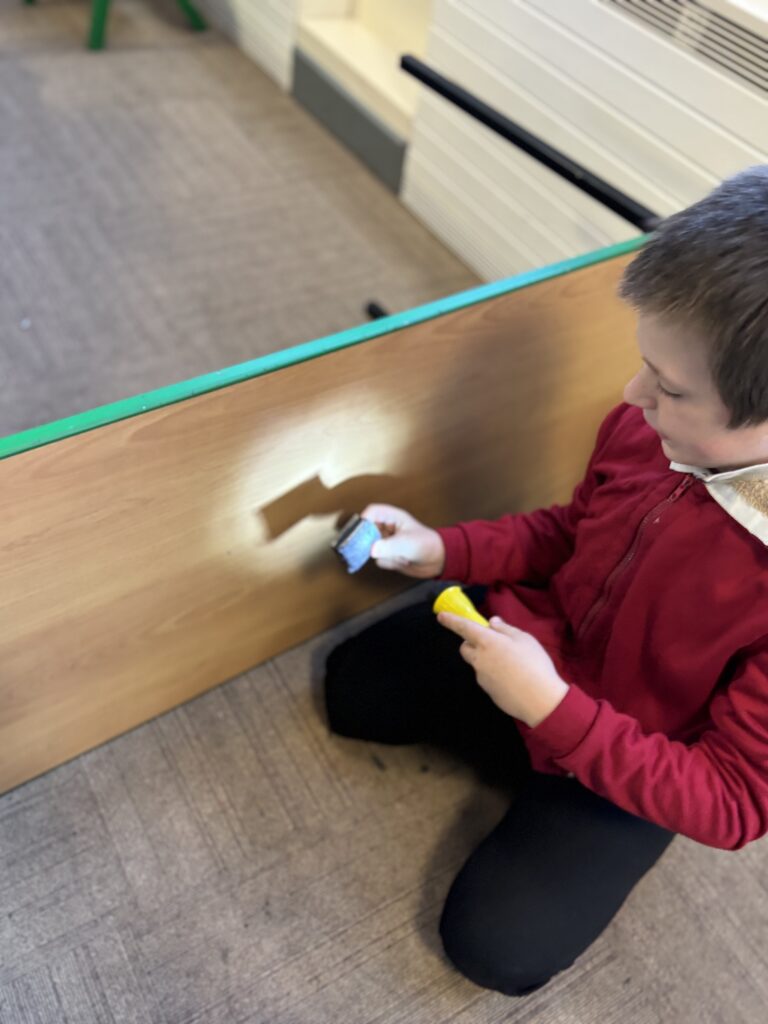
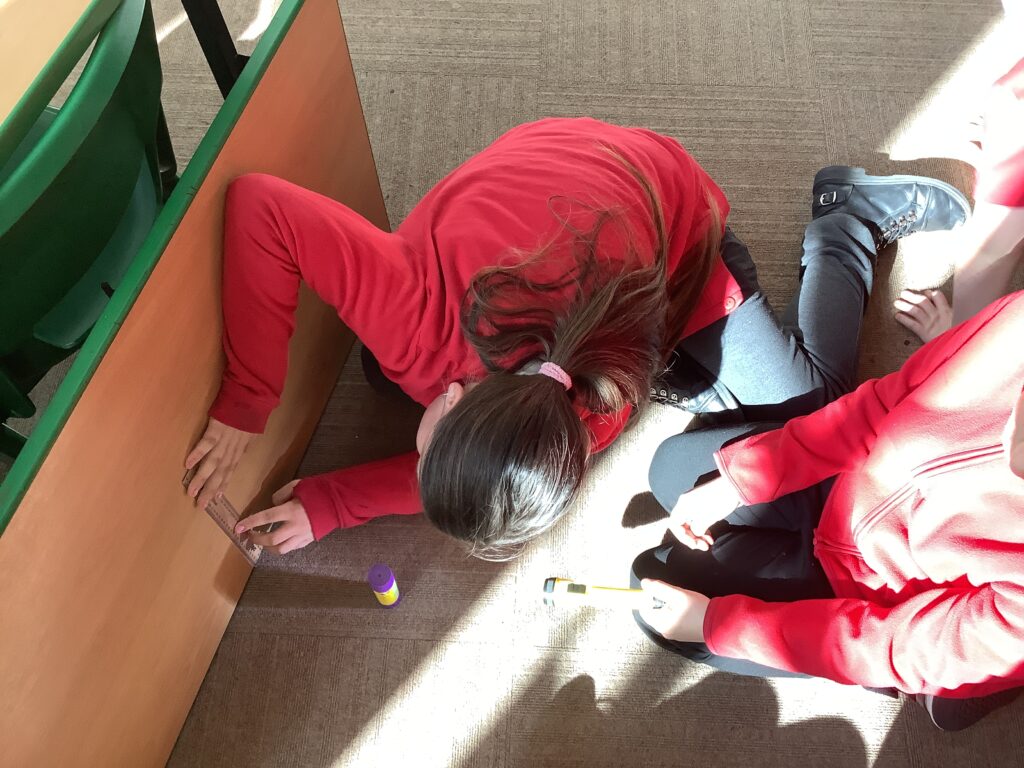
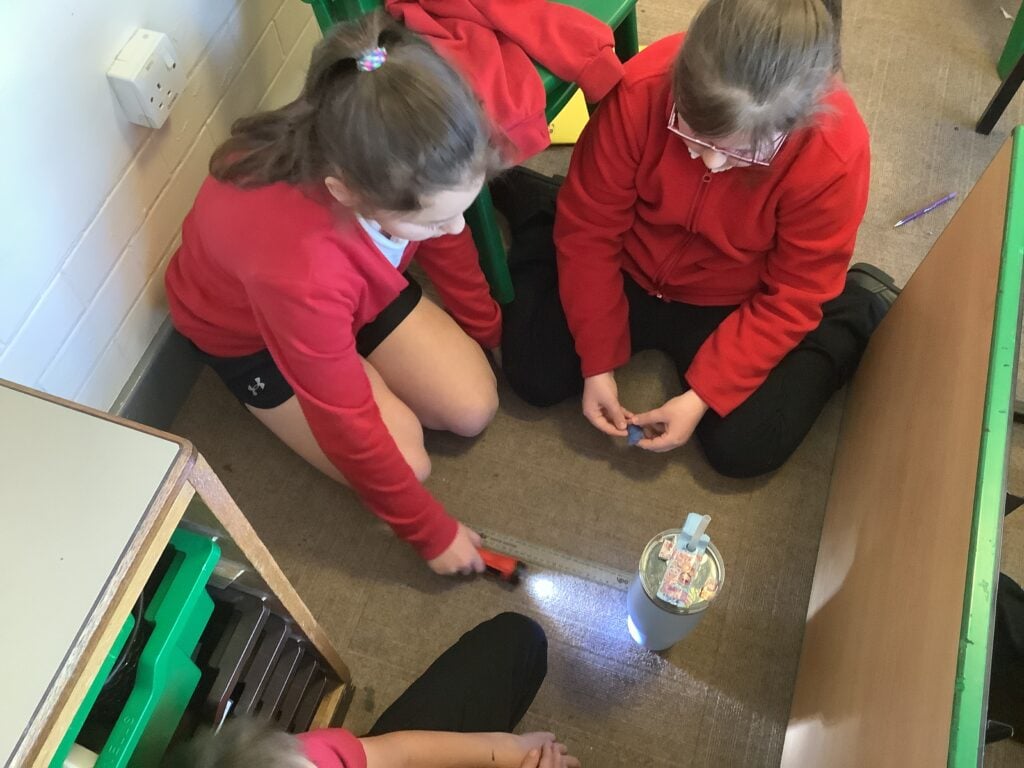
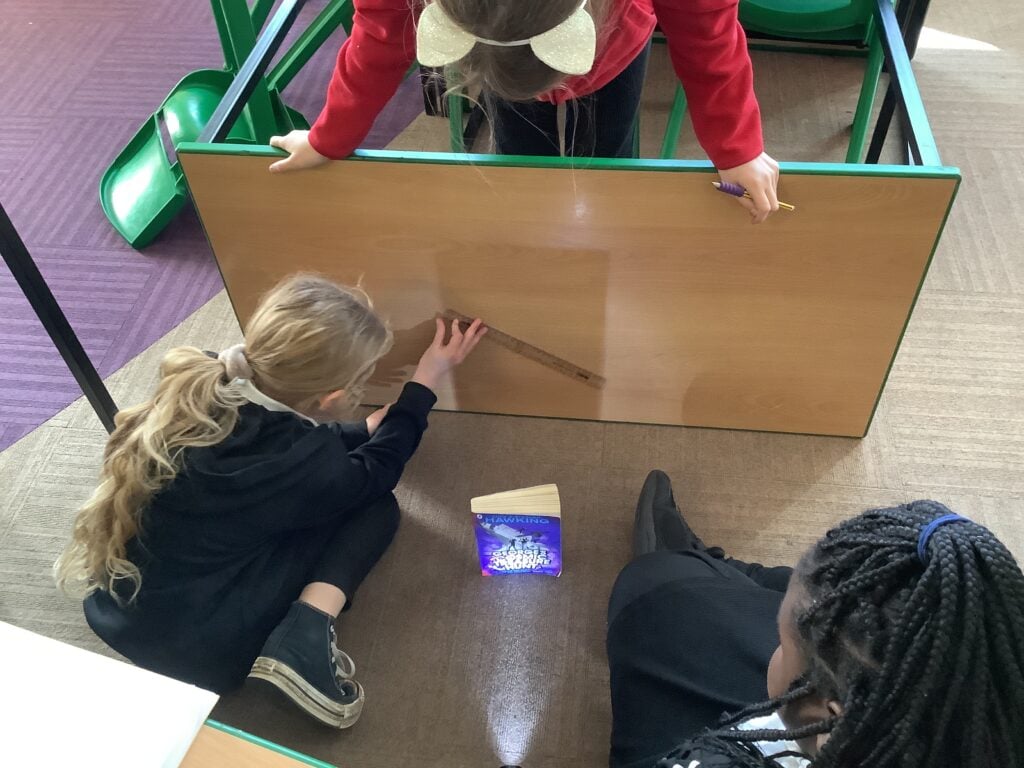
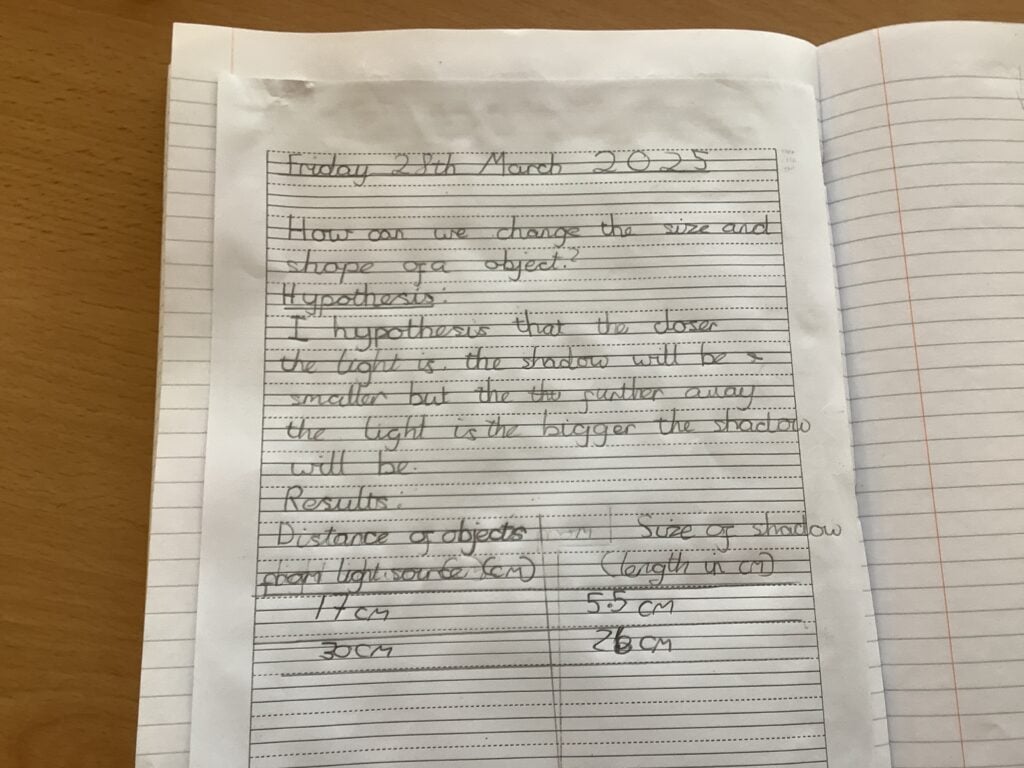
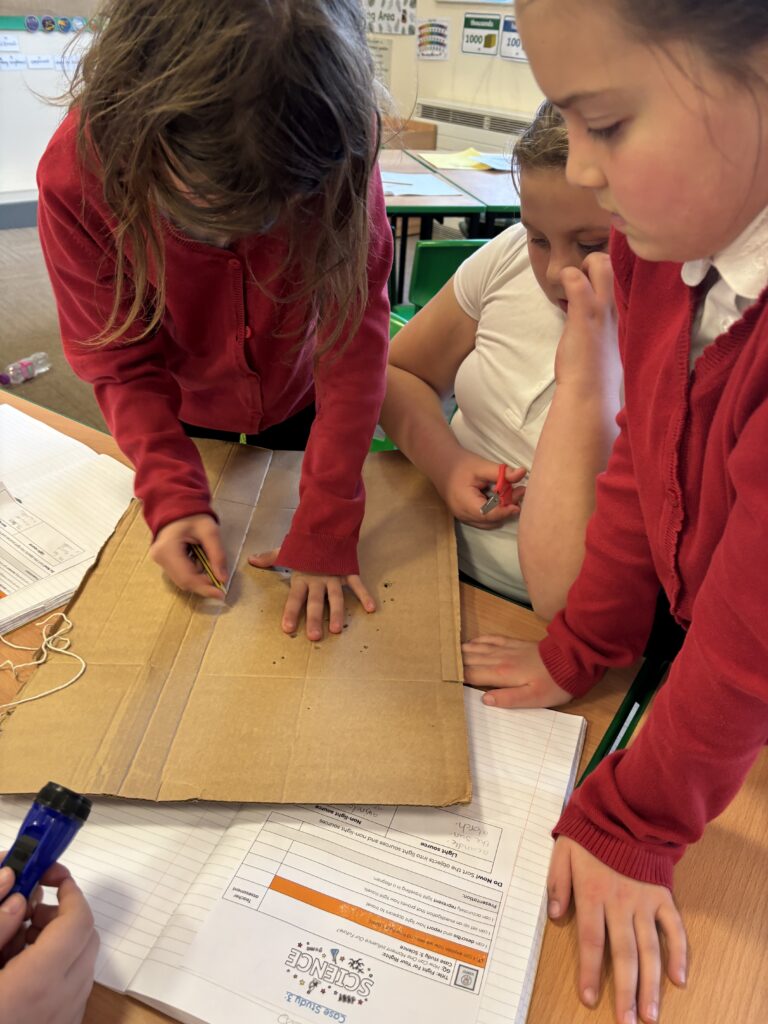
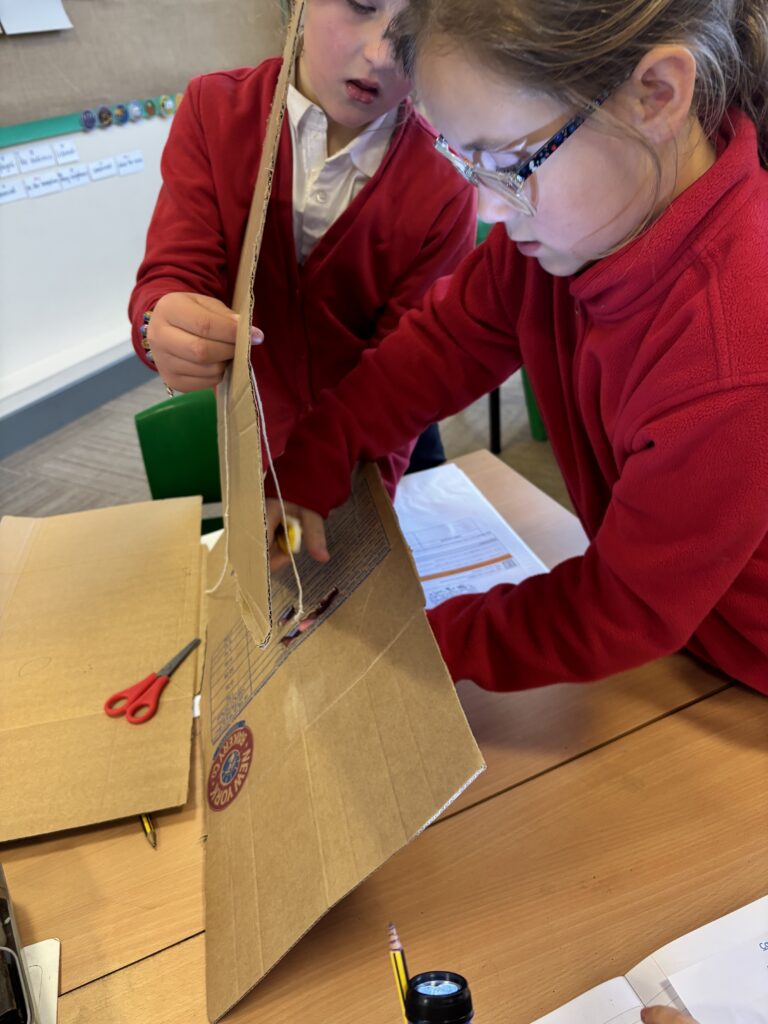
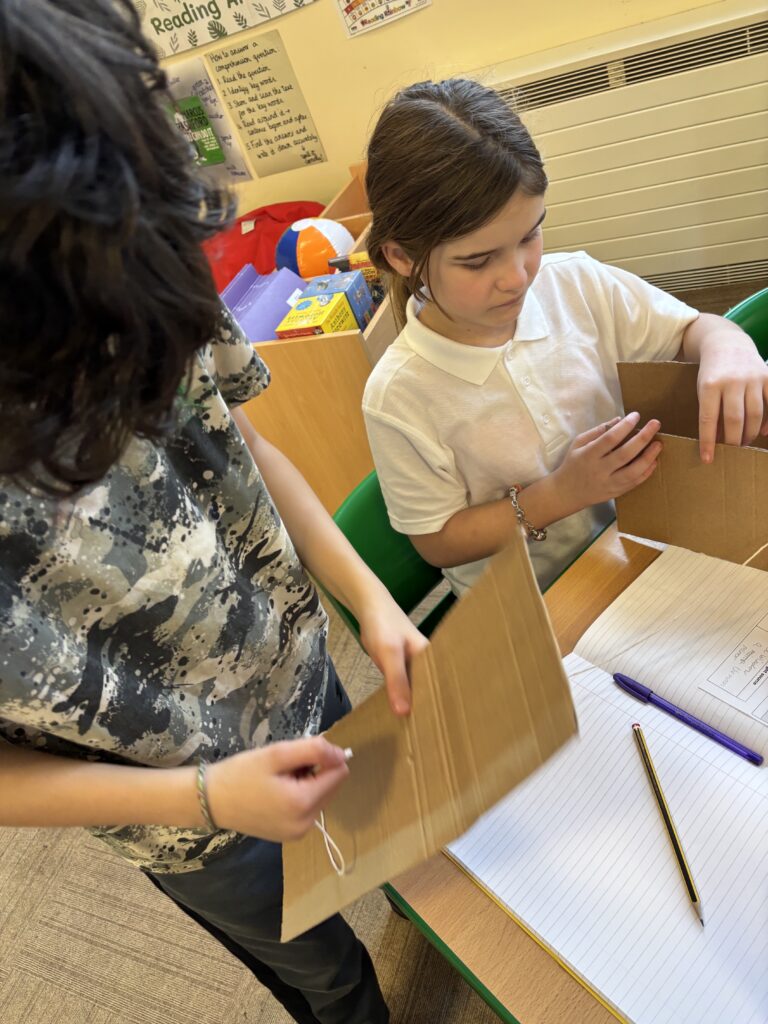
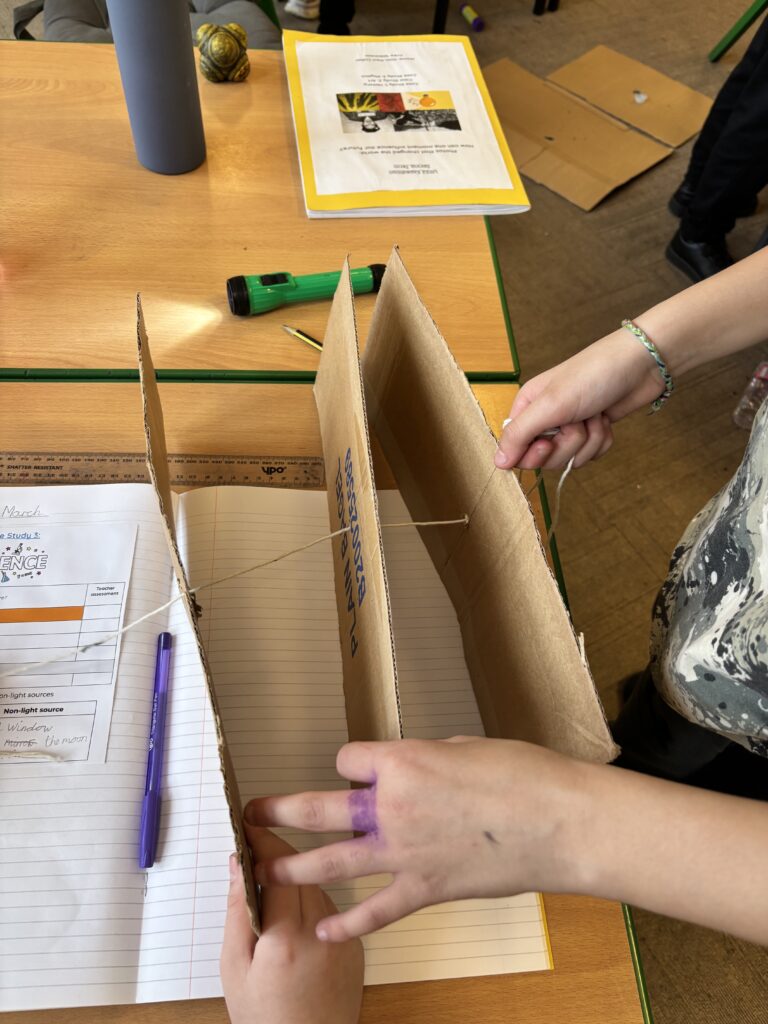
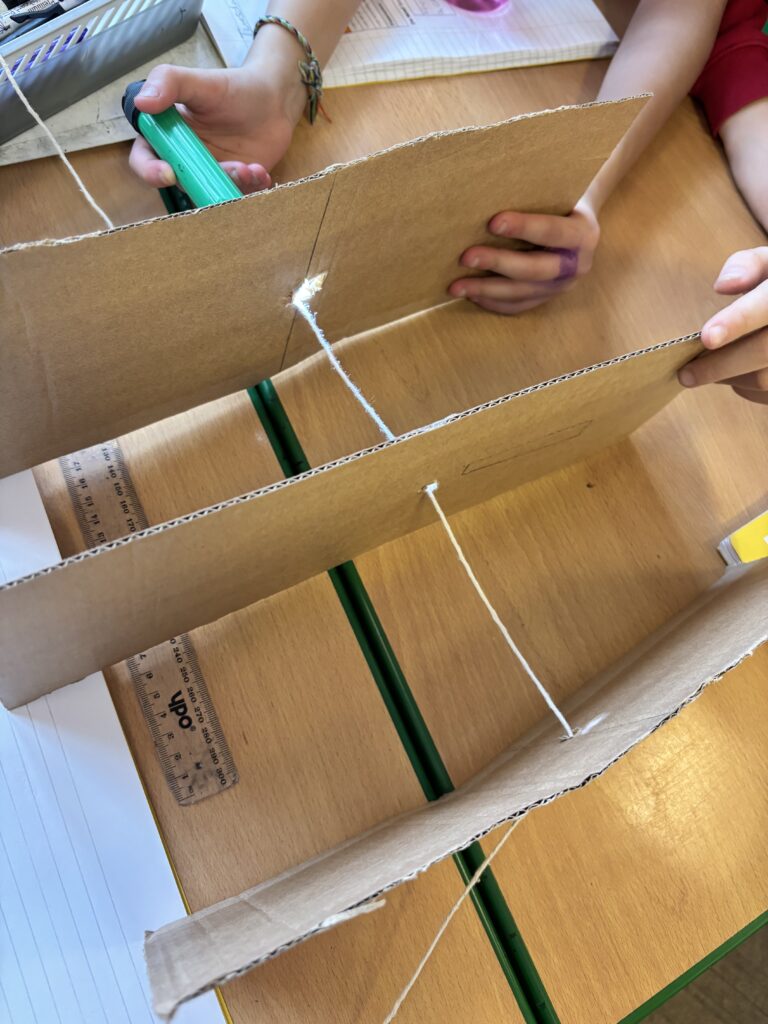
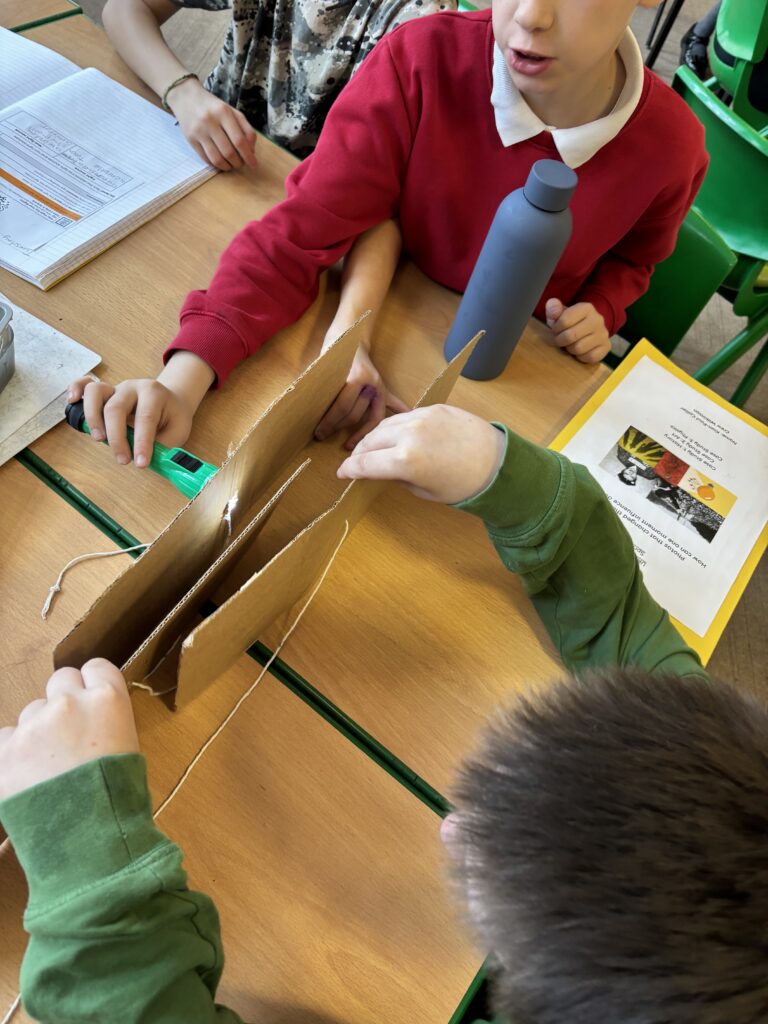
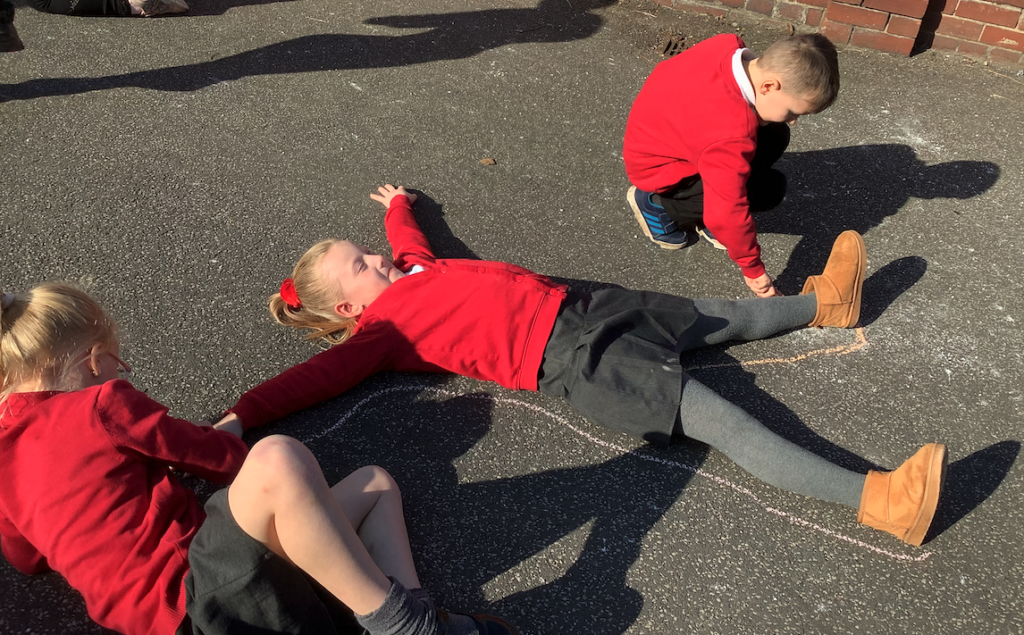
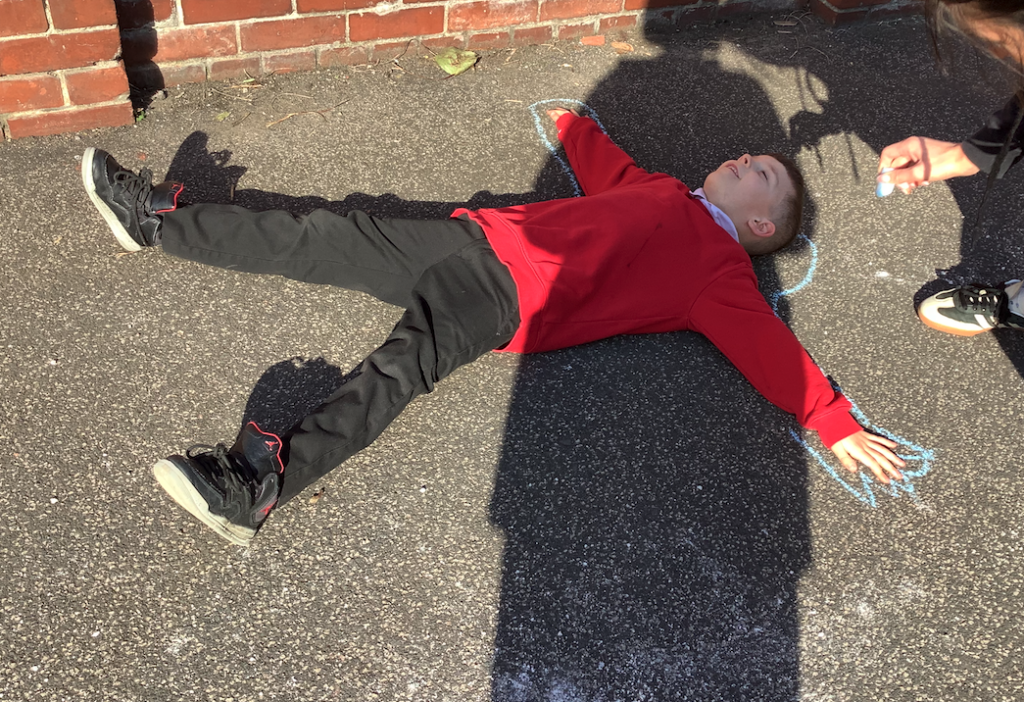
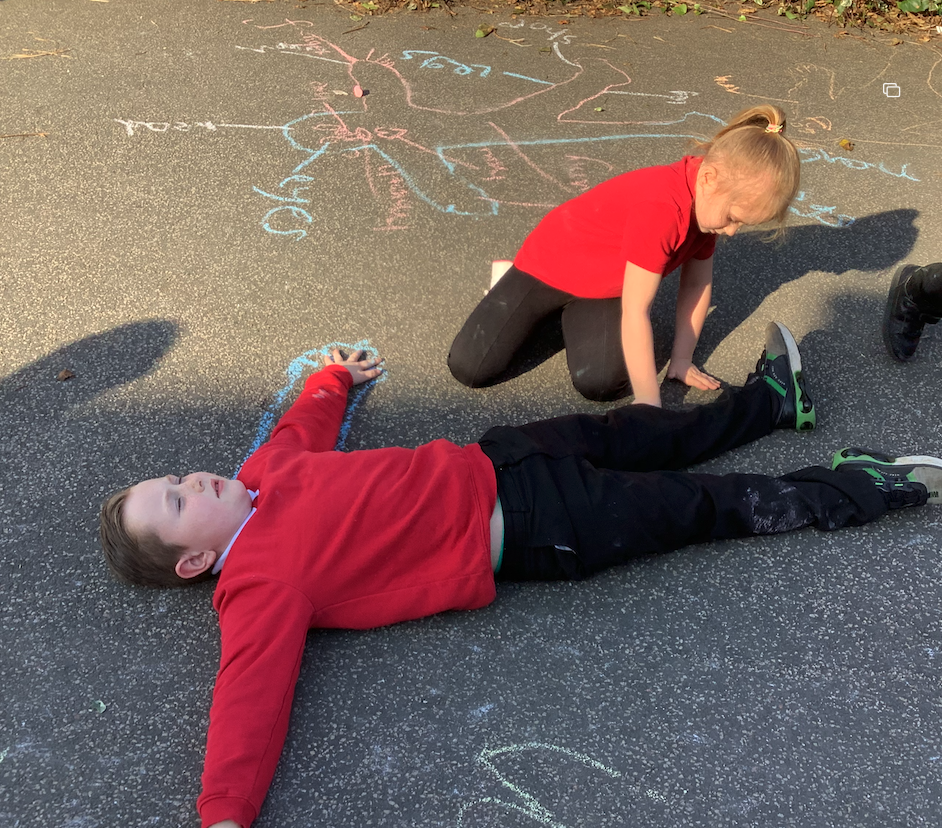
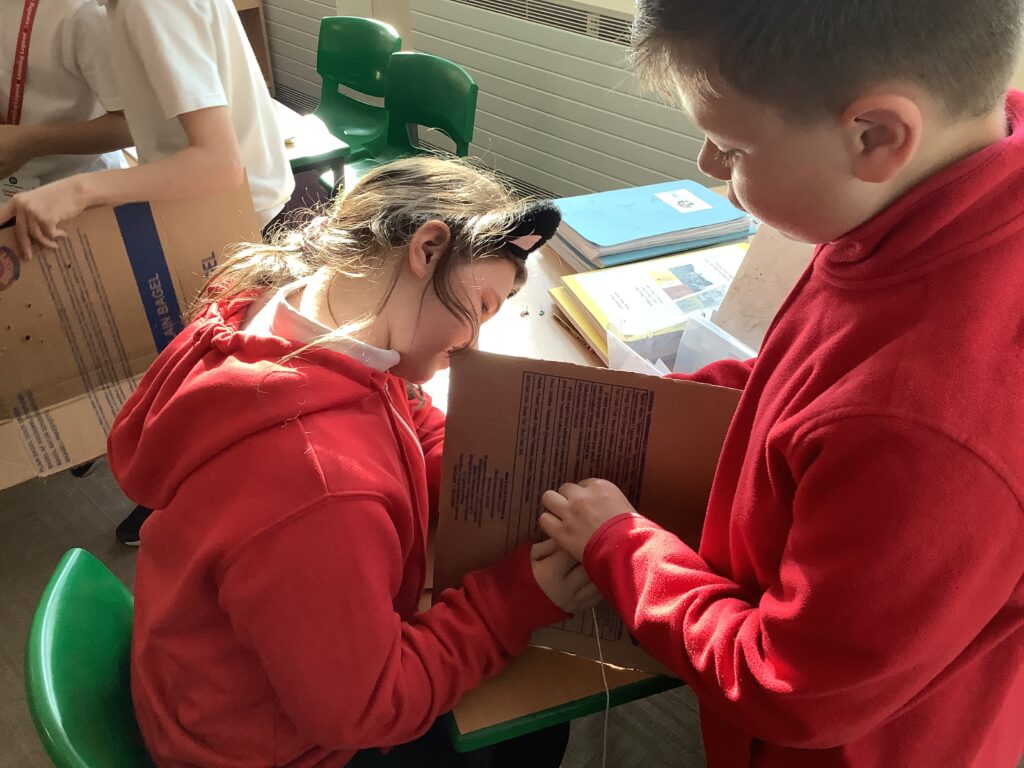
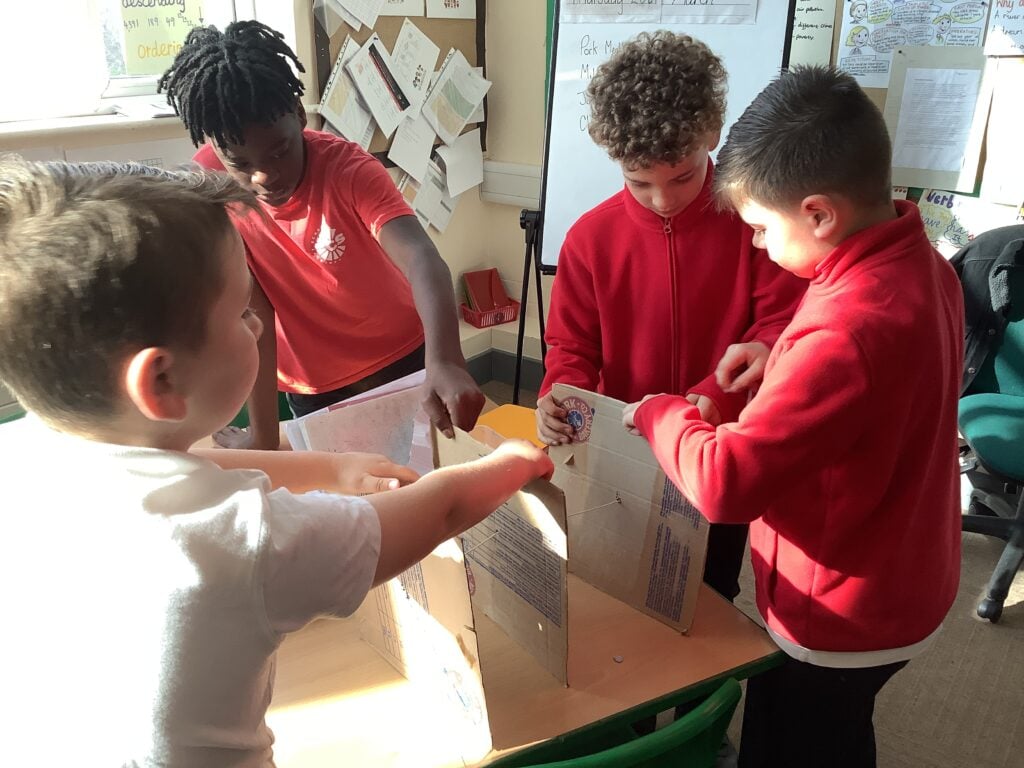
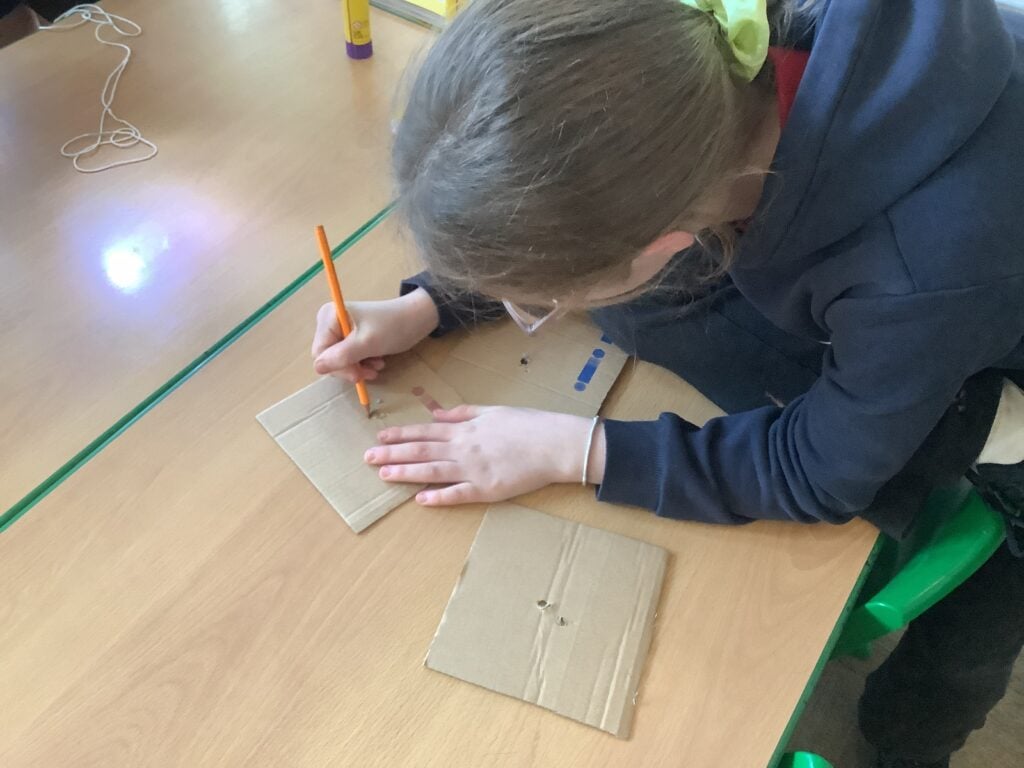
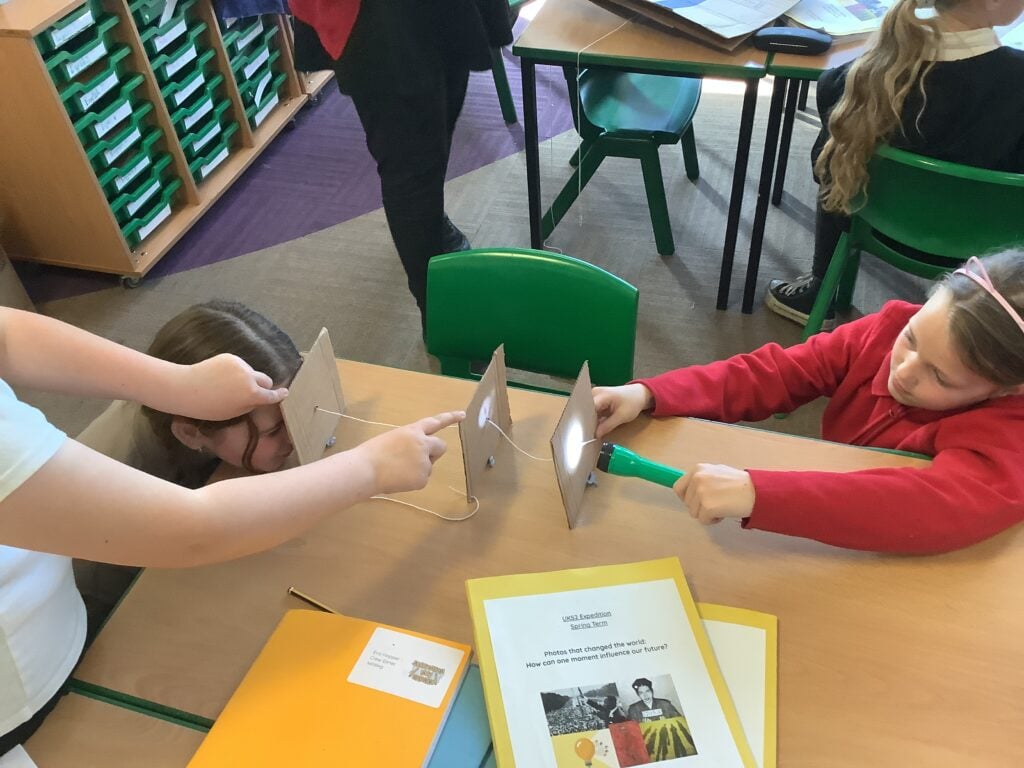
Using newton metres to measure classroom equipment

We have now began our Case Study 2 – physics! We first of all, we watched a video introducing gravity, and we also read an informational text about Sir Issac Newton – the scientist who created the gravity law. We were then given the task to use newton metres to measure the weight of objects in class. We really loved this practical activity to kick start our physics.

We each created a table to recorded our findings:

What is gravity and how does it work?

This week, we kick started Case Study 2, physics, by looking at the force of gravity. We discussed what a force was and identified that most of the crew already knew that gravity was the reason why we ‘stick to the floor’ and do not float. We then built up our background knowledge by watching a few videos that provided more information on gravity. Each time we watched a new video, we added extra information to our chotting sheet, changing colour each time. We then read a text on Isaac Newton, the scientist that discovered gravity when an apple fell down from a tree, and added even more information.

Once we had our background knowledge secure, we looked at Newton Metres which are used to measure the effect of gravity on an object. We had a go at measuring objects from around the classroom which we really enjoyed. We then worked in mini crews to use what we knew about gravity to create marble runs! We knew that gravity would bring the marble down to the floor so came up with some creative ways of making the marble move.

How Does Movement Affect Our World?

Last week, we applied all what we had learnt in physics to help partly answer our guiding question and reflect on the case study. Great understanding was shown as well as beautiful books that look Y6 standard!

After completing our science touchdown, we needed to consolidate some gaps in our learning so in challenge crew this morning we completed a Kahoot quiz. We worked together in submarine mode to consolidate learning and repeatedly answered questions to ensure our knowledge stuck. Great effort Crew Mcloughlin!

Oreo-ver the moon

In expedition, we focused on the phases of the moon. We discussed what the moon looks like and how sometimes it can look different; it is always a spherical shape but doesn’t always appear this shape in the sky. More importantly we delved deeper to find out why…

It turns out that we can only see the moon thanks to the biggest light source of them all – the sun!

We looked at the names of the eight moon phases and then the children had an INCREDIBLE time creating the moon phases using OREOS! It was great seeing children working together, delicately picking apart the biscuits in order to accurately show the eight phases of the moon.

If only every science lesson involved Oreos…

Case Study 1 Reflection

Yesterday, Crew Hamill completed a Padlet in which each child added their own statements to each section, detailing the information they could remember from everything we have learned during our first science case study. Miss Hamill was impressed with just how much we’d remembered!

The Phases of The Moon

To continue Case Study 1, we have looked in more detail at the Moon and how it orbits Earth. We learned that the Moon is 239,000 miles away from Earth and that it takes just over 27 days to orbit the Earth. Did you know that we only ever see one side of the Moon? Amazingly, we learned that the Moon doesn’t actual have it’s own light and that we only see it because the light from the Sun reflects off the surface of the Moon. As the Earth orbits our planet, the amount of the Moon we can see differs and this splits into eight phases – New Moon, Waning Gibbous, Waning Quarter, Waning Crescent, Full Moon, Waxing Gibbous, Waxing Quarter and Waxing Crescent. We learned that when the Moon is in the ‘Waxing’ phase, the amount of the Moon we see gets bigger and when it is in its ‘Waning’ phase, we see less of the Moon. We then worked in mini crews to recreate the phases of the Moon using Oreos! We even got to eat them afterwards!

The Movement of The Earth

To kick start Case Study 1, we looked at the movement of Earth in relation to the Sun and Moon. We did a lot of research by watching and interactive video that gave us quiz questions throughout, testing that we were paying attention and taking in all of the facts. We then came together as a crew to make a video that detailed everything we learned. Our main facts were:

  • The Earth moves in two different ways: 1. It rotates on its axis. 2. It orbits around the Sun.
  • It takes the Earth 24 hours (1 day) to rotate fully on its axis.
  • It takes the Earth 365 and a quarter days (1 year) to orbit the Sun. 
  • When we are facing towards the sun, we get day time.
  • When we are facing away from the sun, we get night time. 
  • The Sun appears to move across the sky but it doesn’t. 
  • The Sun stays where it is and Earth’s rotation makes it disappear.

You can see our video by scanning this QR code:

Building Background Knowledge – Movement of the Planets

Today, we began building our background knowledge on our solar system and how the planet within it orbit (move around) the Sun. We worked in mini crews to make notes as we watched videos that detailed each of the 8 planets and how they each orbit the Sun. Every time we watched something new, we changed the colour of our pen to build upon the knowledge we had already gained from the previous video. We are going to use this knowledge to write a paragraph of what we now know about how the planets move in our next expedition lesson.

Materials

In Crew Marsh we have been looking at different materials. We organised them into different categories – wood, metal, fabric, glass and plastic. We then spoke about what properties each material had. We applied this to our castle learning and thought about what material we would want to use to build a castle – we voted for metal.