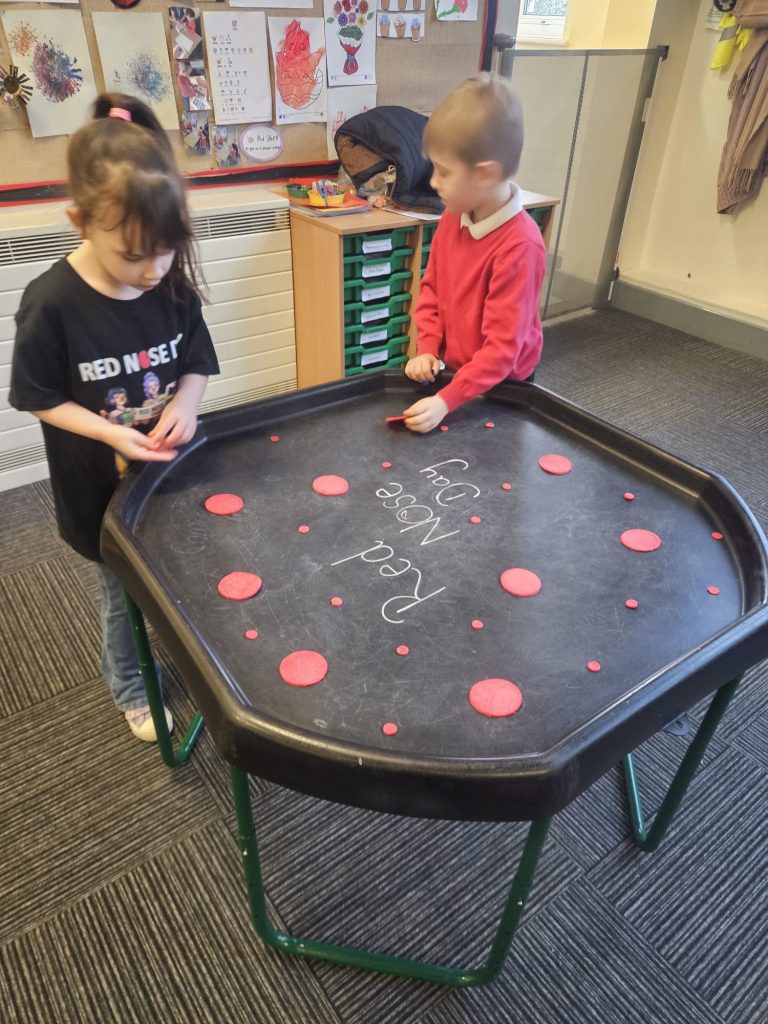
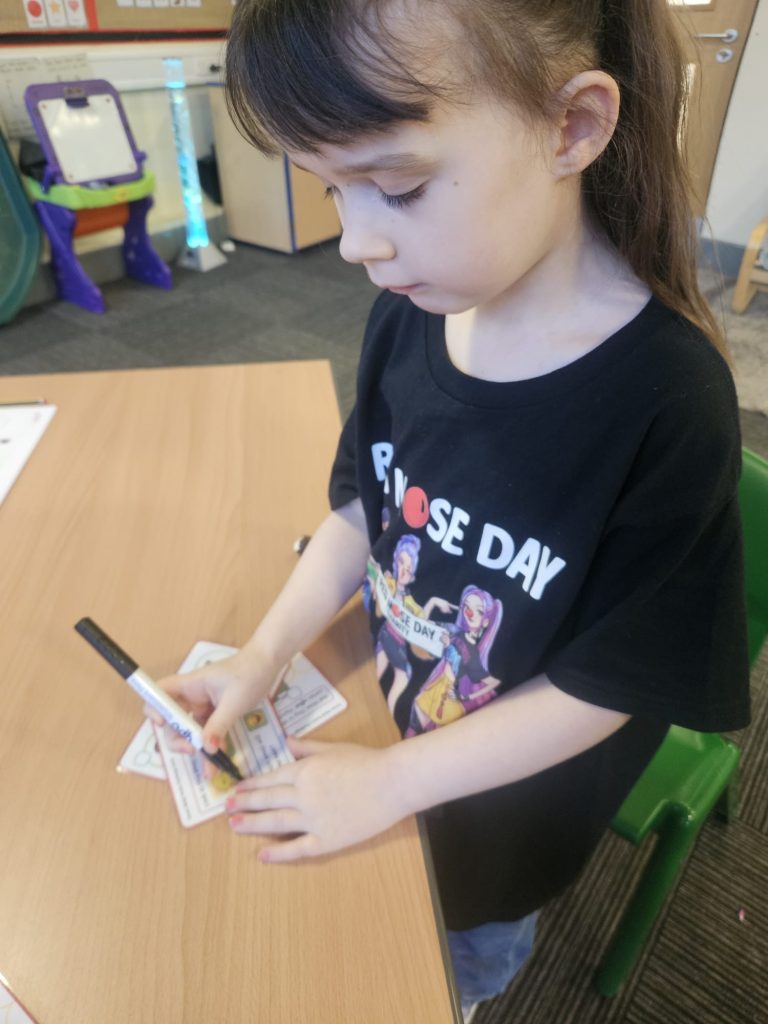
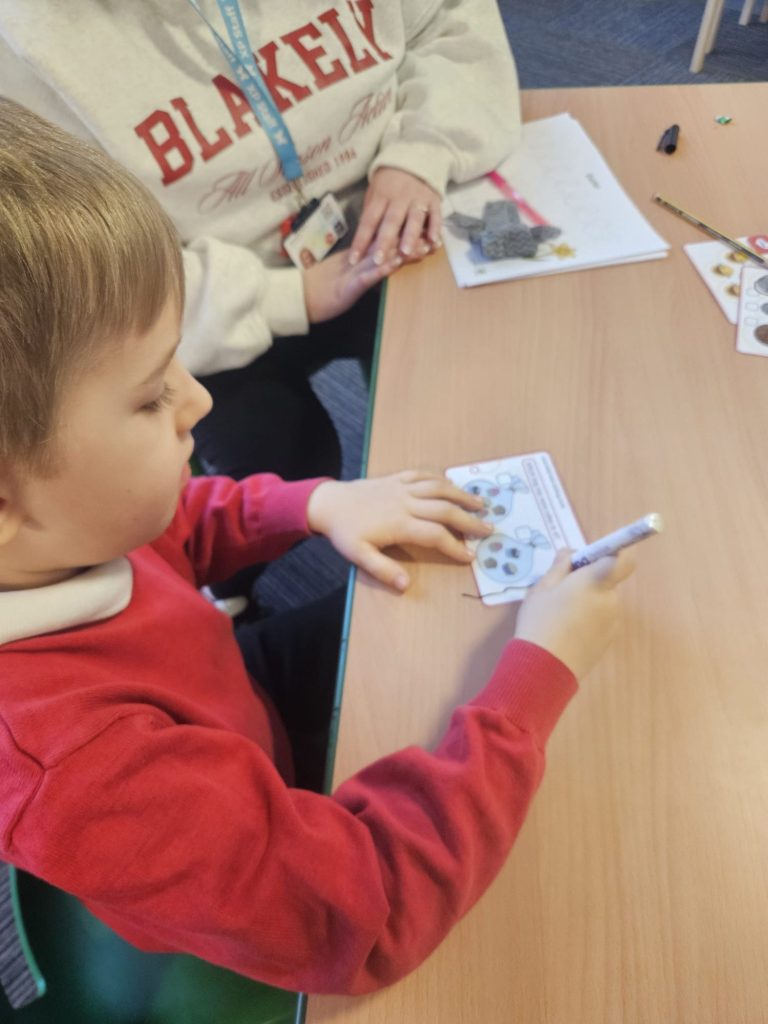
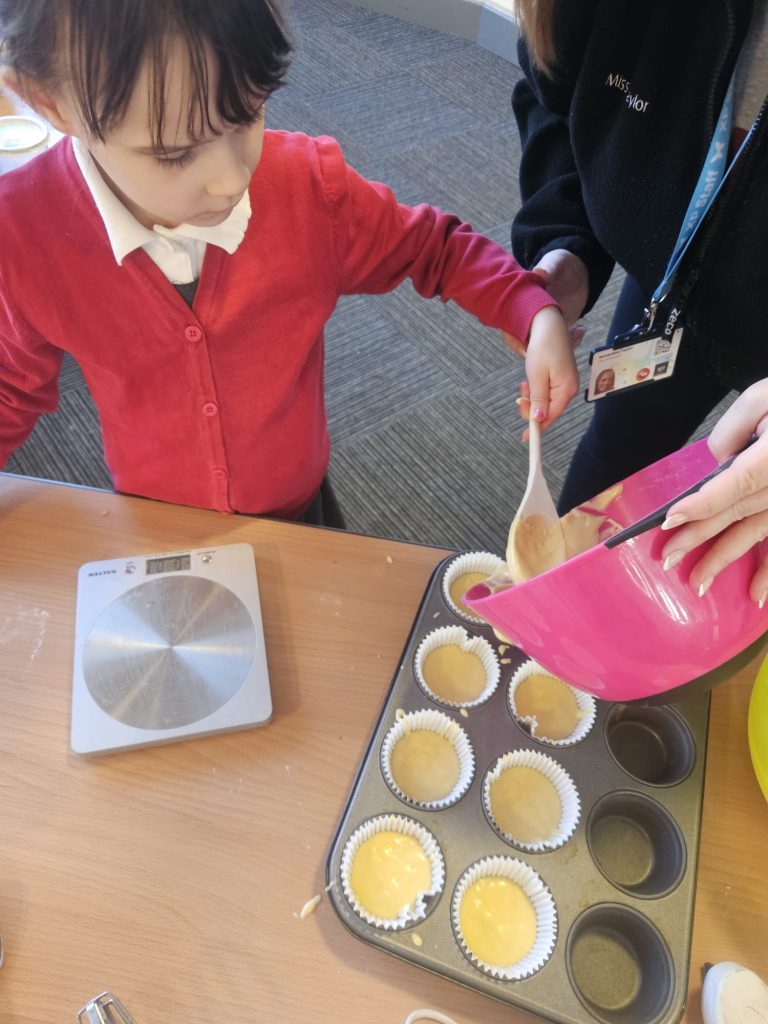
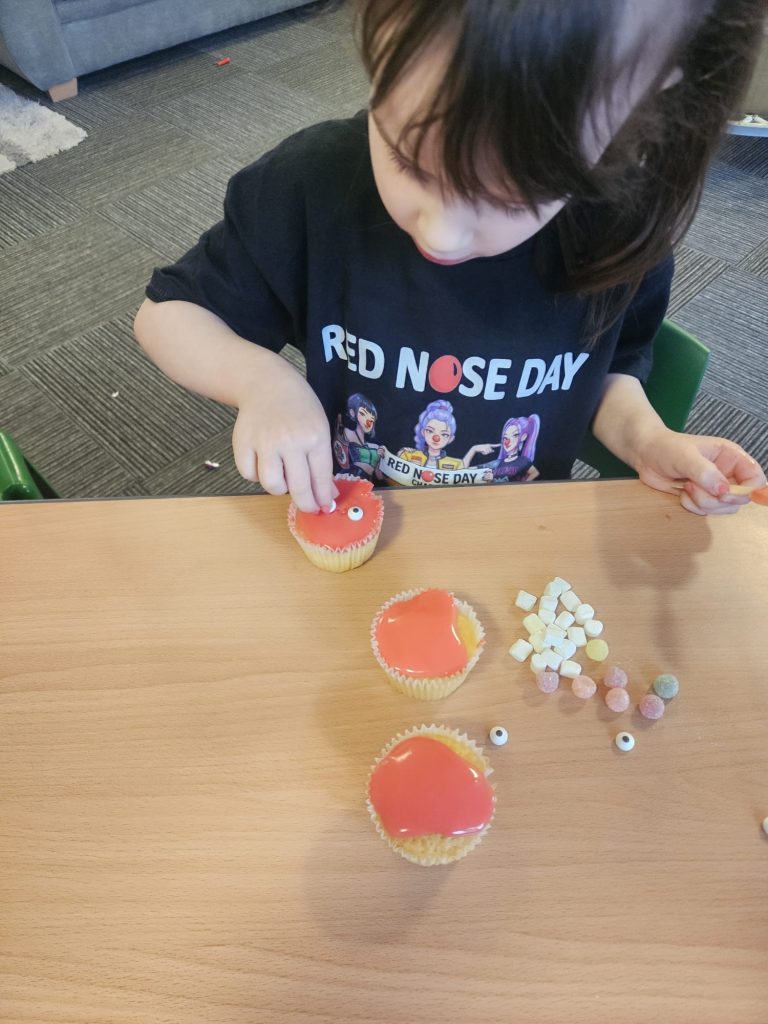
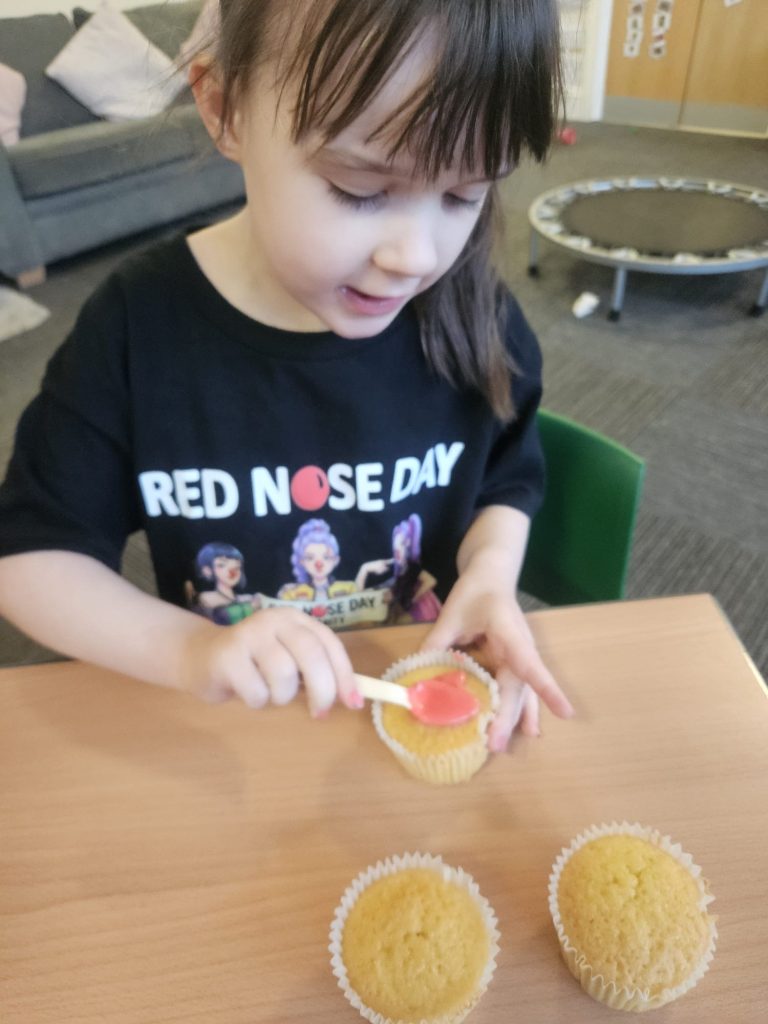
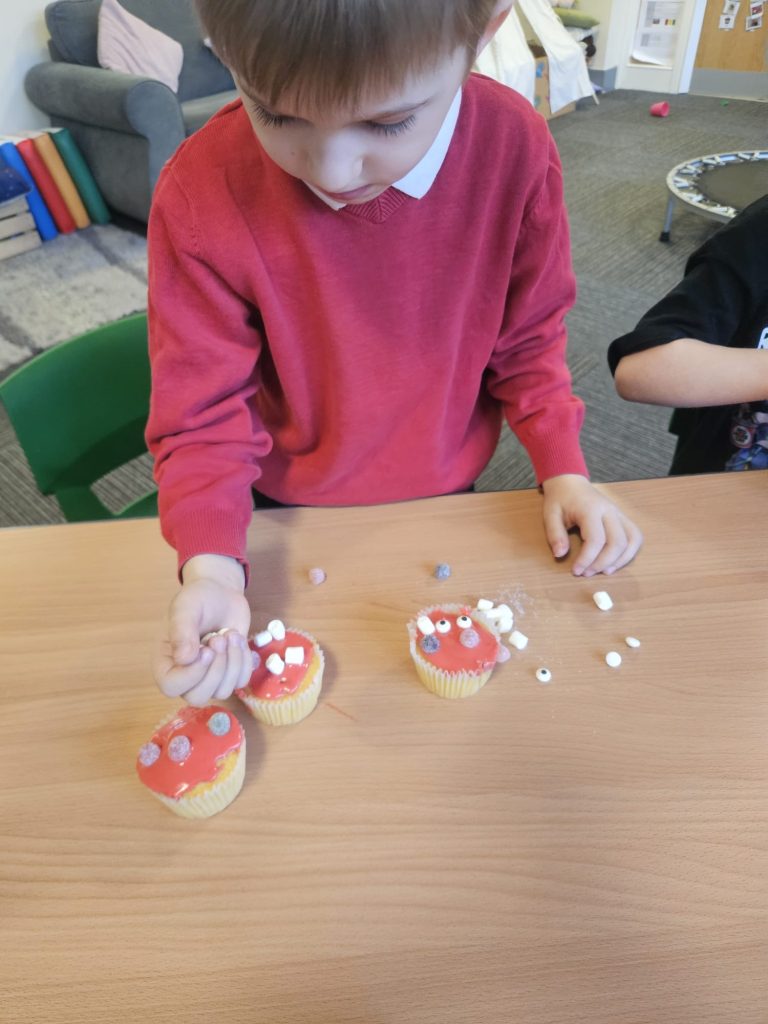
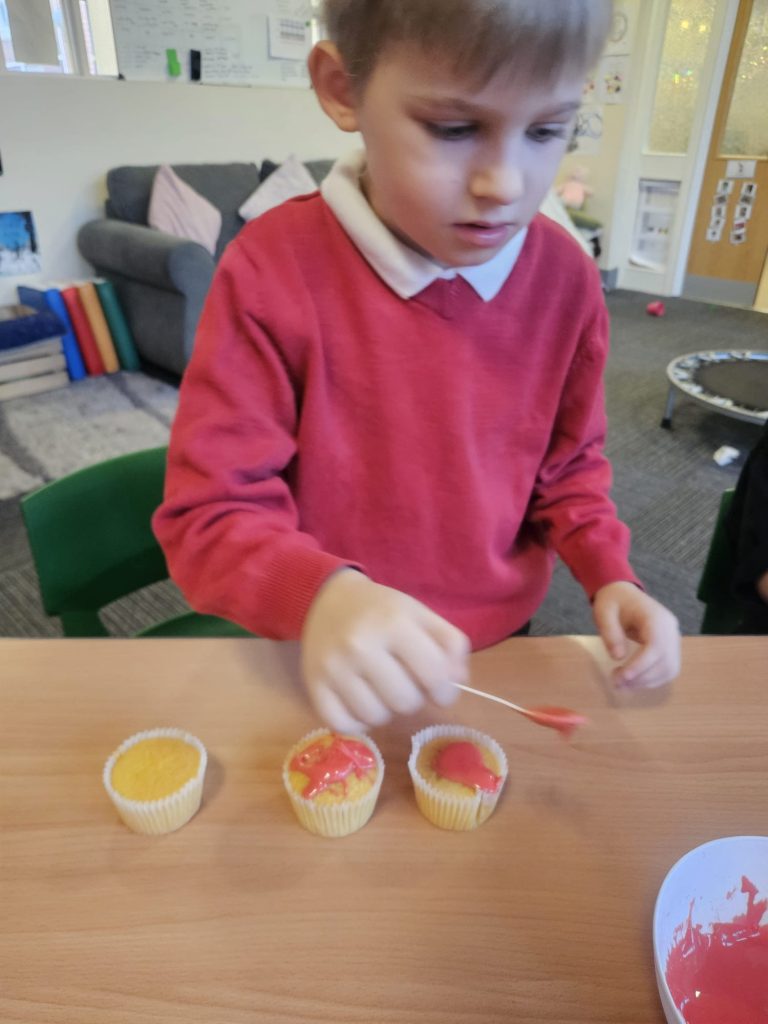
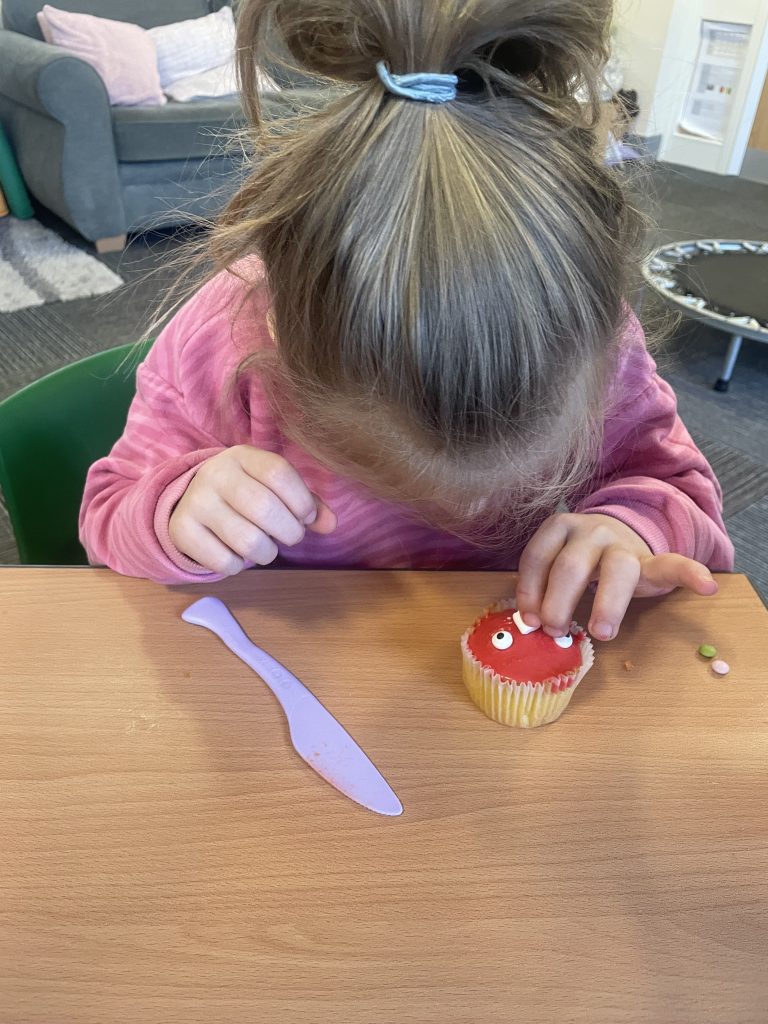
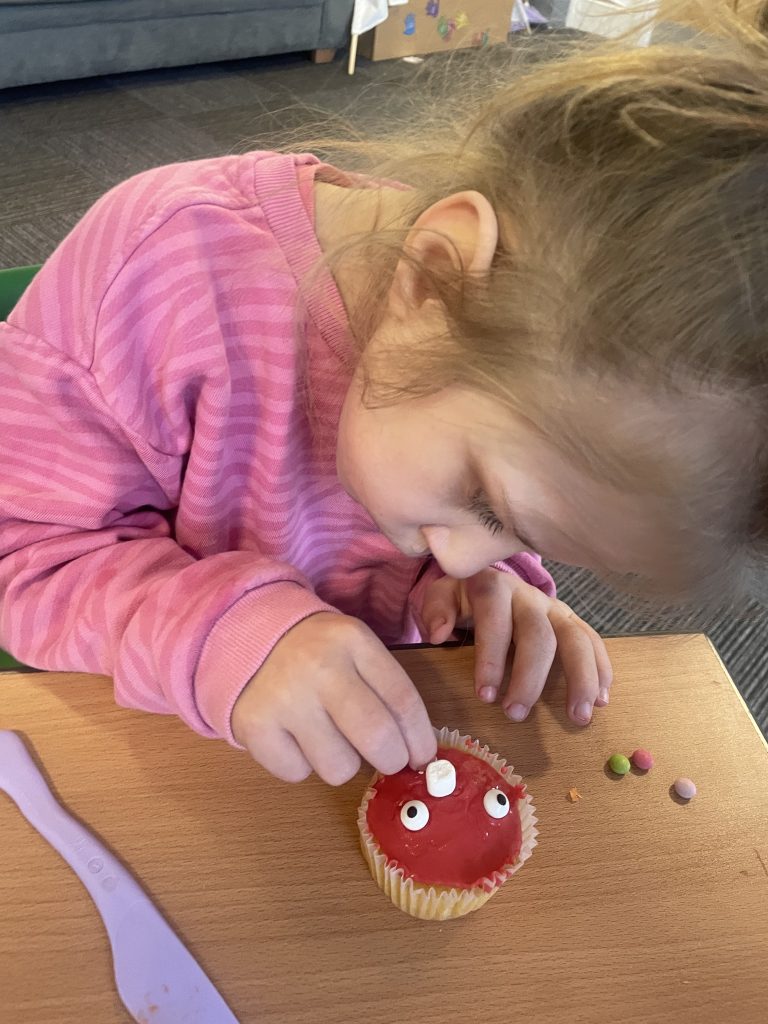
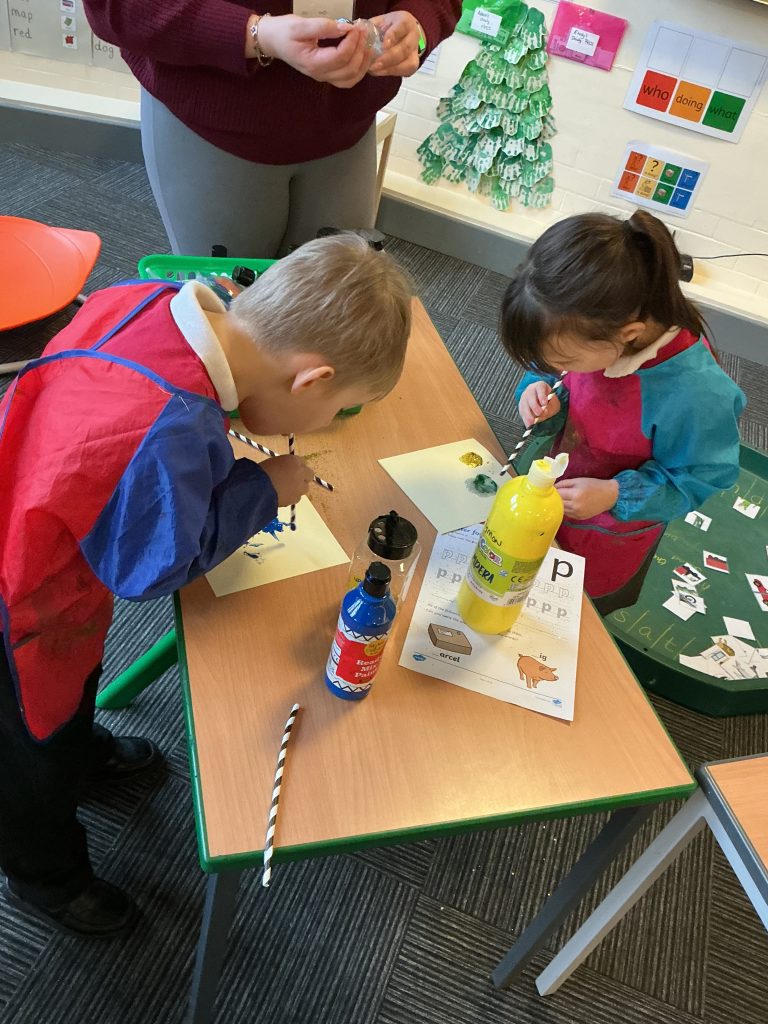
This week, we have been baking and decorating some cupcakes for Red Nose Day, and while doing this, we had discussions around fundraising and how baking and selling was one of the many ways we could raise money. We used visuals and videos to explain what Comic Relief is, and the children completed tasks based on money and feelings.
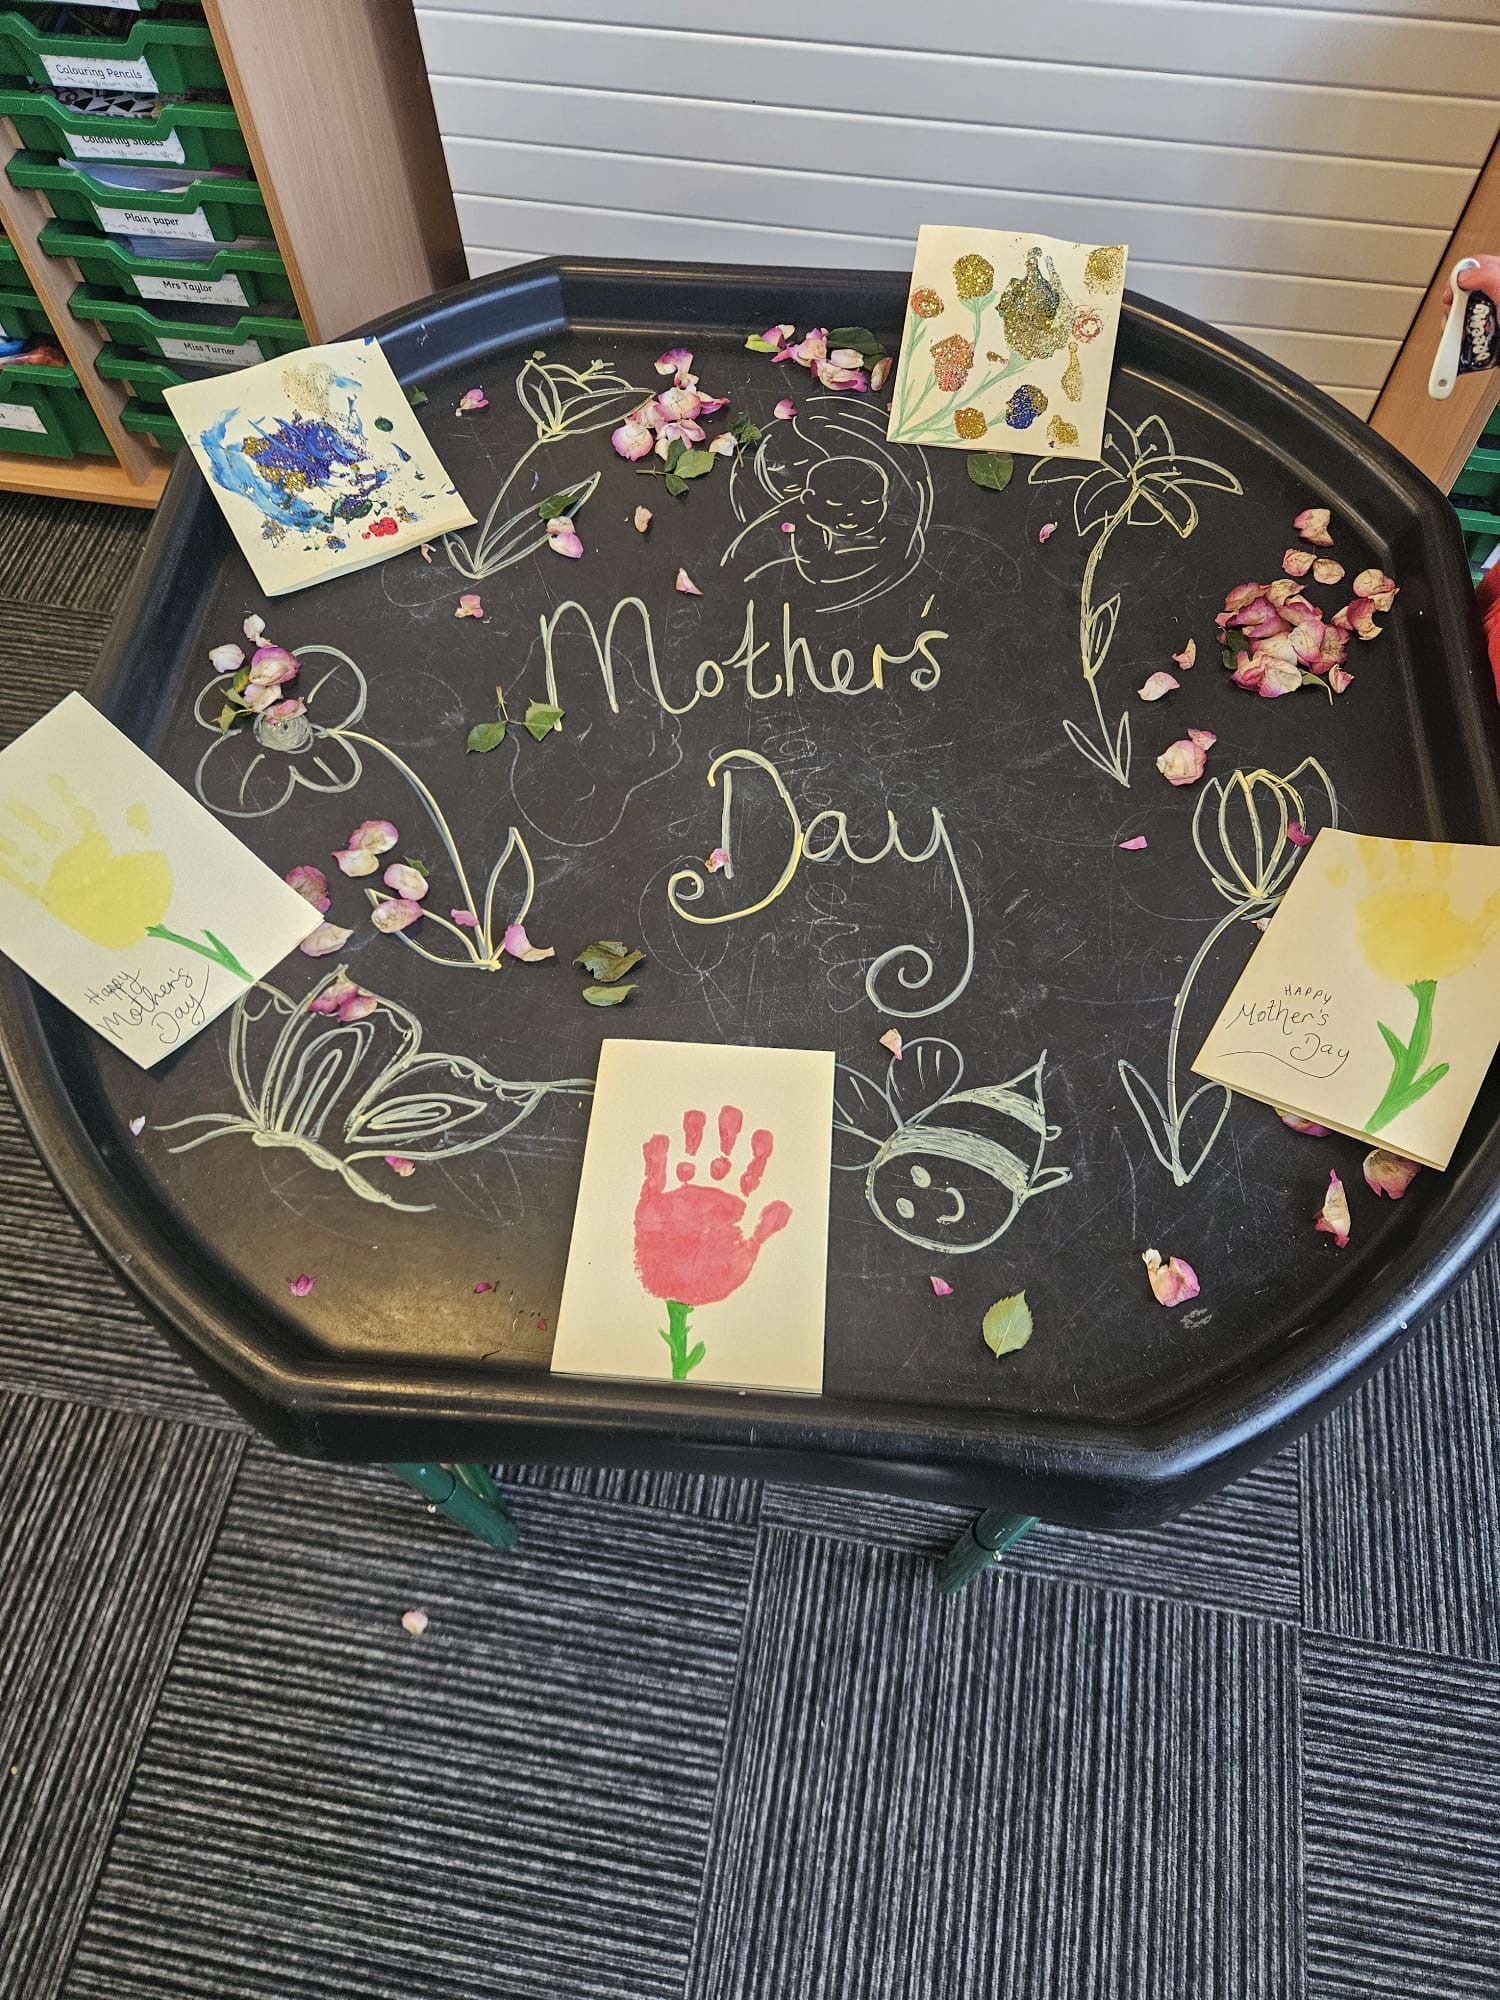
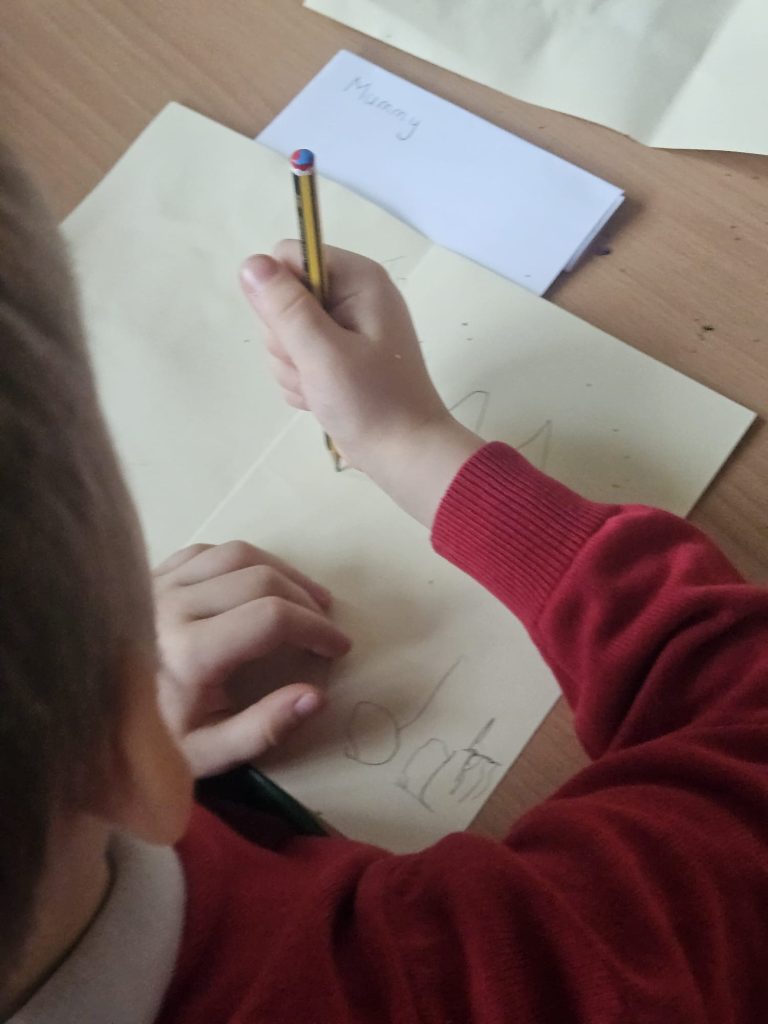
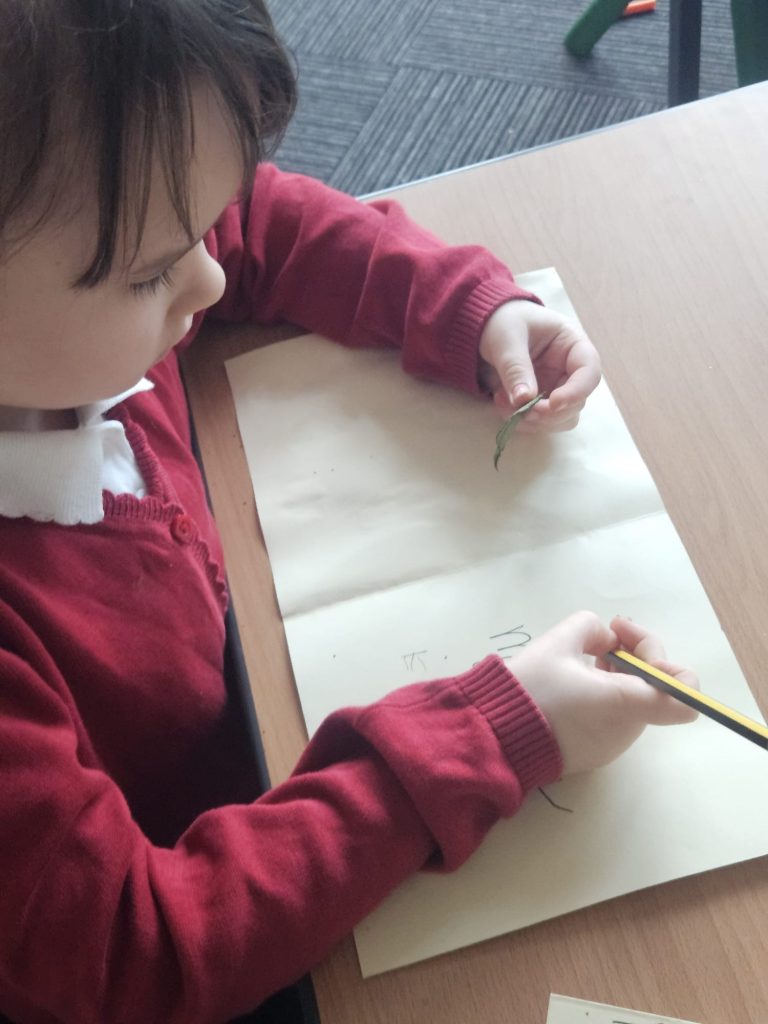
Last week the children created beautiful Mother’s Day cards using their own handprints to form bright, blooming flowers, each one as unique as the child who made it. They also explored paint blowing, carefully guiding colours across the page to create some unique shapes. As they worked, we spoke about the special people in their lives—mums, grandmothers, and other loved ones. Showing off there progress with writing inside the cards themselves.
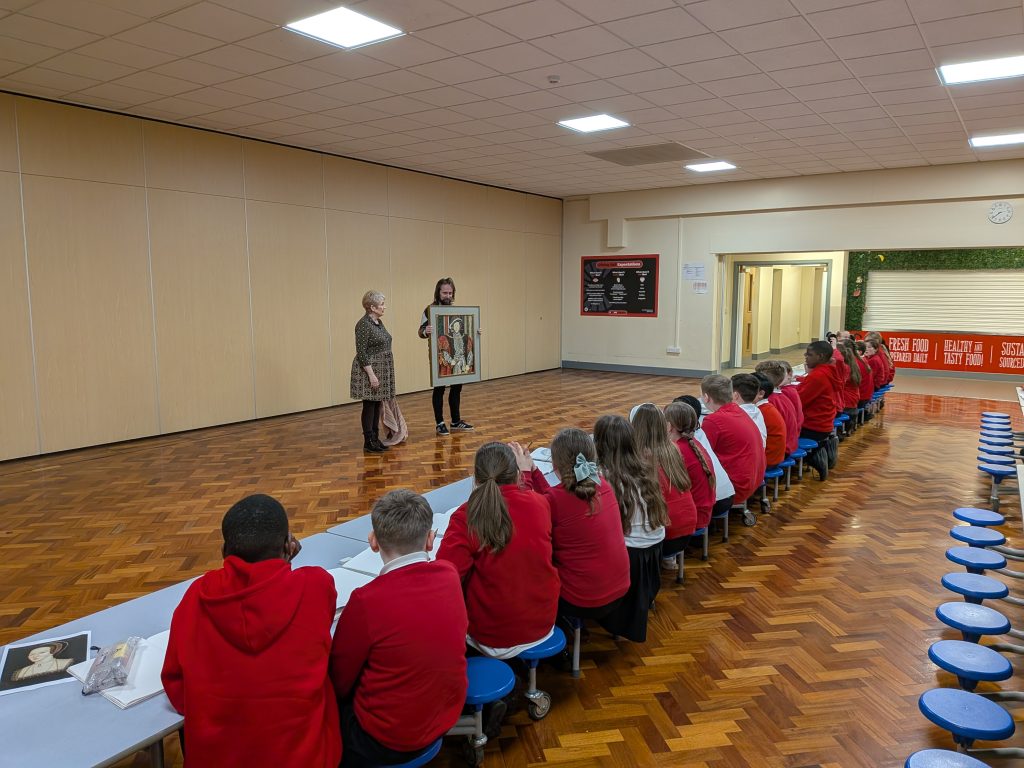
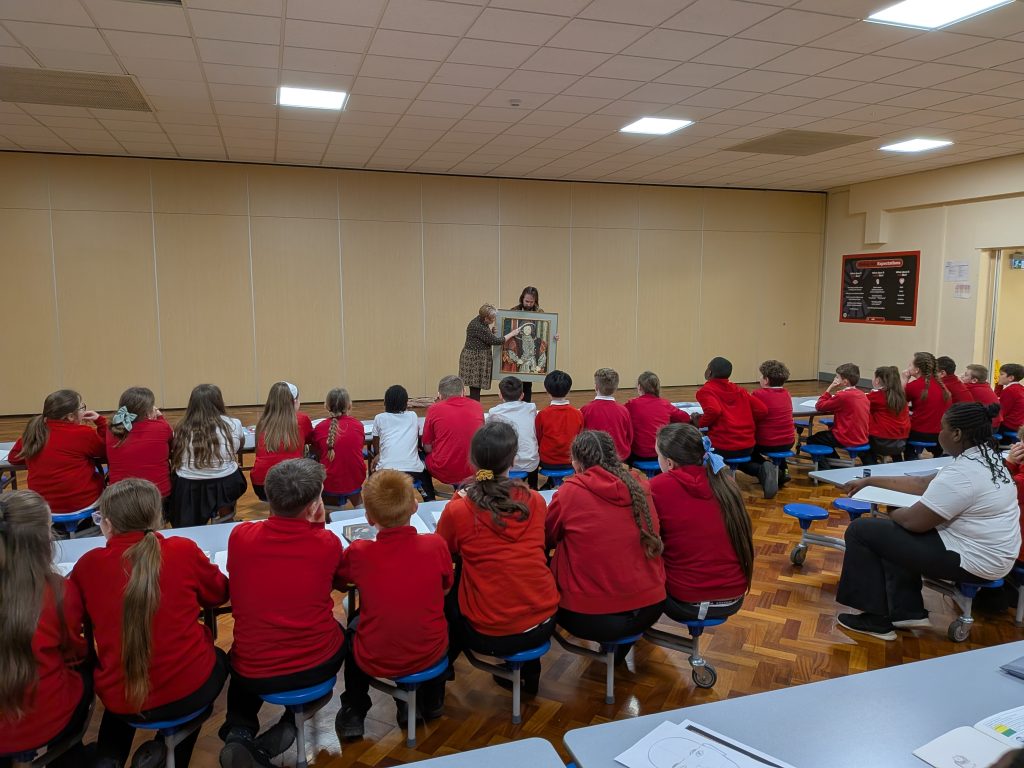
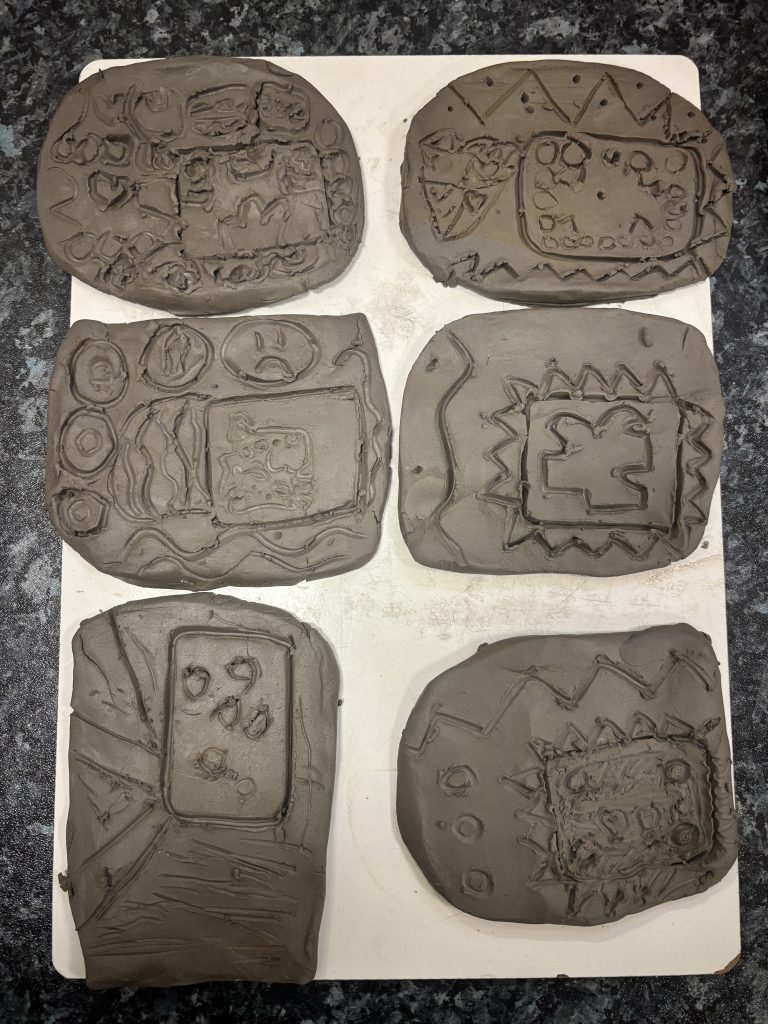
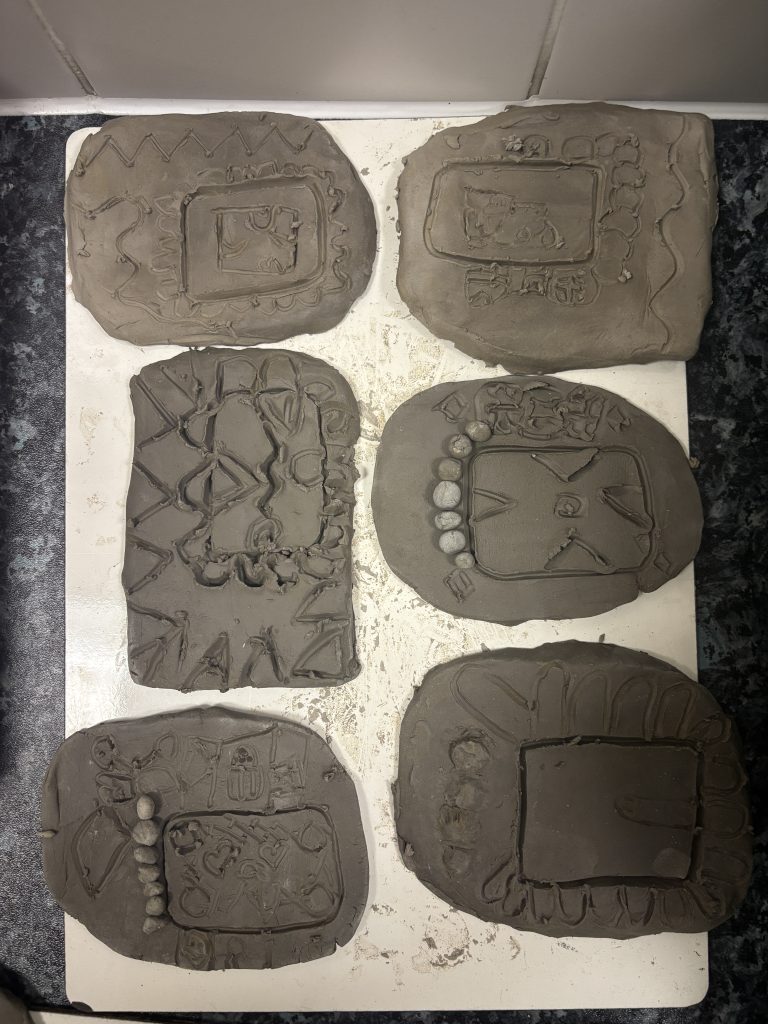
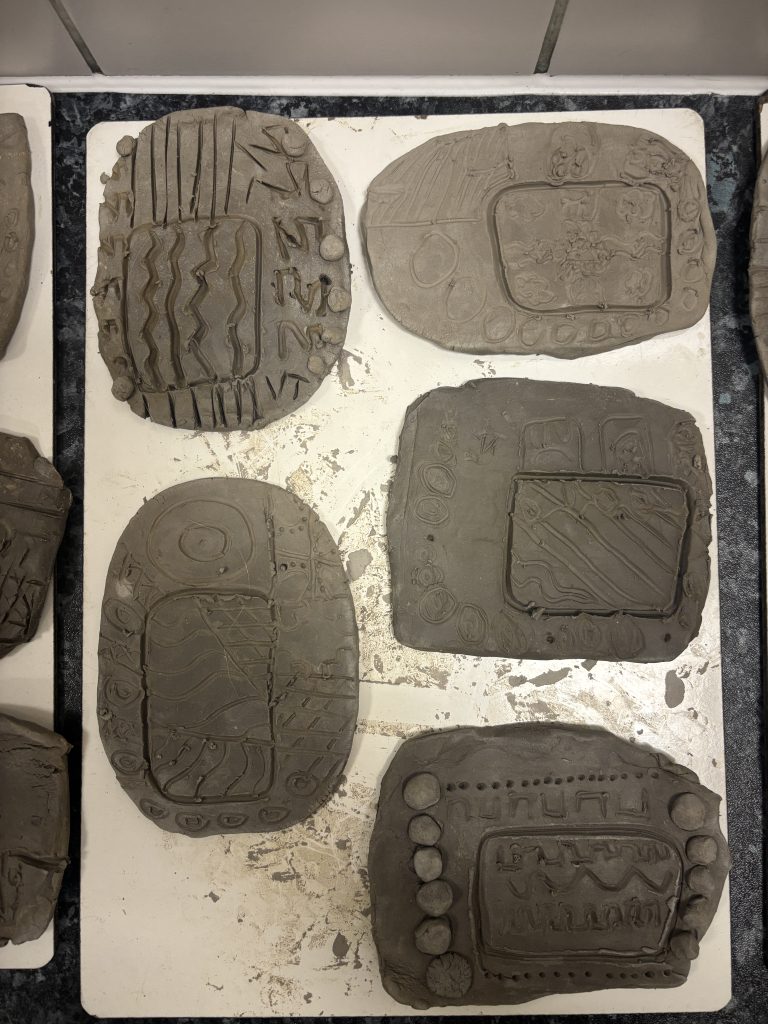
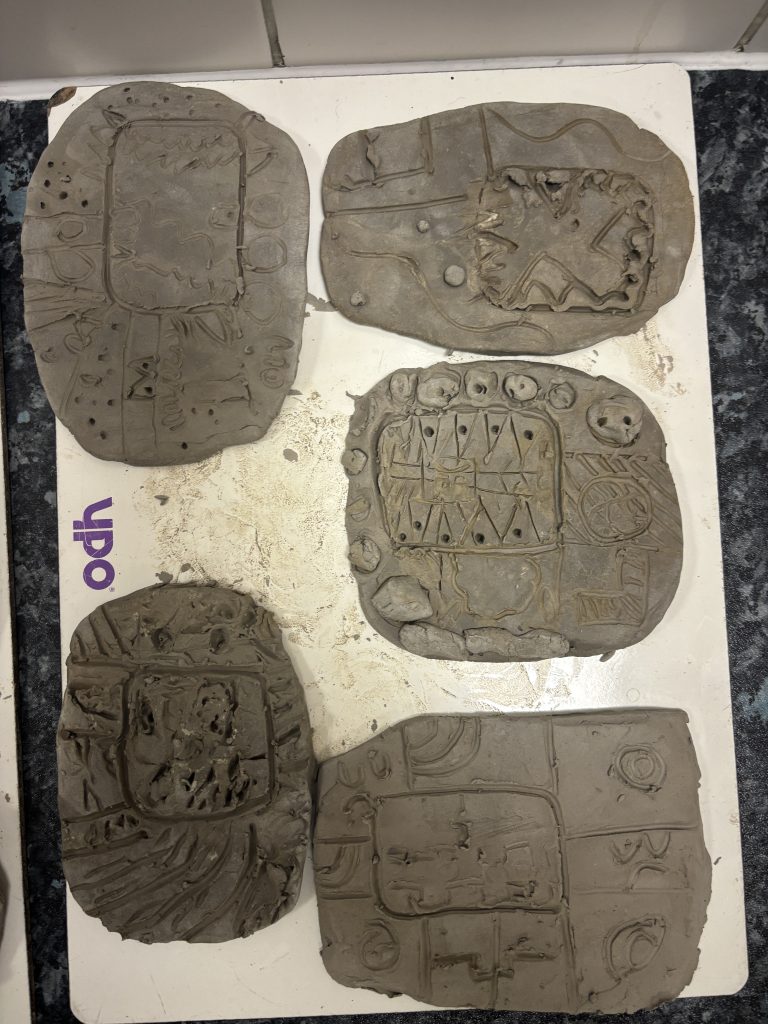
Last week, our UKS2 Crews had a very special visit from an expert artist and Tudor enthusiast. She brought with her a remarkable portrait of King Henry VIII, which had been painted for her by her father. Seeing the portrait up close was a fantastic experience for the children, as it helped bring our Tudor learning to life.
During the session, she shared fascinating information about Hans Holbein the Younger, one of the most famous artists of the Tudor period. Holbein is well known for painting incredibly detailed and realistic portraits of important figures at the court of Henry VIII. His paintings were not just about showing what someone looked like — they were carefully designed to show power, wealth and status.
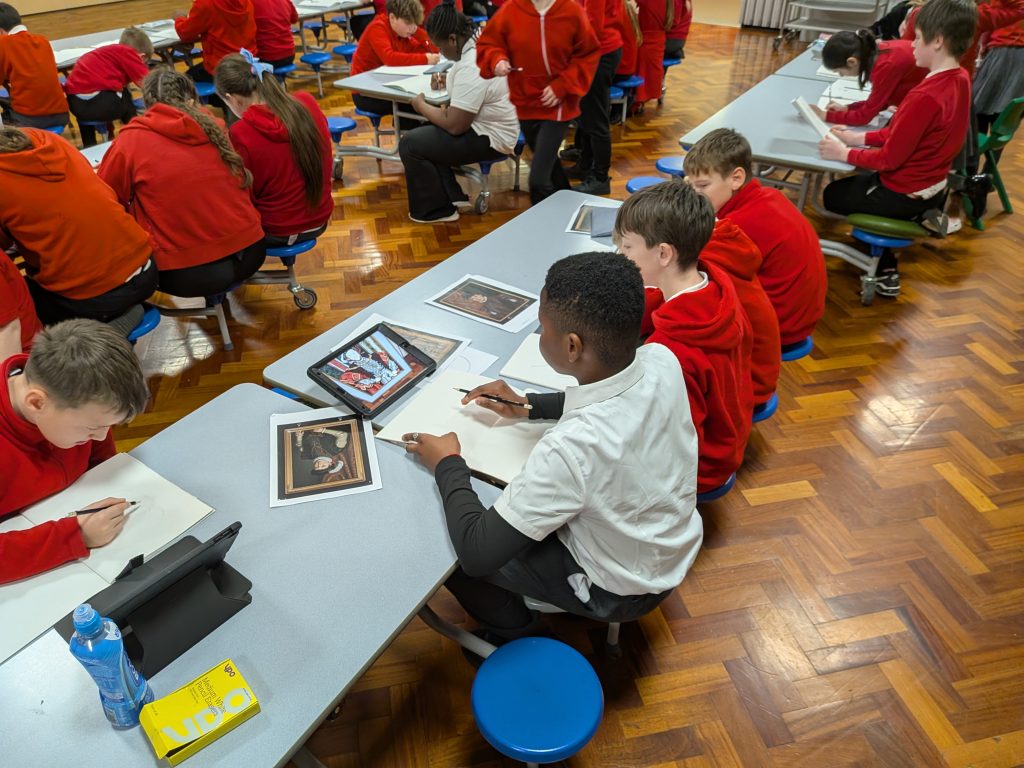
We looked closely at some of the features that made Holbein’s portraits so distinctive. The children noticed the rich fabrics, detailed jewellery and confident poses used to show the importance of the people being painted. We also discussed how artists used colour, position and symbolism to send a message about the subject.
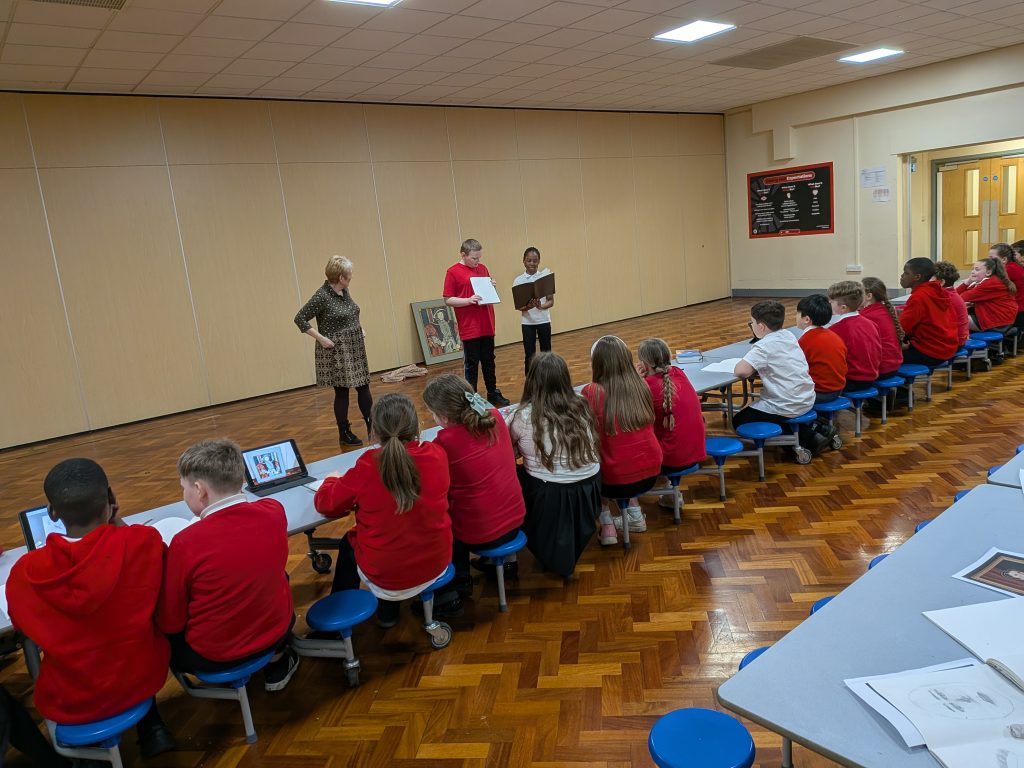
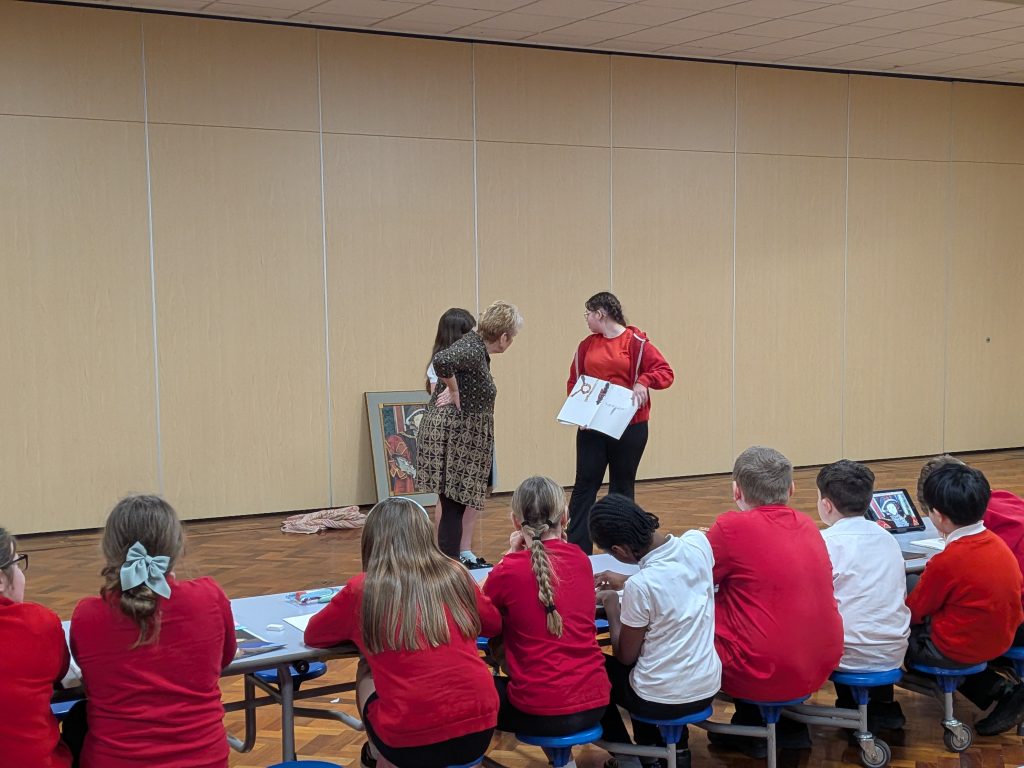
Our visitor also gave the class some helpful critique and advice about their own Tudor portrait work. She encouraged the children to think carefully about proportion, detail and expression, just as artists like Holbein would have done hundreds of years ago.
The session was a brilliant opportunity to combine history and art, helping the children understand not only what Tudor portraits looked like, but also why they were created in that way. It was a memorable experience and gave everyone lots of inspiration as we continue developing our own Tudor-style portraits.
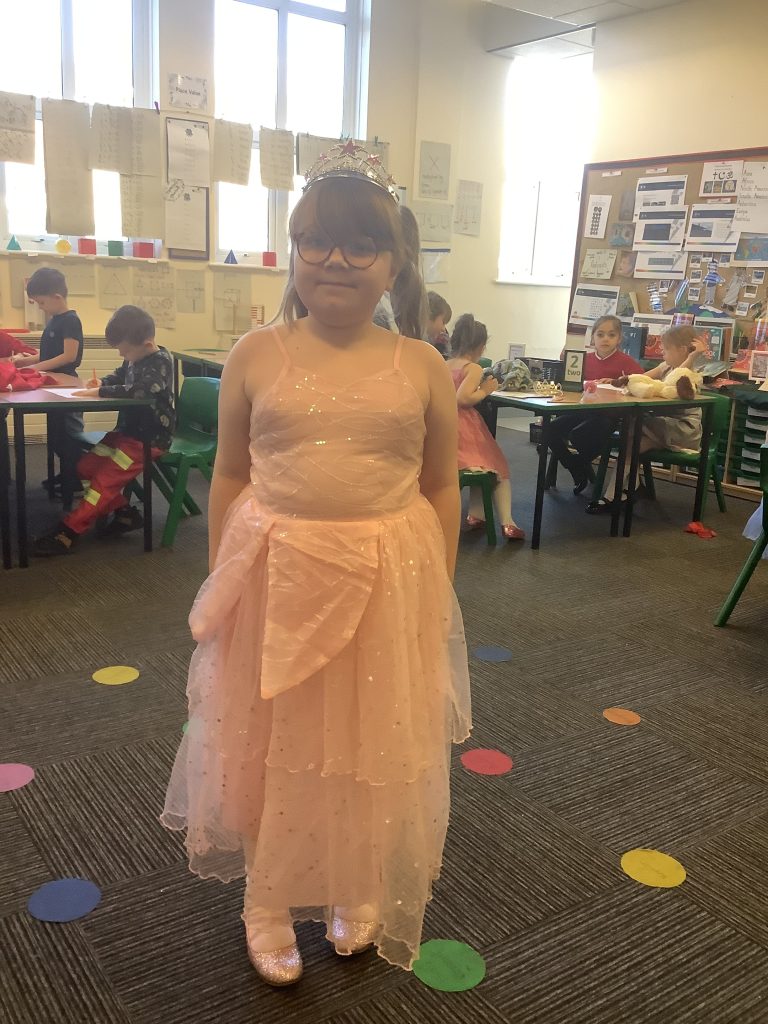
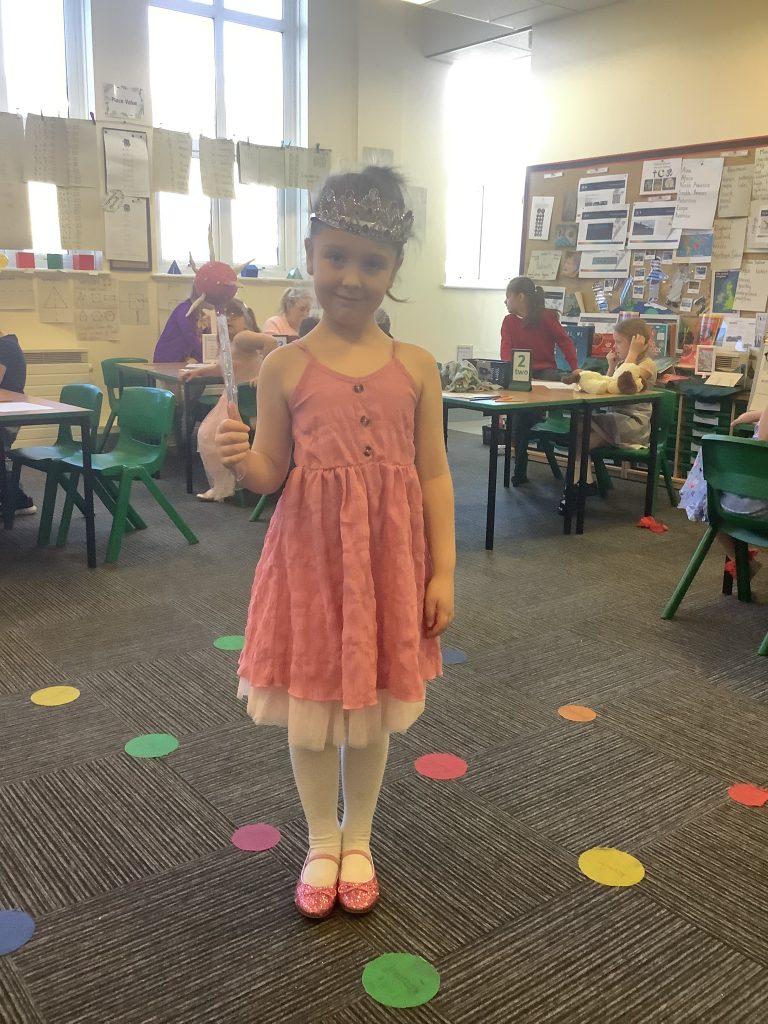
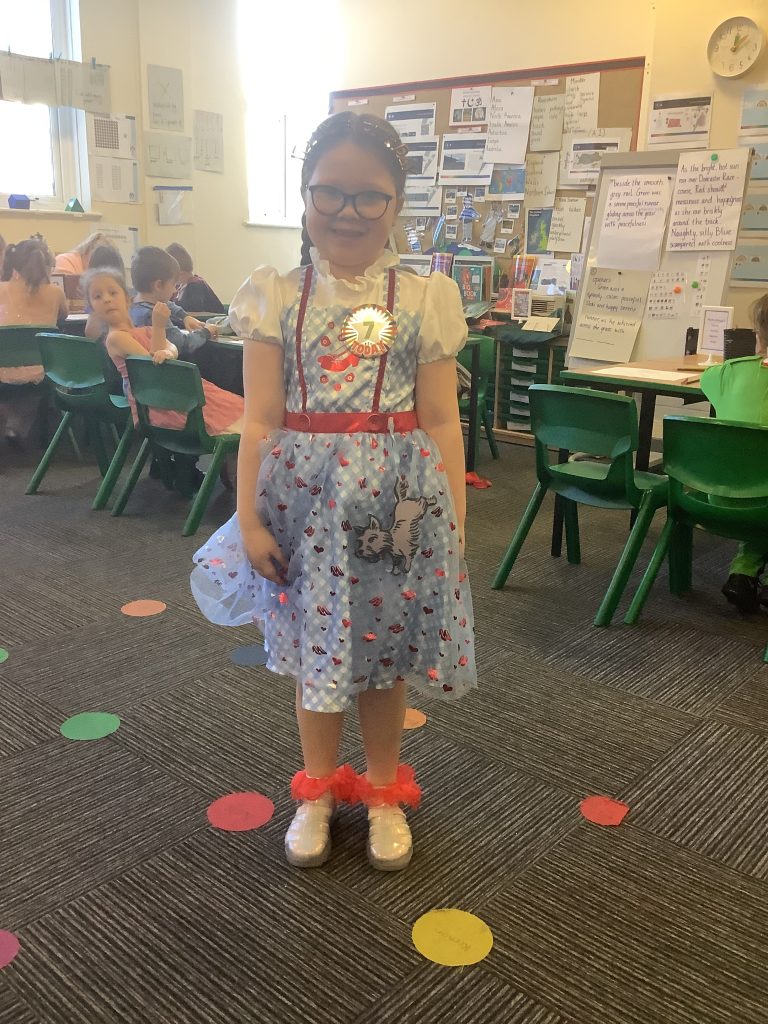
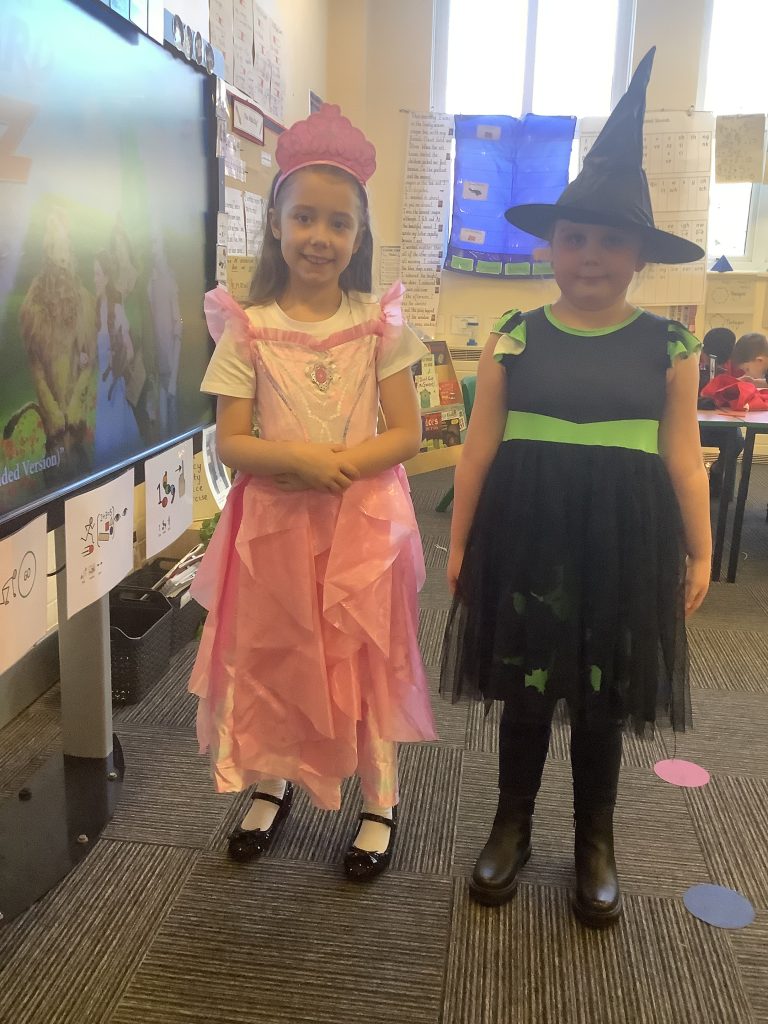
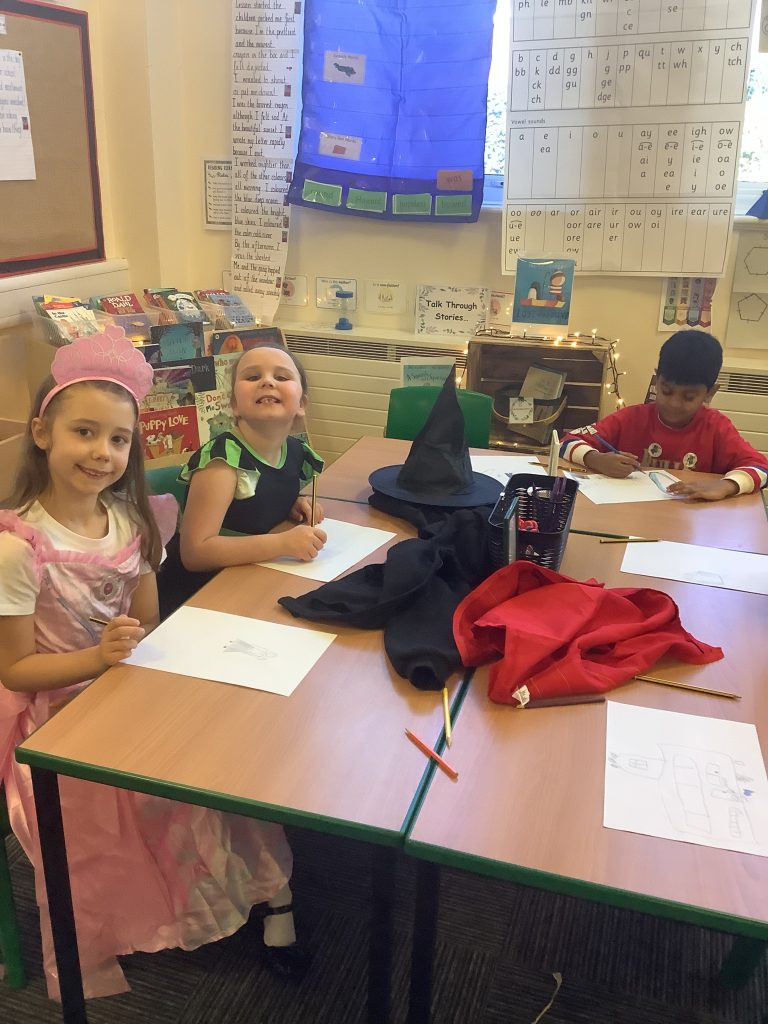
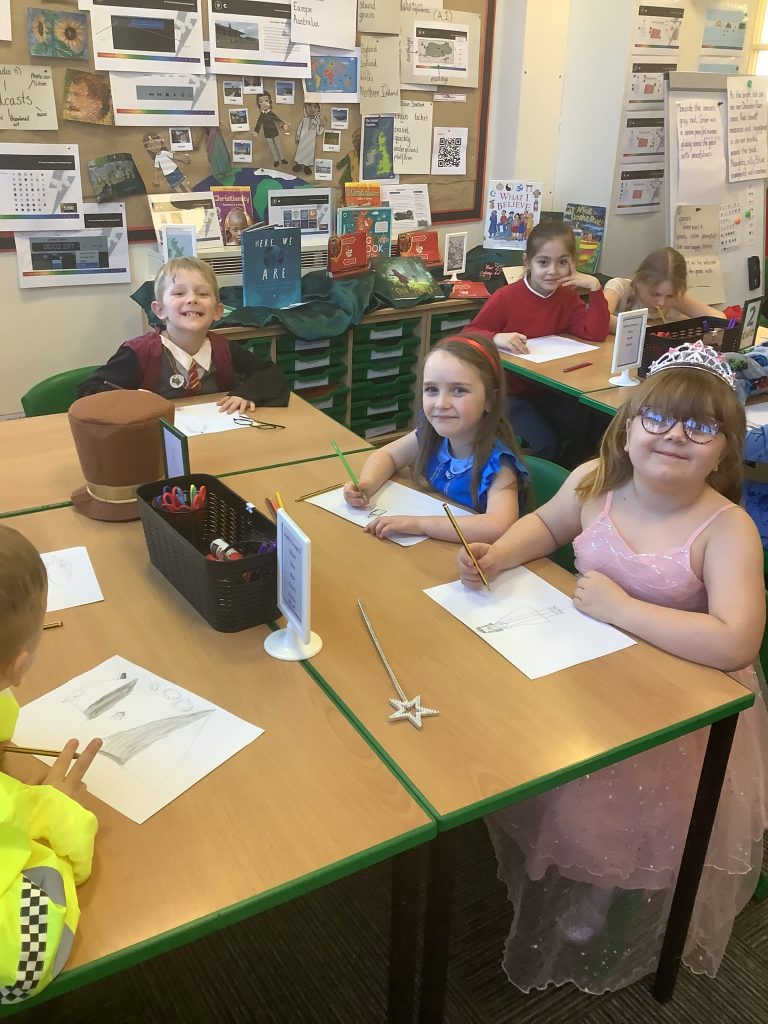
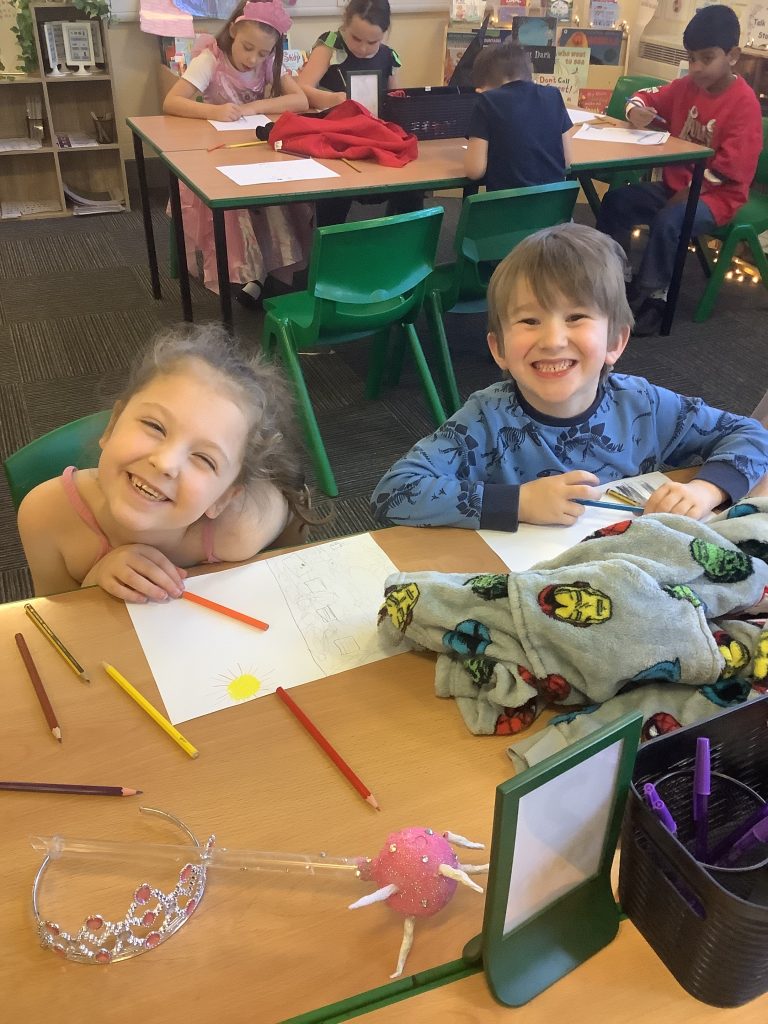
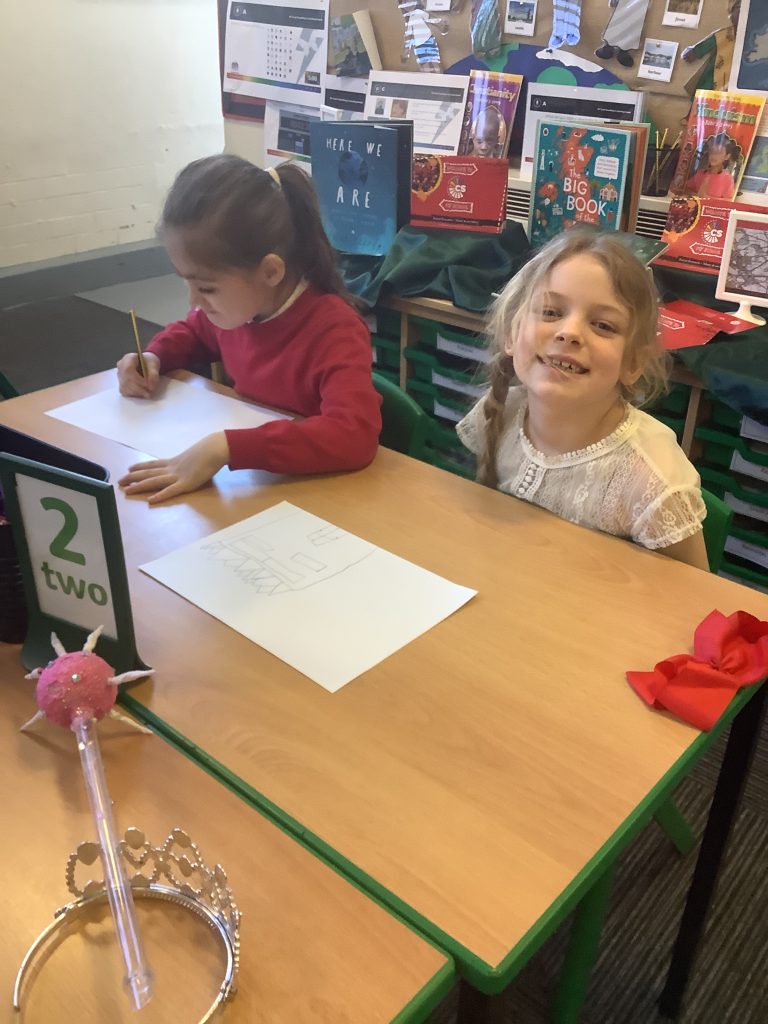
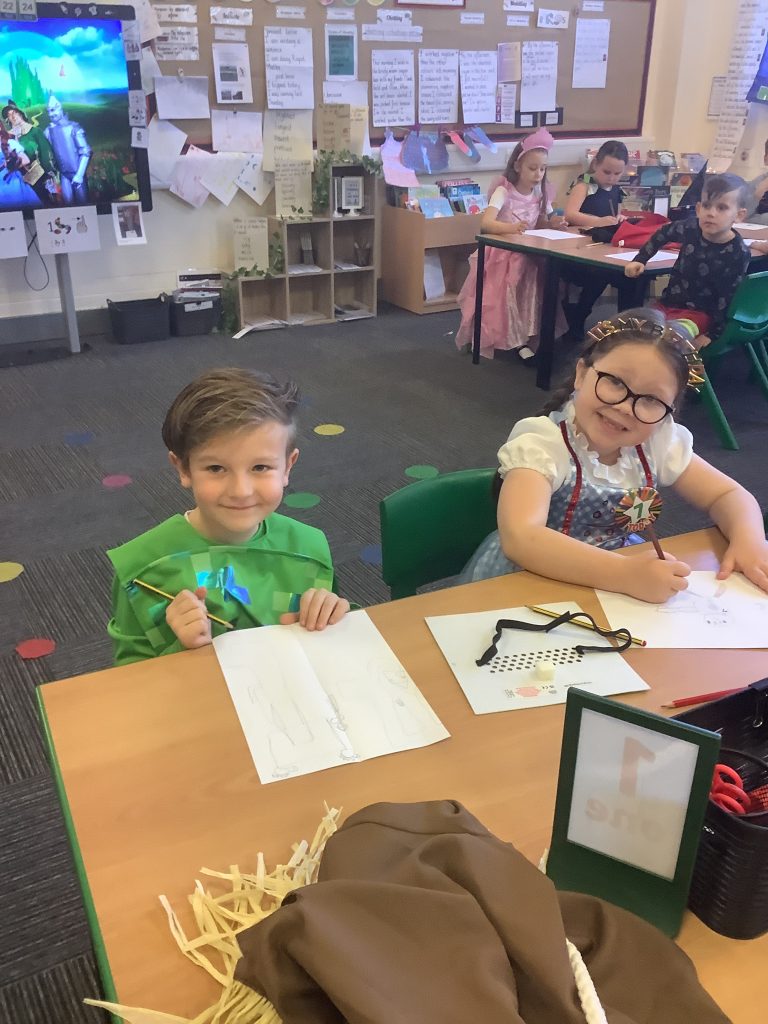
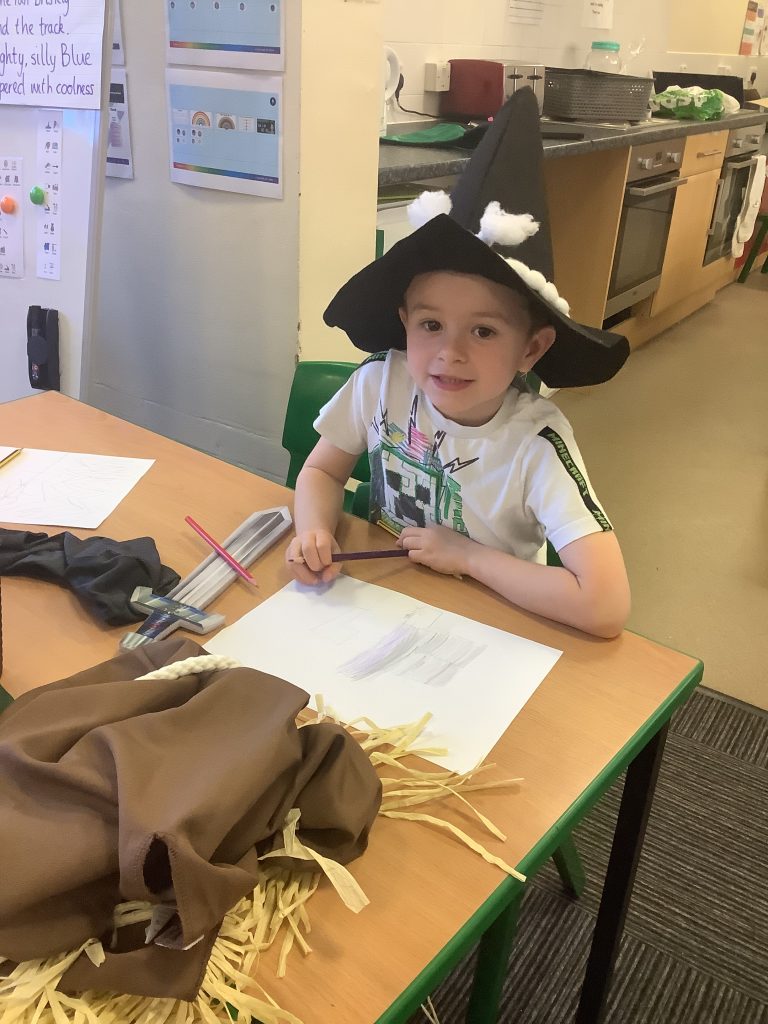
We watched a video of Dorothy seeing colour for the first time in Oz and then created some inspired drawings. The children were given autonomy to create whatever they wanted with the theme, ‘the colours of Oz.’ Here they are enjoying some creative literary time!
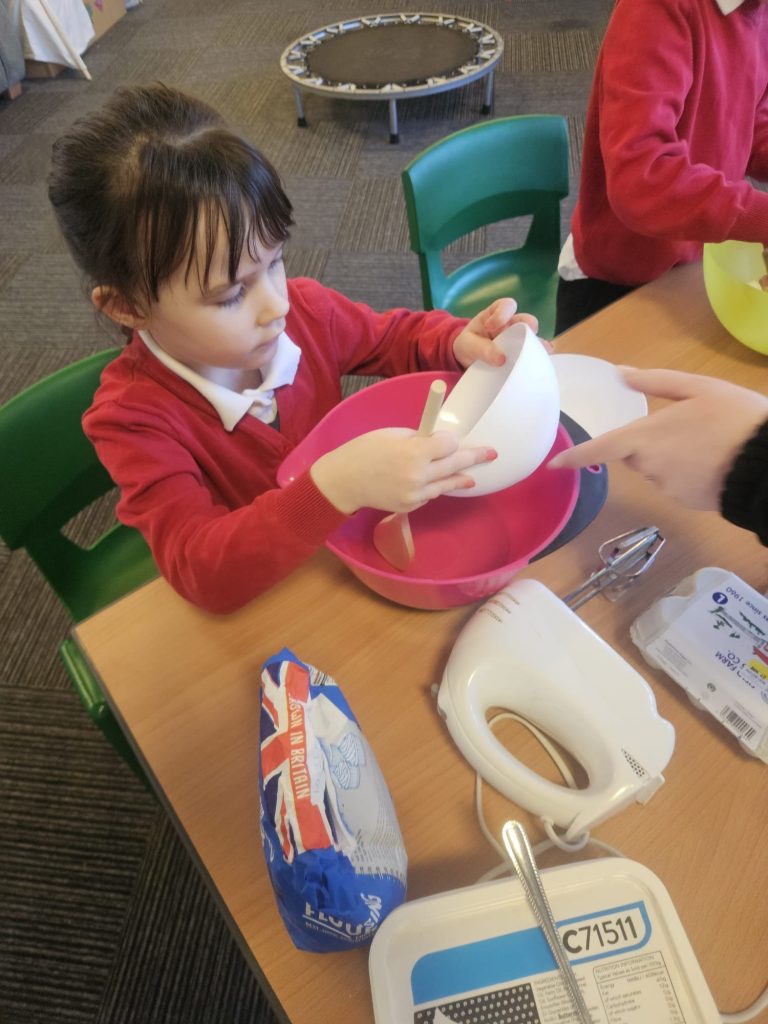
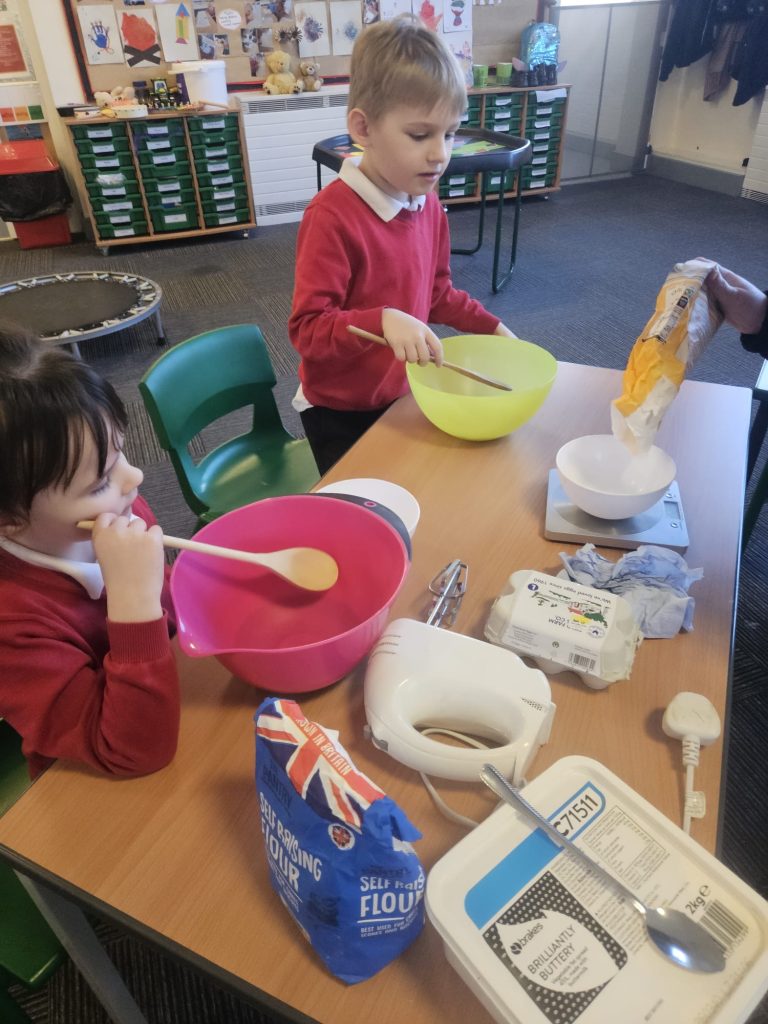
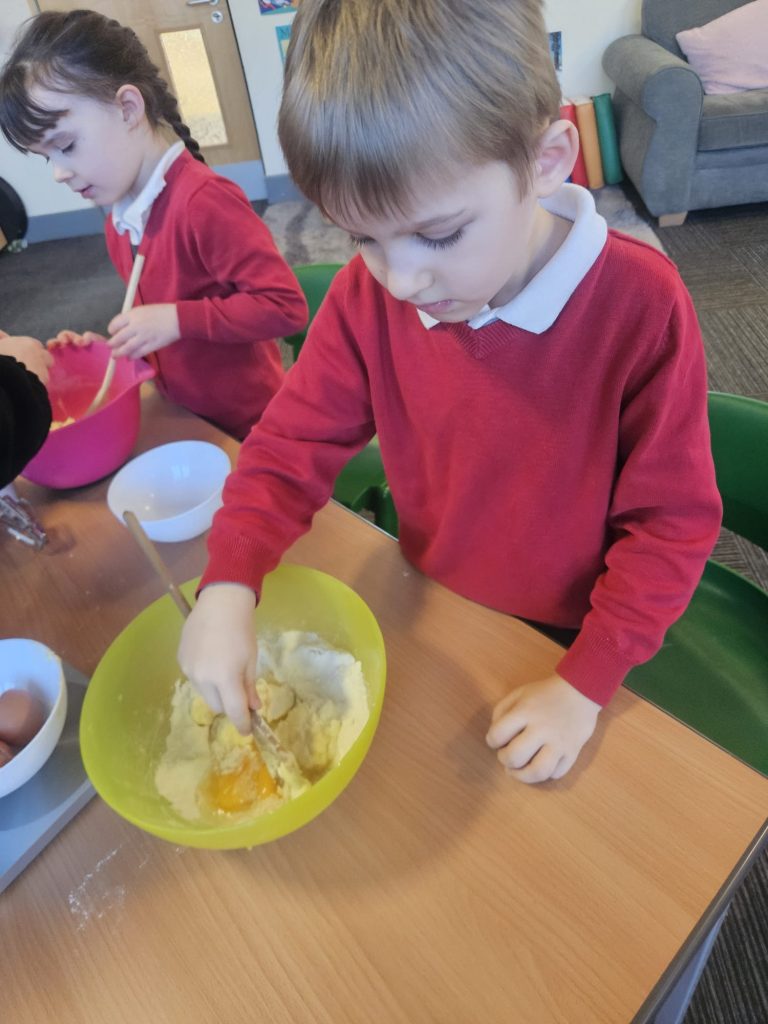
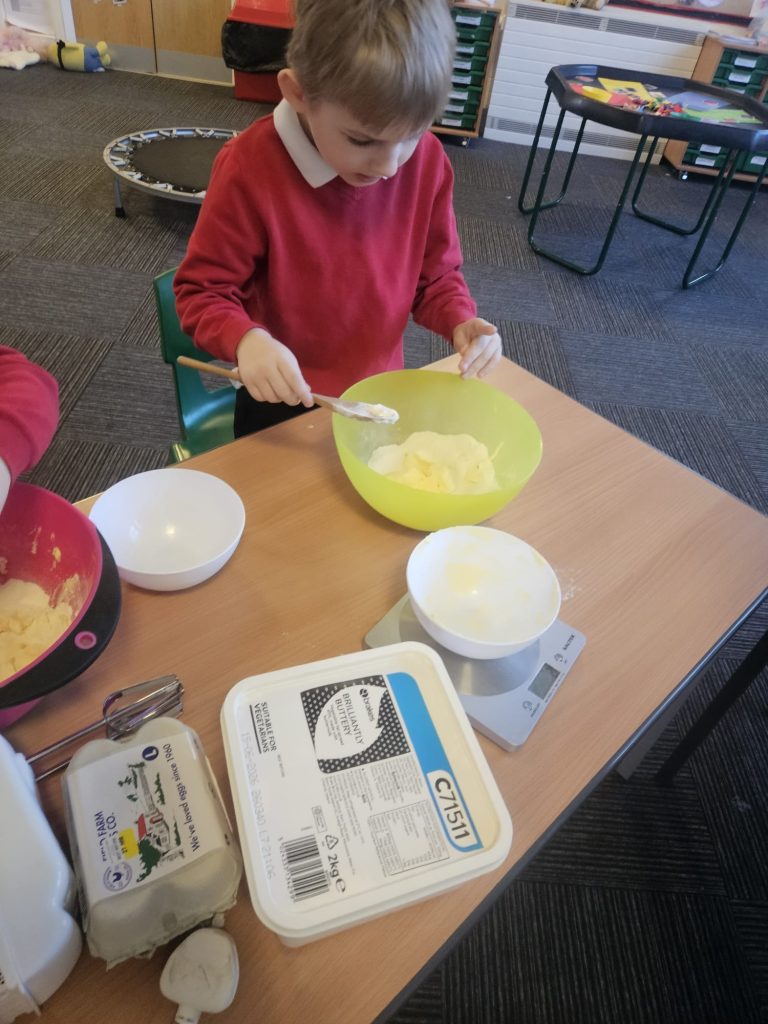
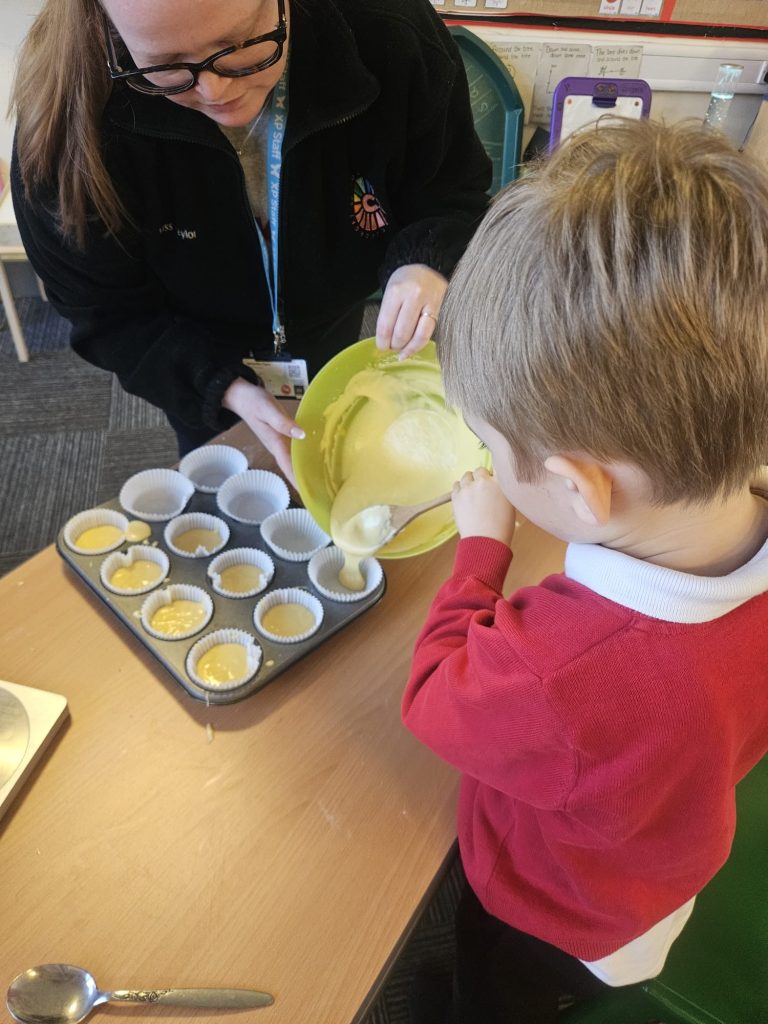
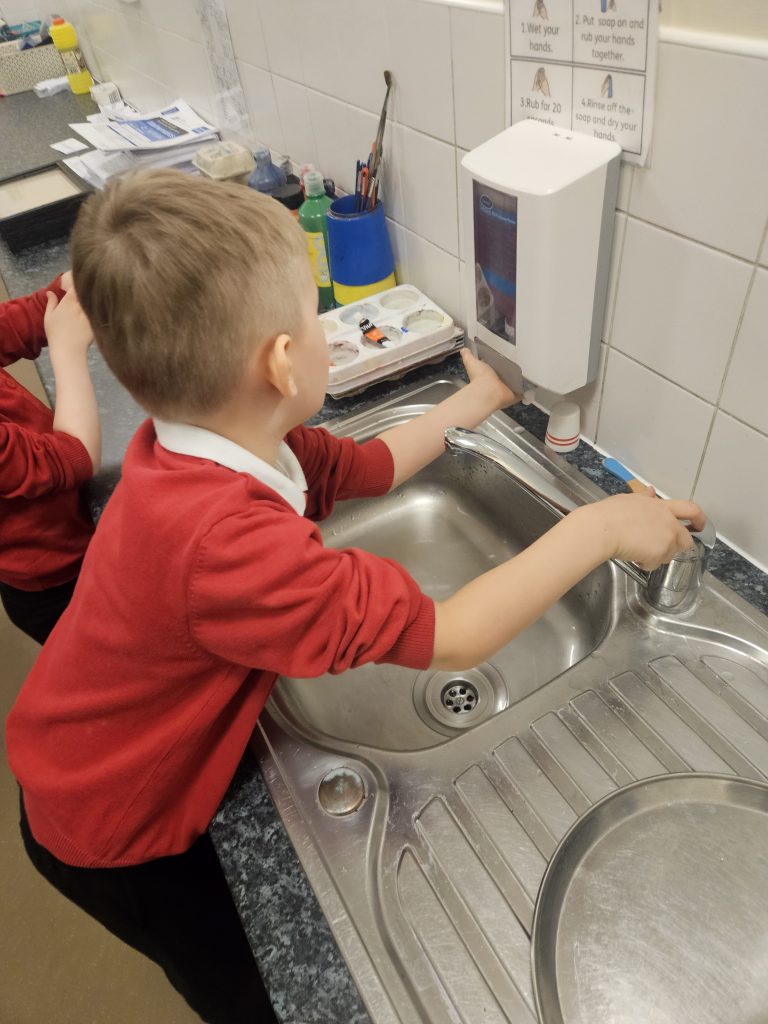
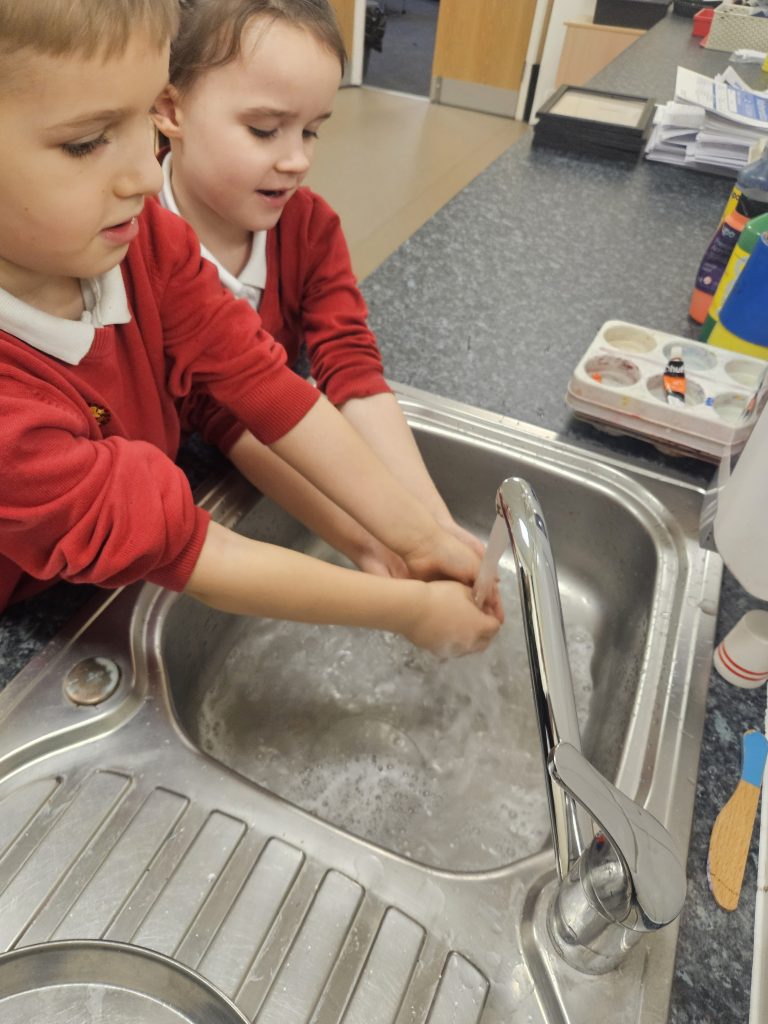
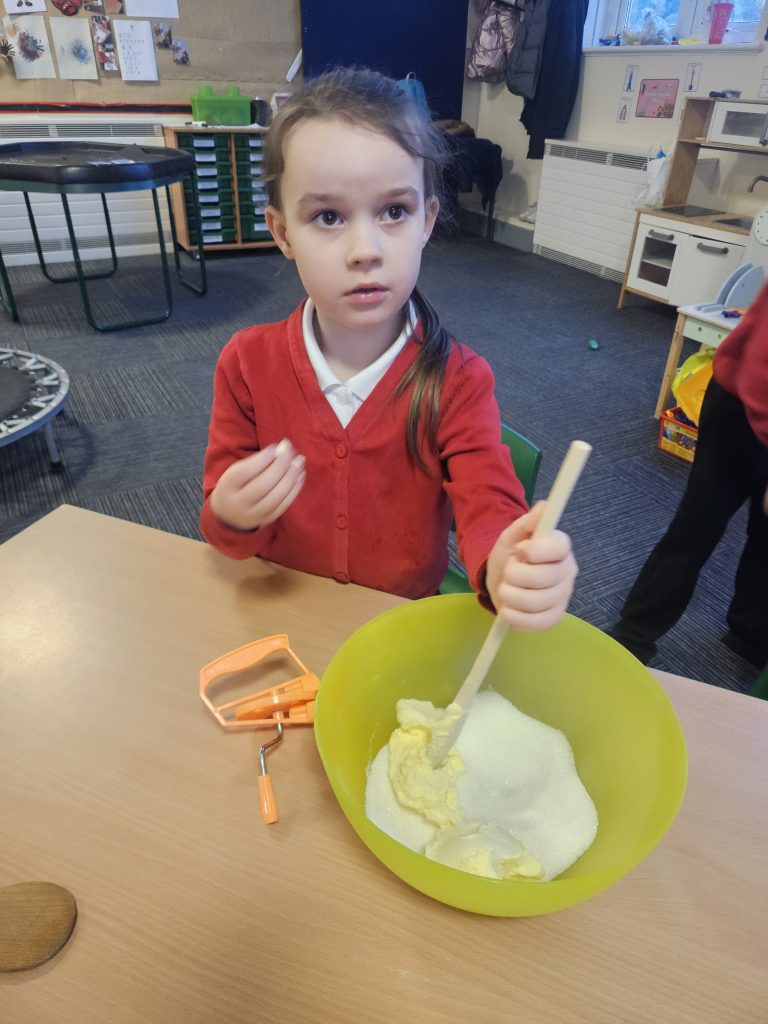
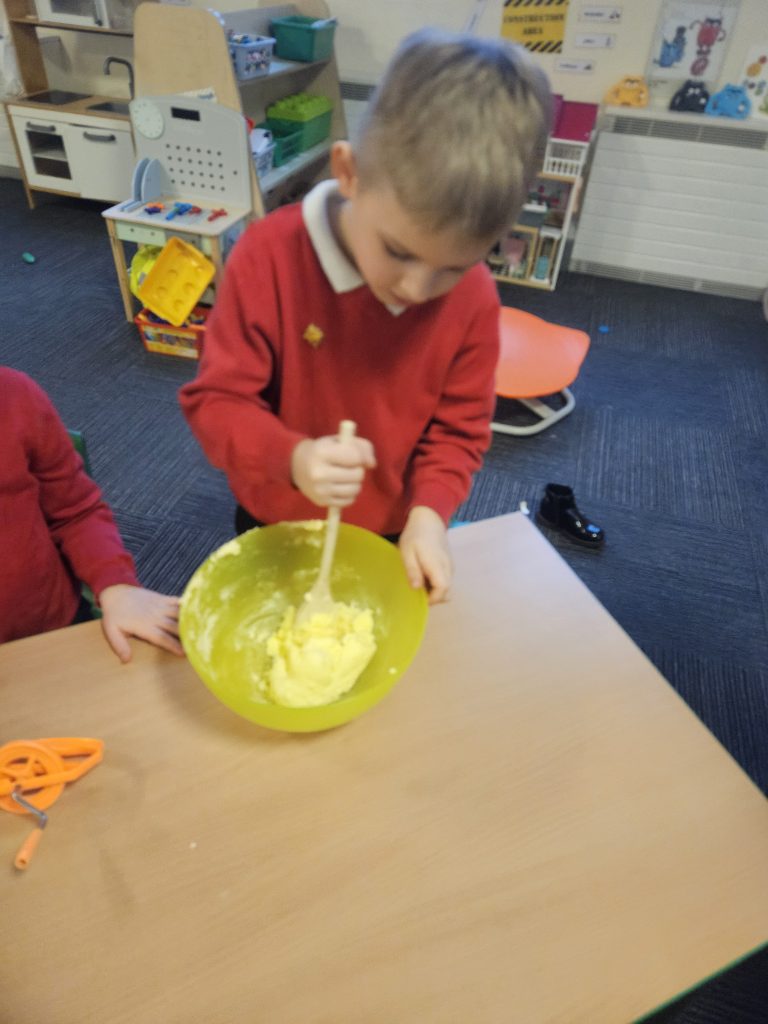
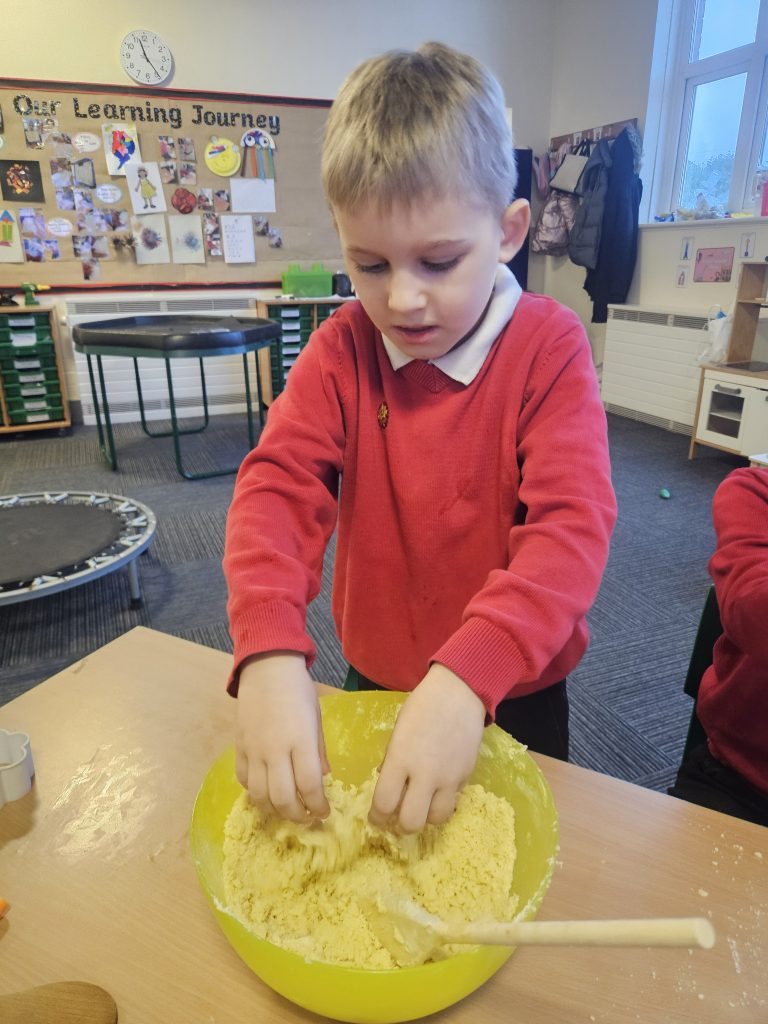
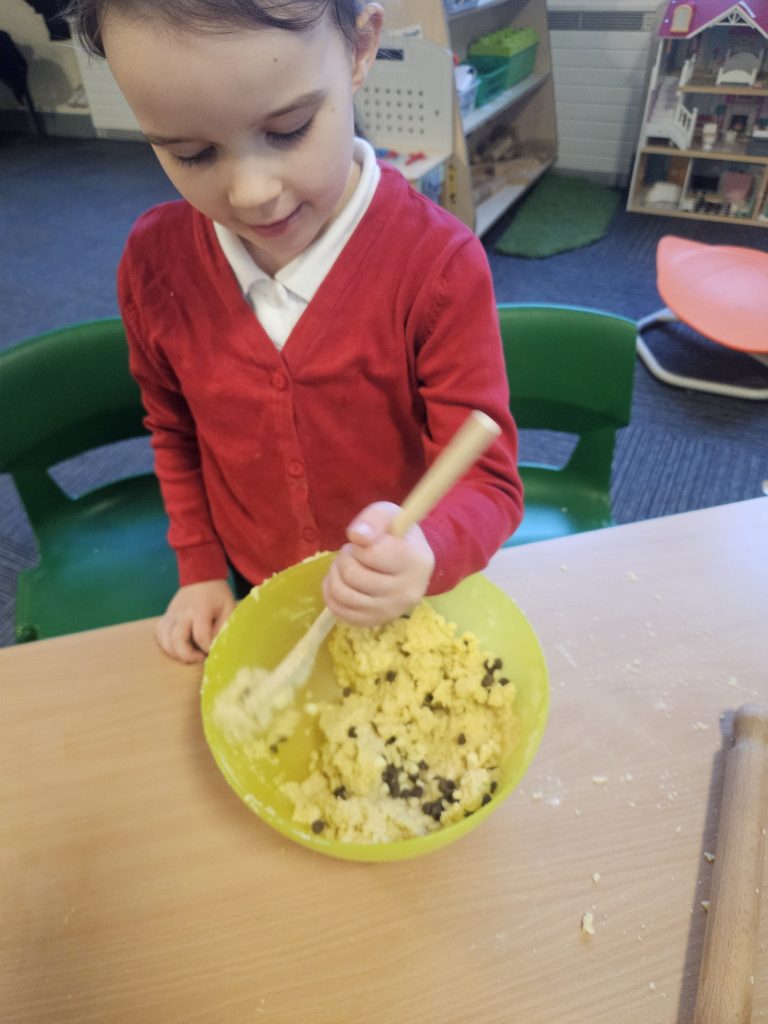
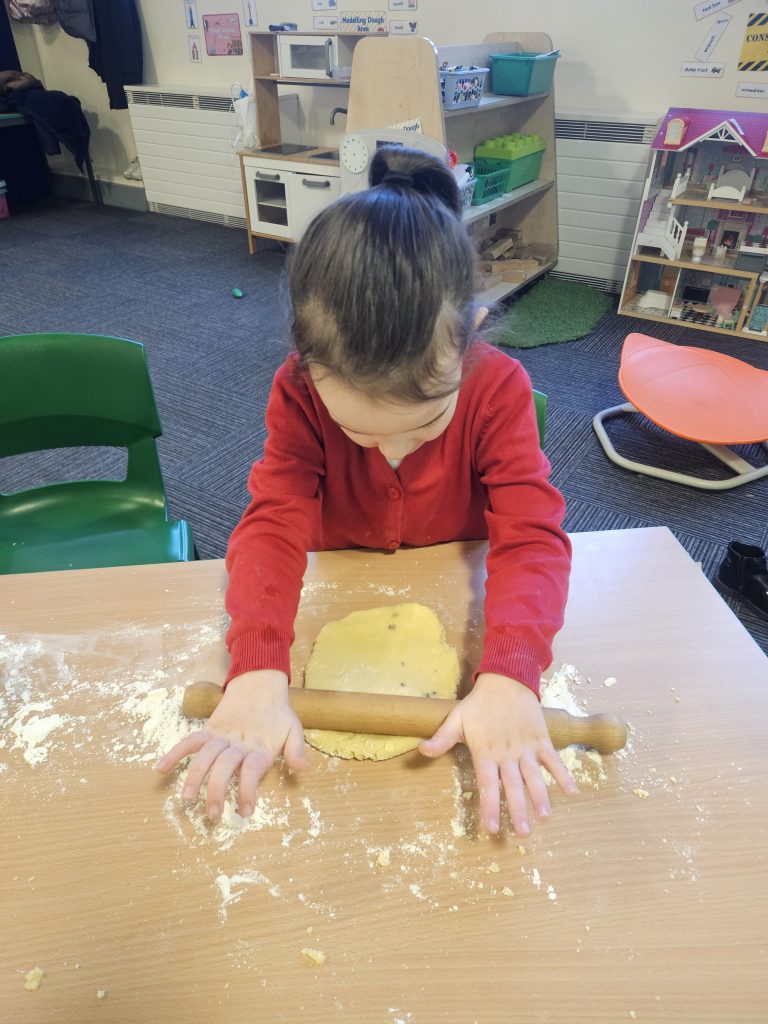
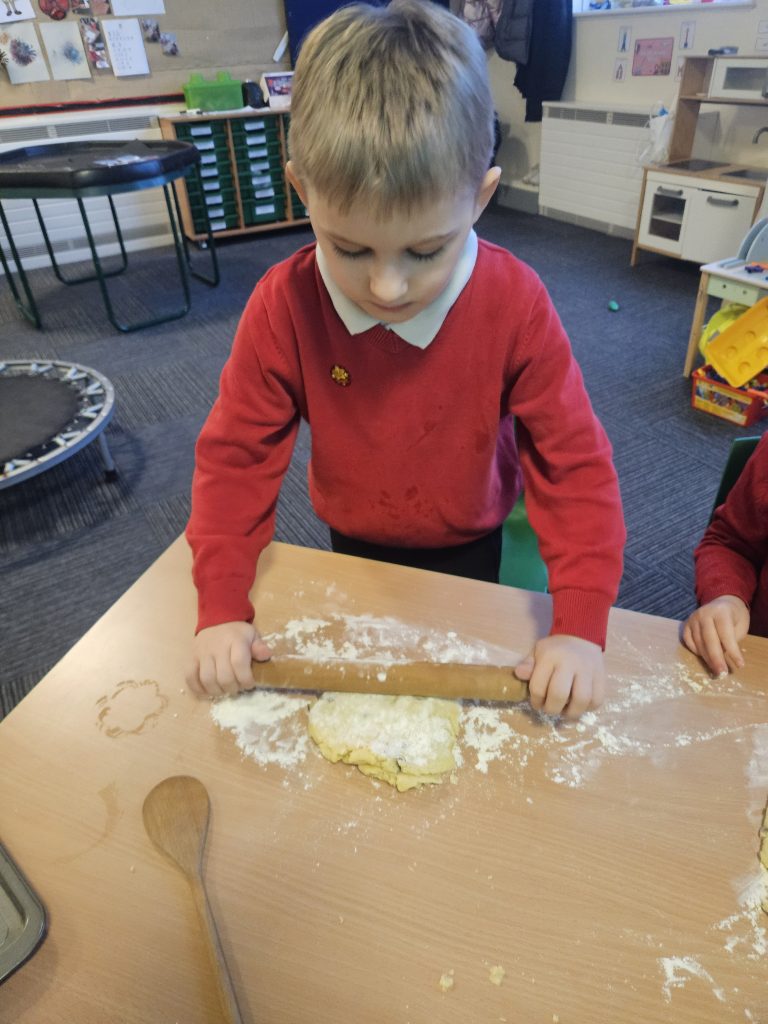
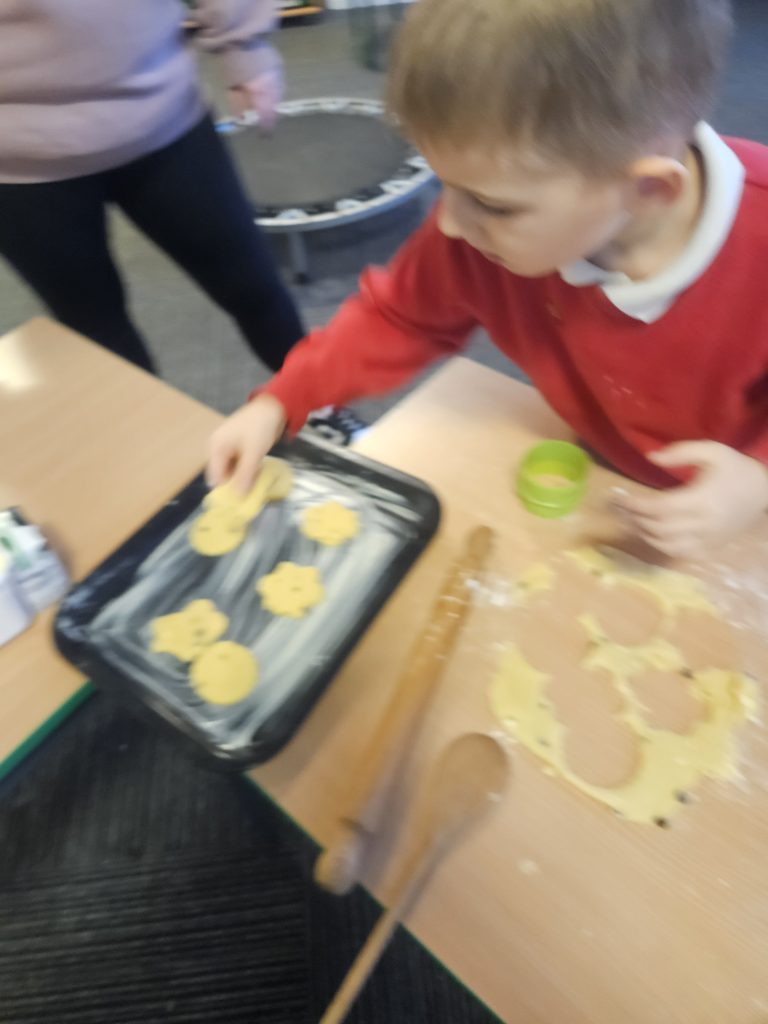
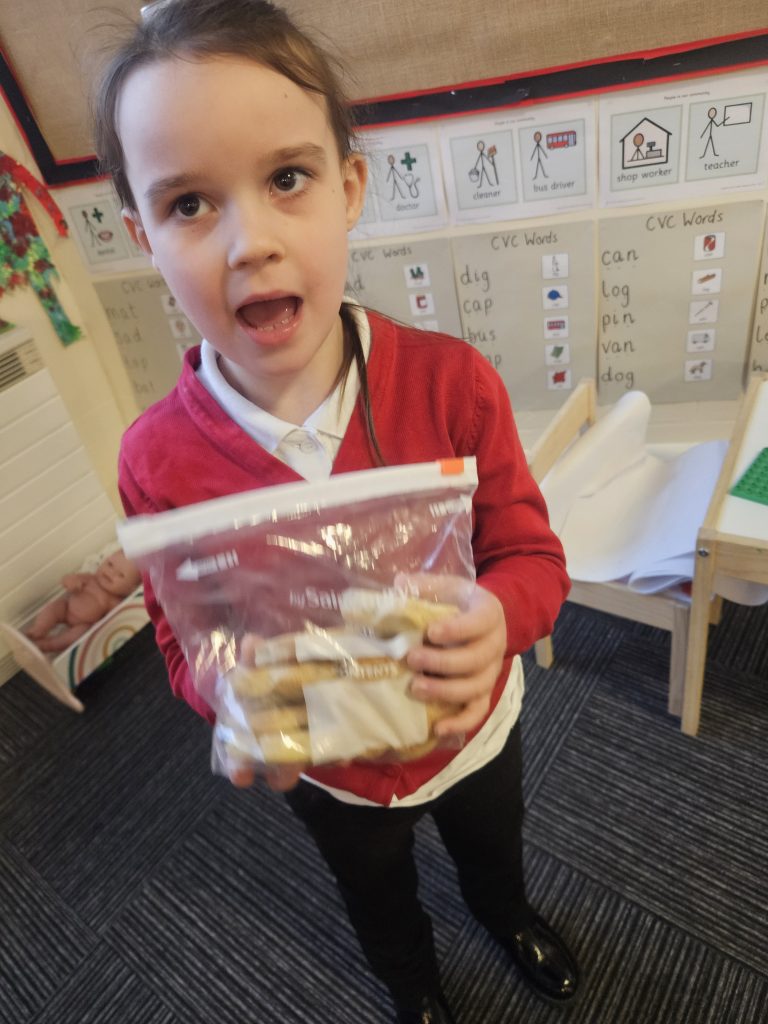
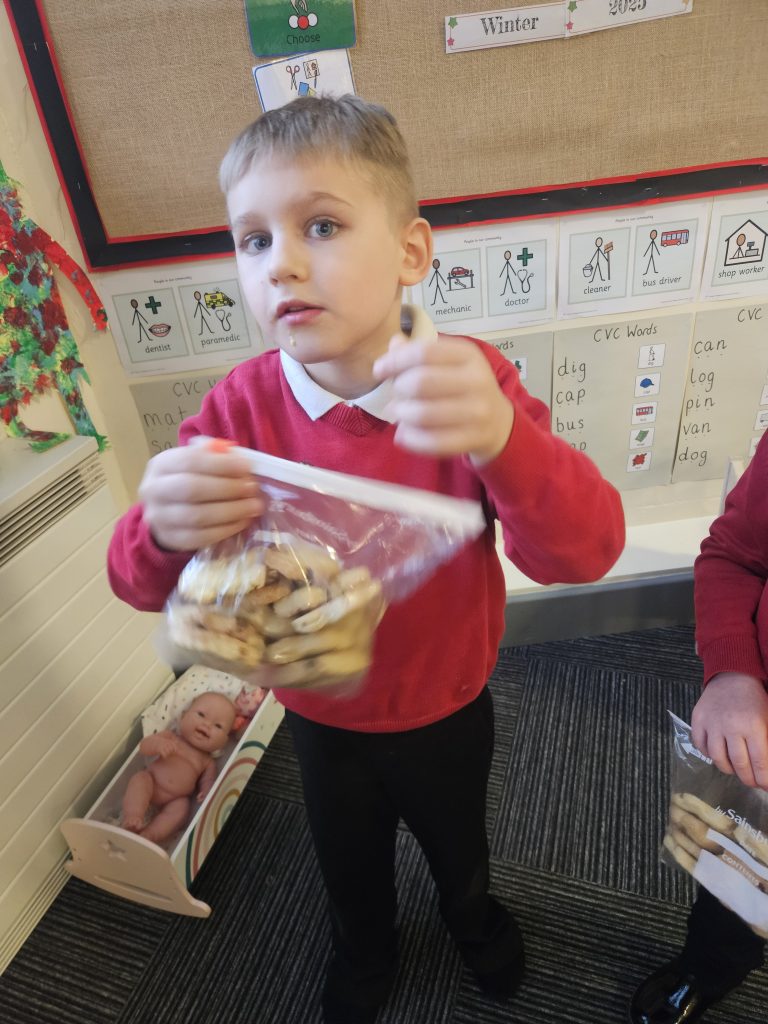
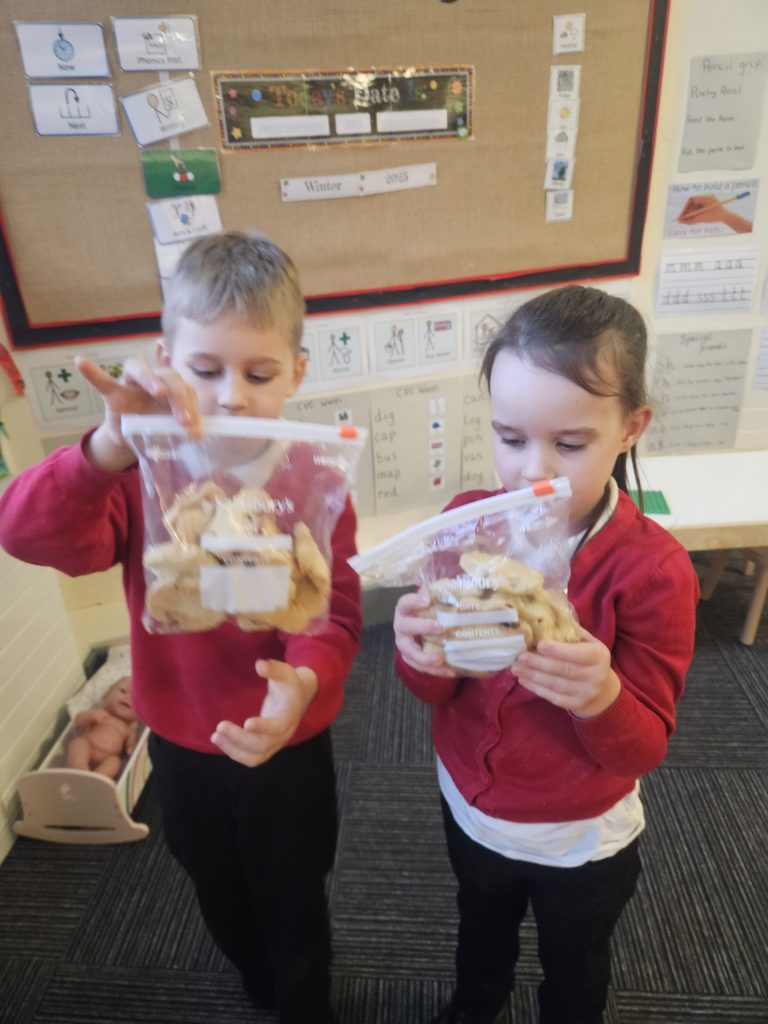
This week in our Life Skills lesson we made chocolate chip biscuits. We spoke about how we need to have clean hands and surfaces to bake. The children listened to instructions and both waited patiently while taking in turns to mix the ingredients. Getting their hands stuck in and feeling new textures, using our rolling skills and being careful placing them on the baking tray. Altogether taking 10 biscuits home for our families to share.
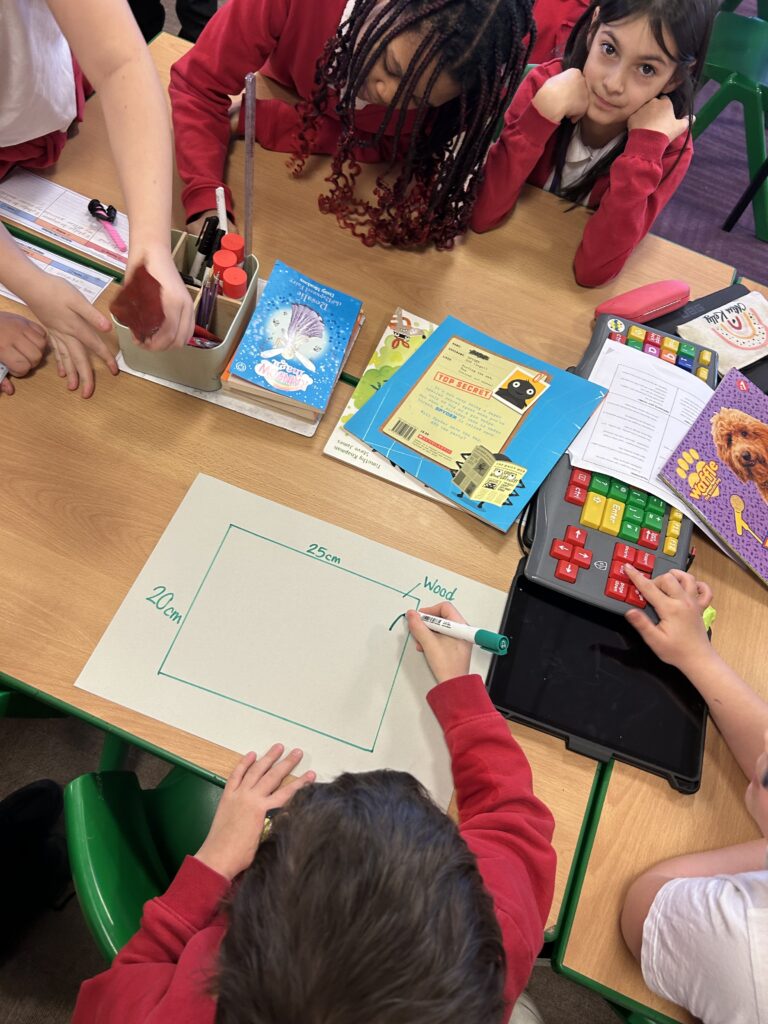
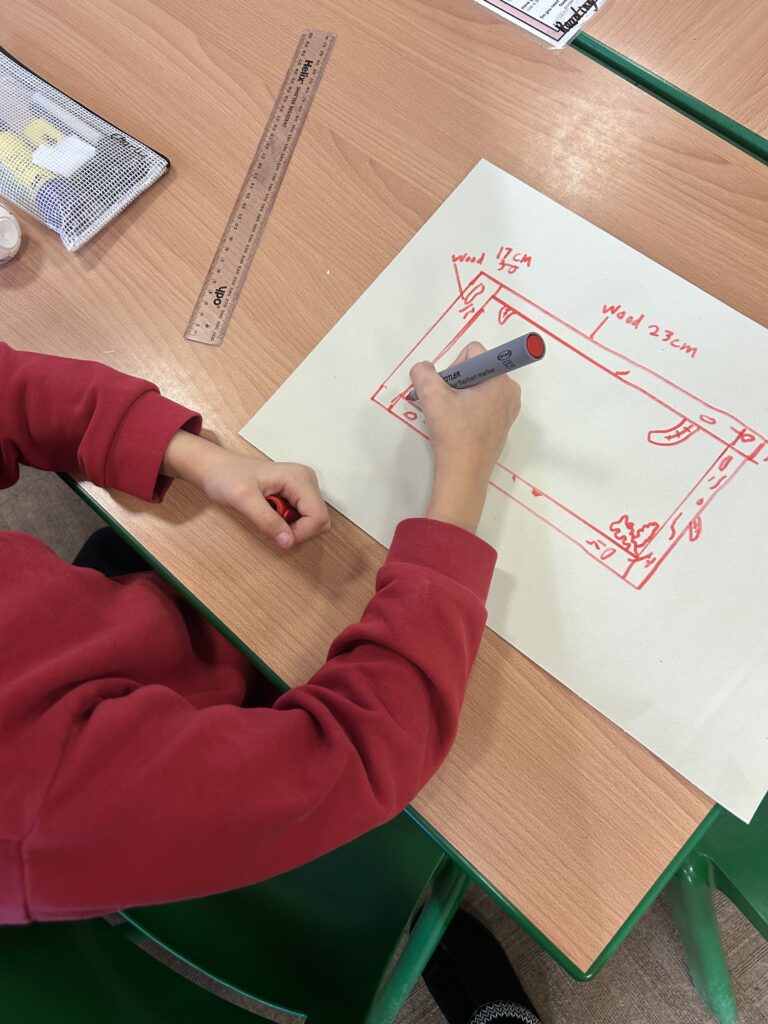
In DT this week, Crew White stepped up to a real challenge: sawing and measuring wood at an angle. It was the kind of task that demanded precision, patience and a steady hand, and our crew absolutely rose to it.
There were moments of frustration, moments where pieces didn’t quite fit, and moments where starting again felt like the only option. But the crew showed real courage, sticking with the process and supporting one another to get it right.
By the end, they not only had neatly cut pieces of wood but also a new appreciation for how skilled carpenters and joiners truly are. It was a brilliant mix of resilience, teamwork and craftsmanship.
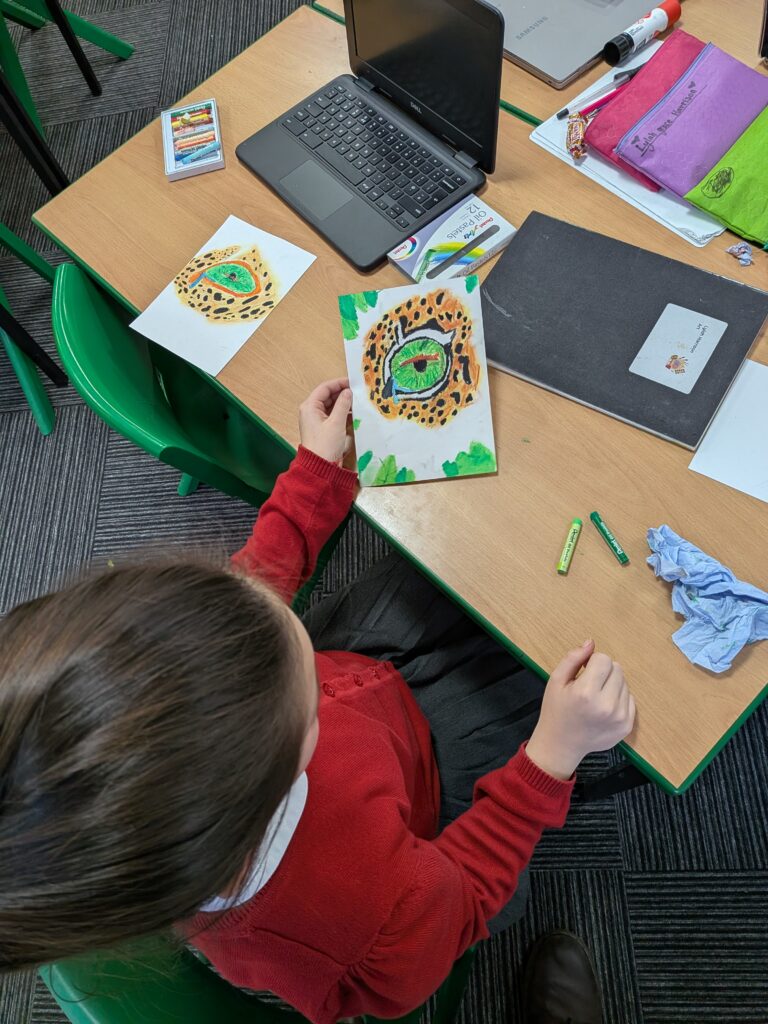
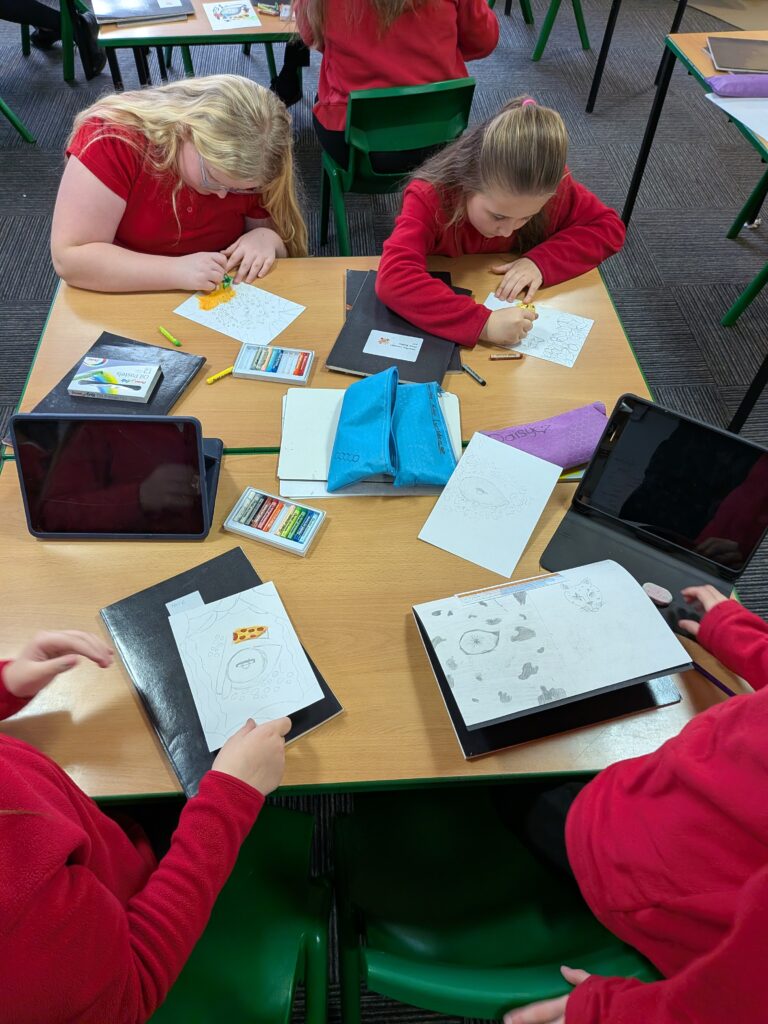
This week, Crew White have been exploring the striking patterns and features of the Northern Tiger Cat through Art. After studying photographs and discussing what makes this elusive animal so unique, the children chose either to sketch the whole creature or zoom in on a single feature—most popular were those bold, expressive eyes.
Using oil pastels, our crew has layered colours, blended carefully, and experimented with texture to bring their artwork to life. The results are brilliant: vibrant close-ups full of detail and powerful full-body pieces that really captured the movement and markings of the tiger cat.
The class showed real focus, creativity, and pride in their work. We can’t wait to display these in our expedition products soon.
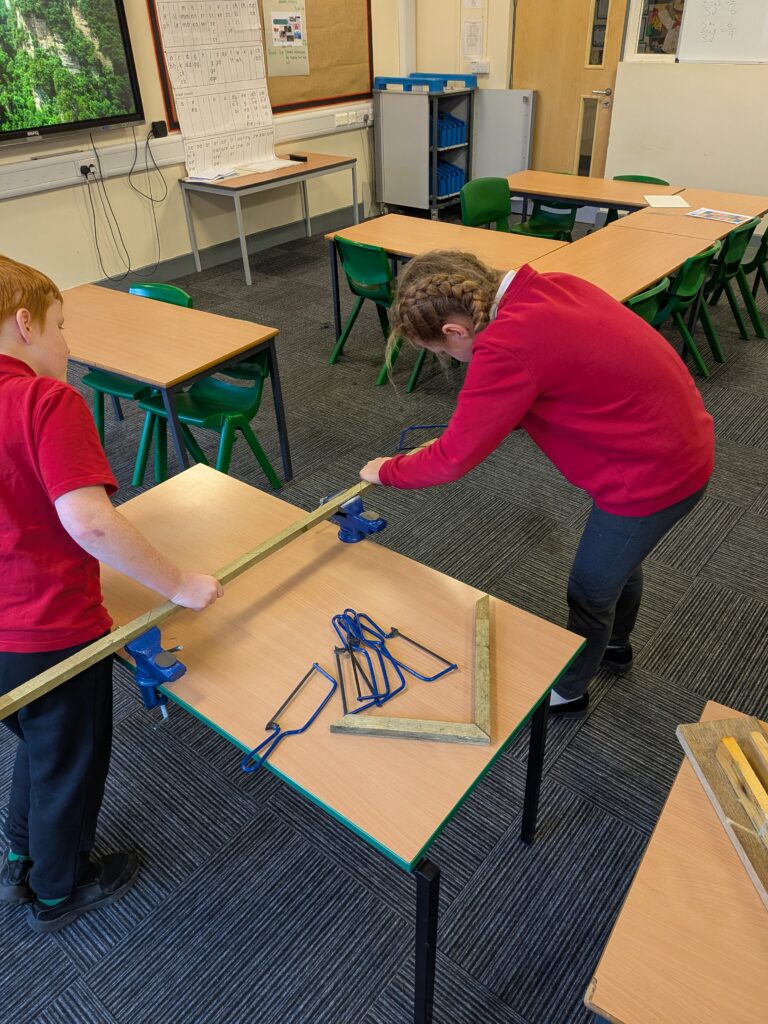
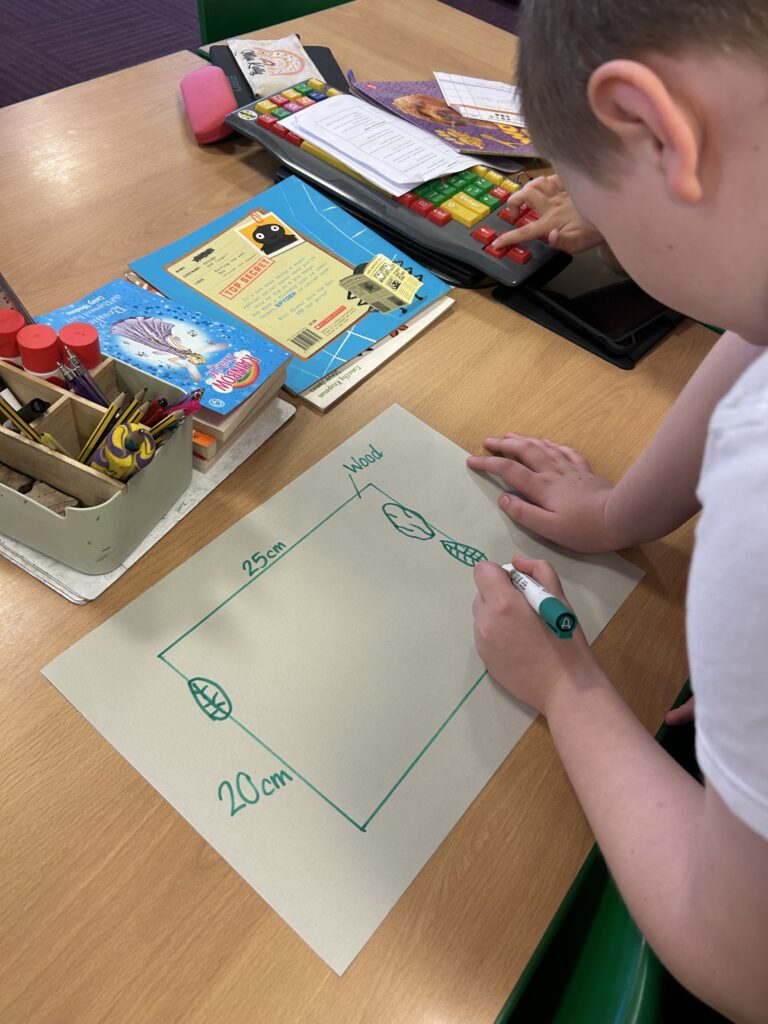
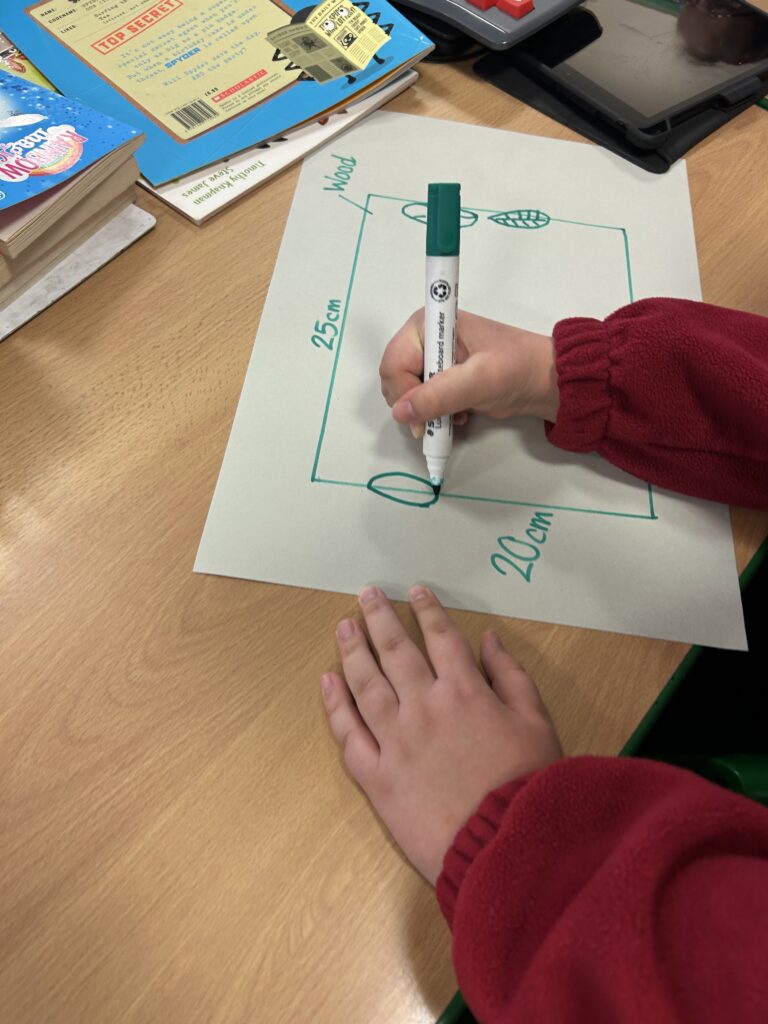
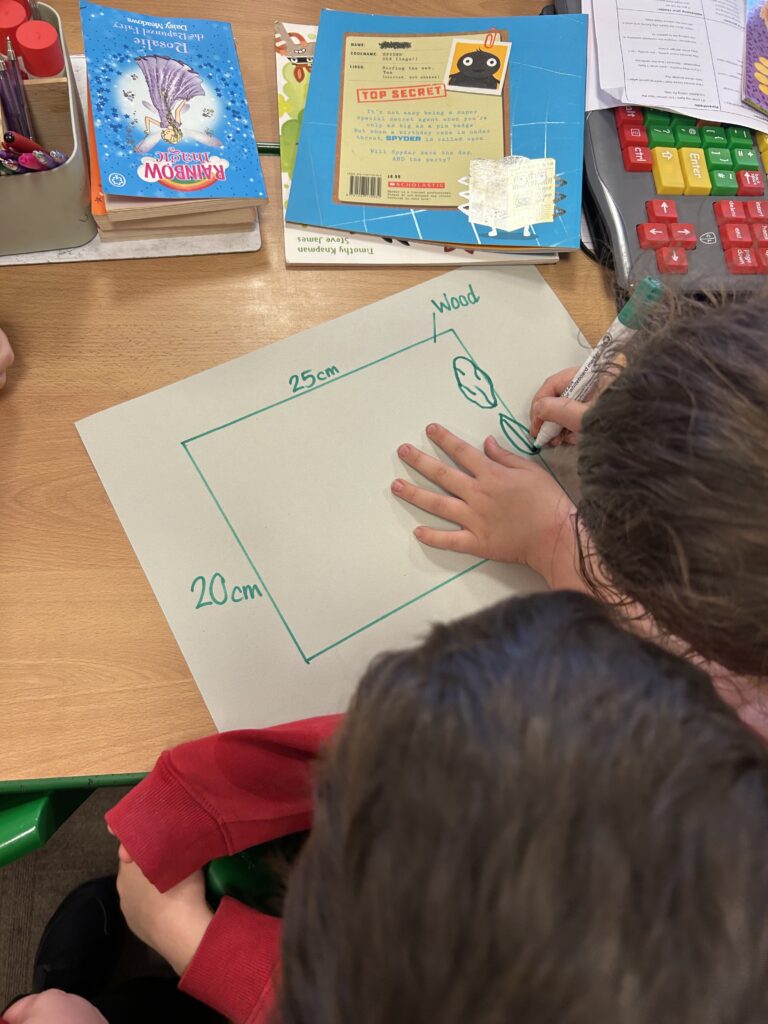
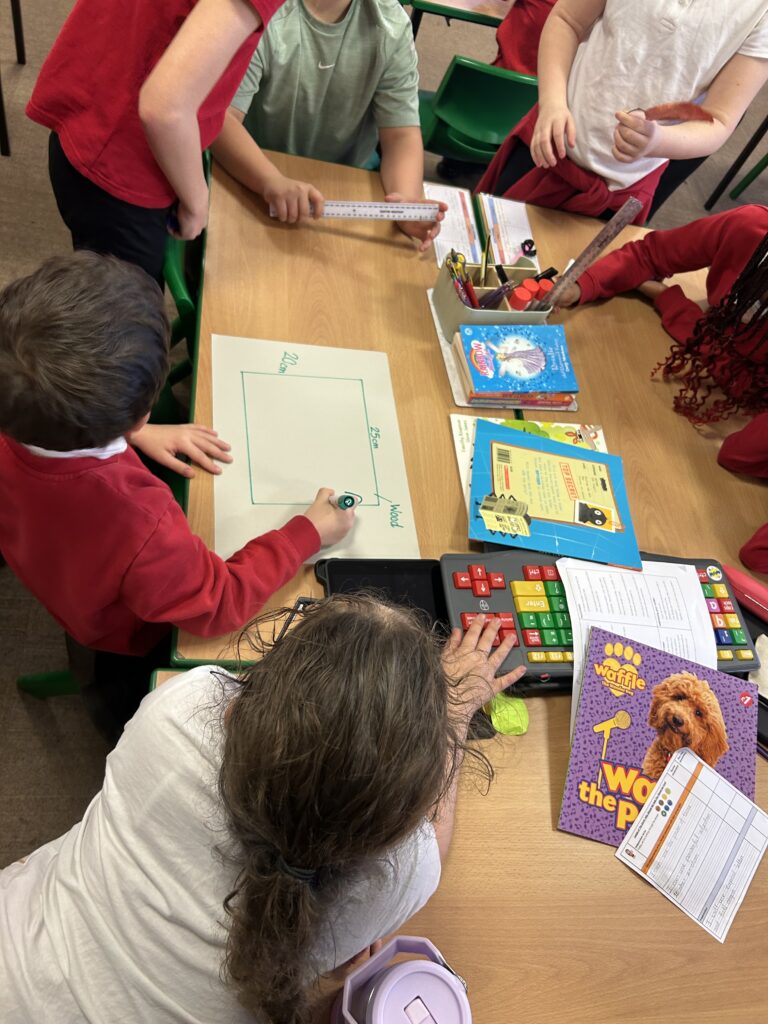
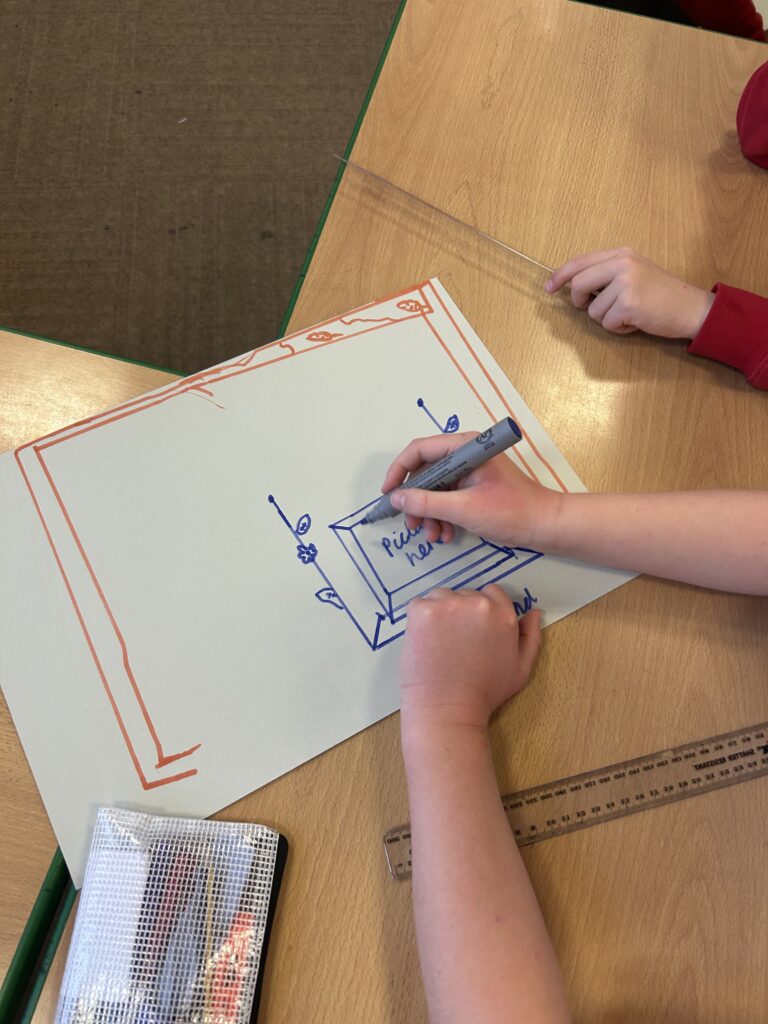
Yesterday, Crew Gray started their third and final case study for their rainforest expedition. We began with the exciting task of designing our own picture frames as a class. Then we shifted our focus to learning how to work safely with wood tools, exploring equipment such as vices, saws, and sanding blocks. We discussed responsible handling, protective gear, and how to support one another during practical activities. We can’t wait to see these designs come to life!
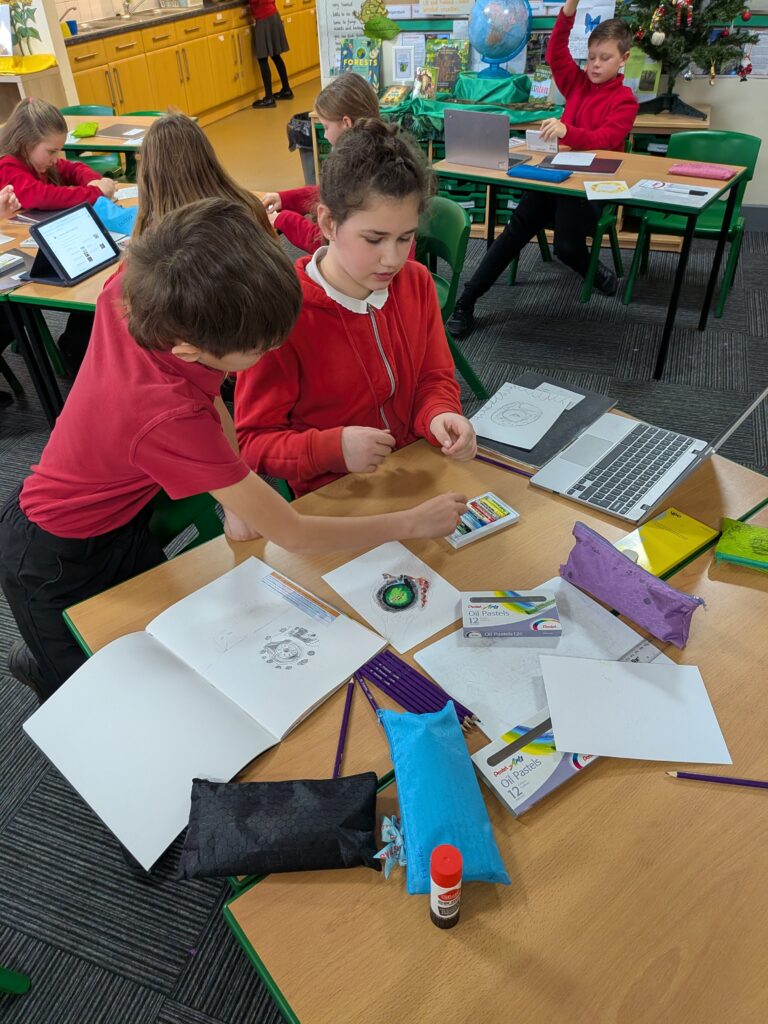
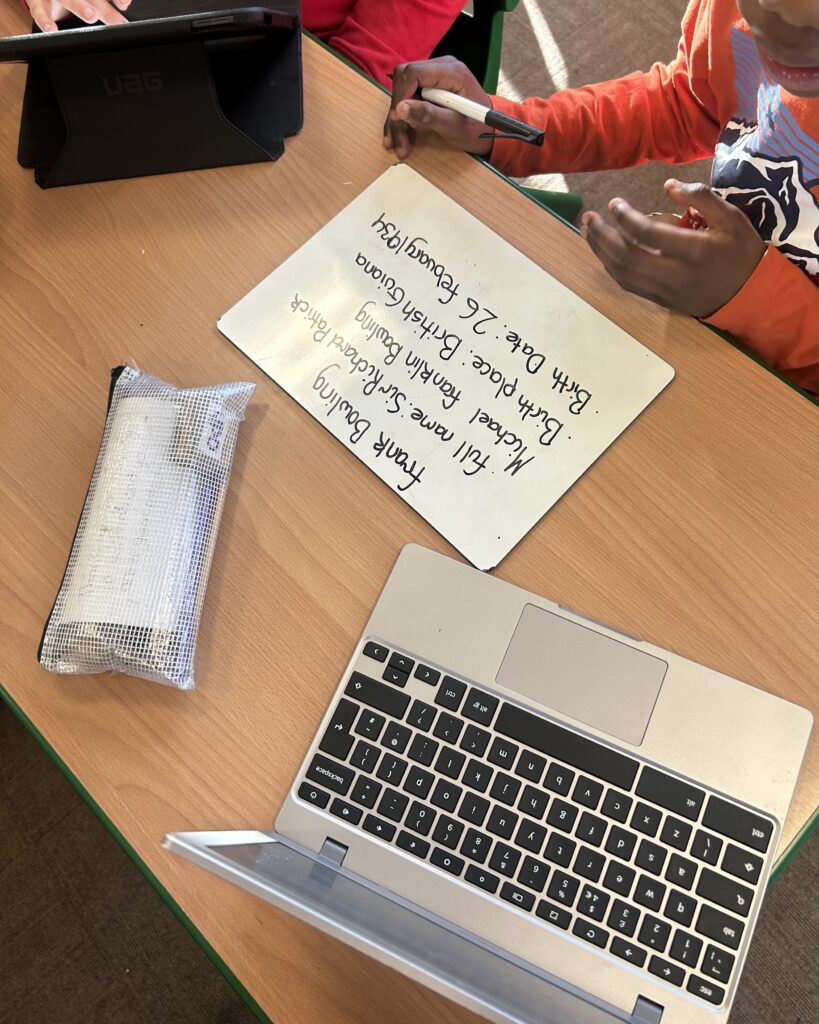
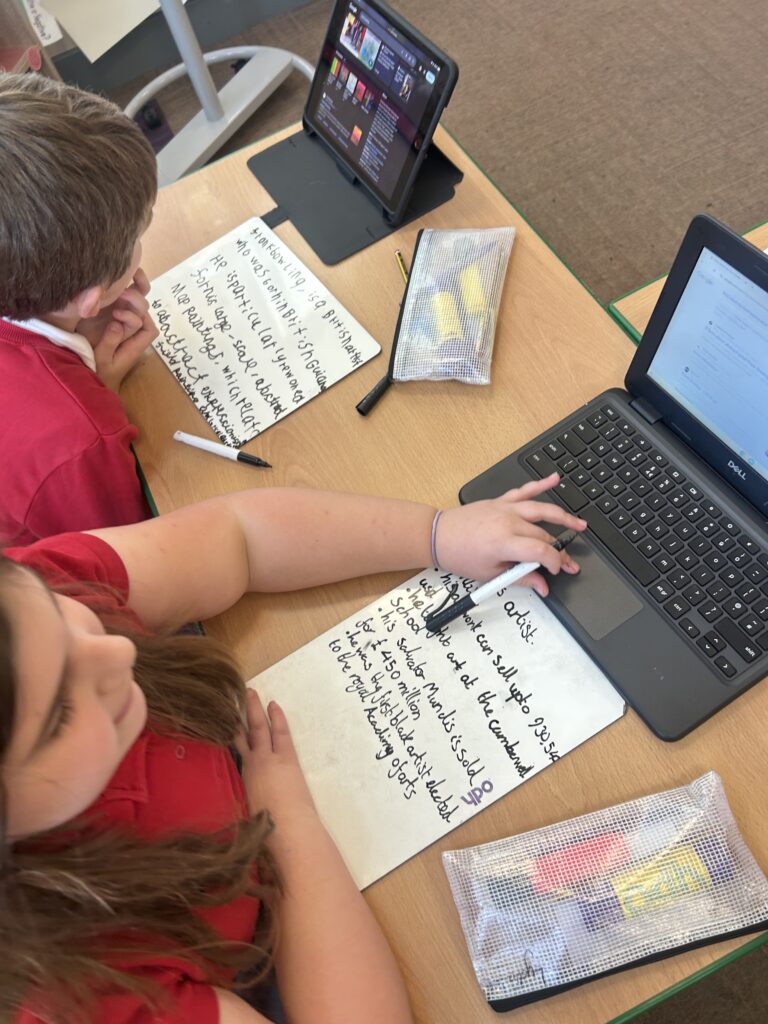
Crew McLoughlin have officially begun their third case study of DT and Art! Yesterday, pupils worked in groups to design their frames, sharing ideas and planning how their final pieces might look.
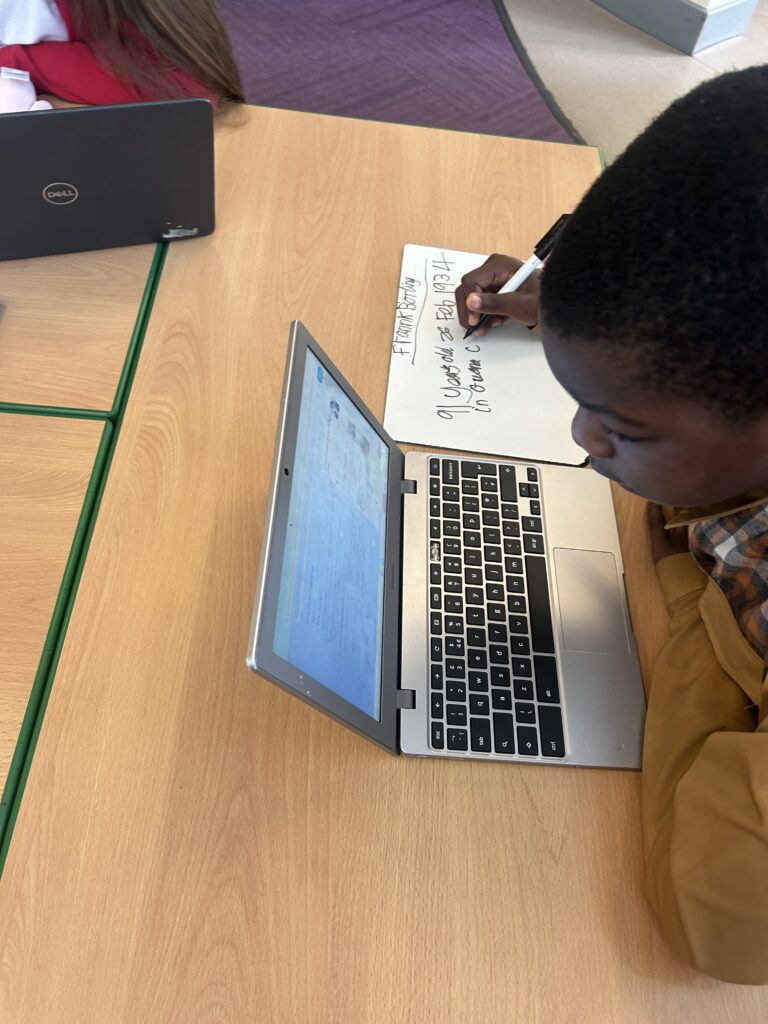
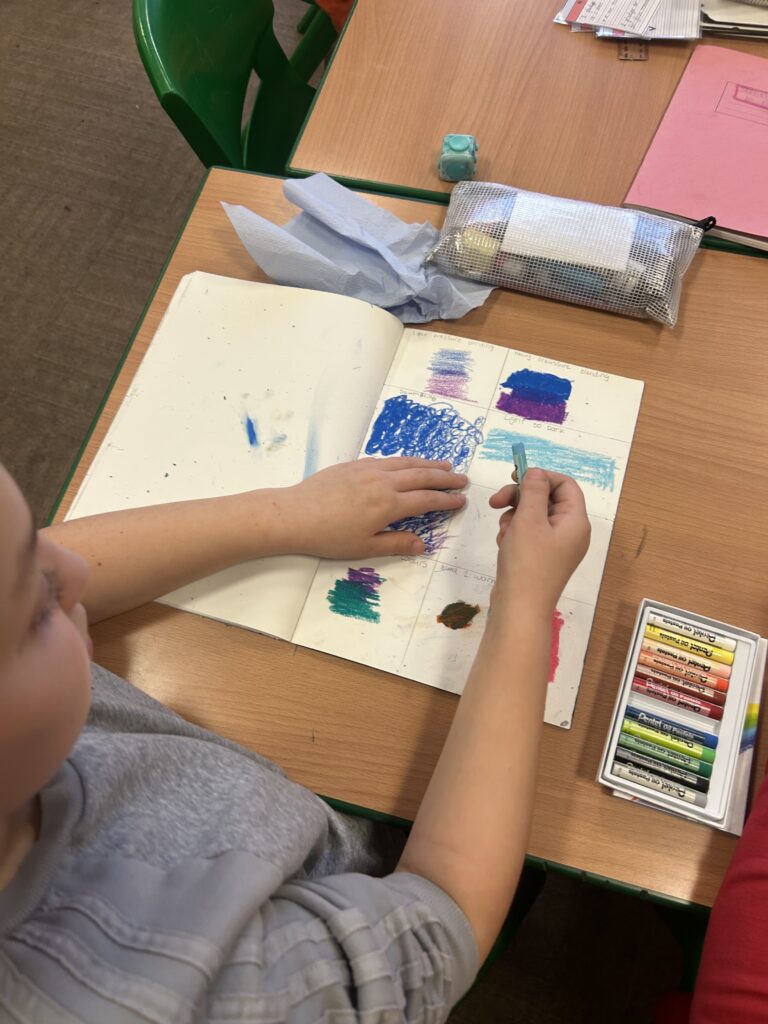
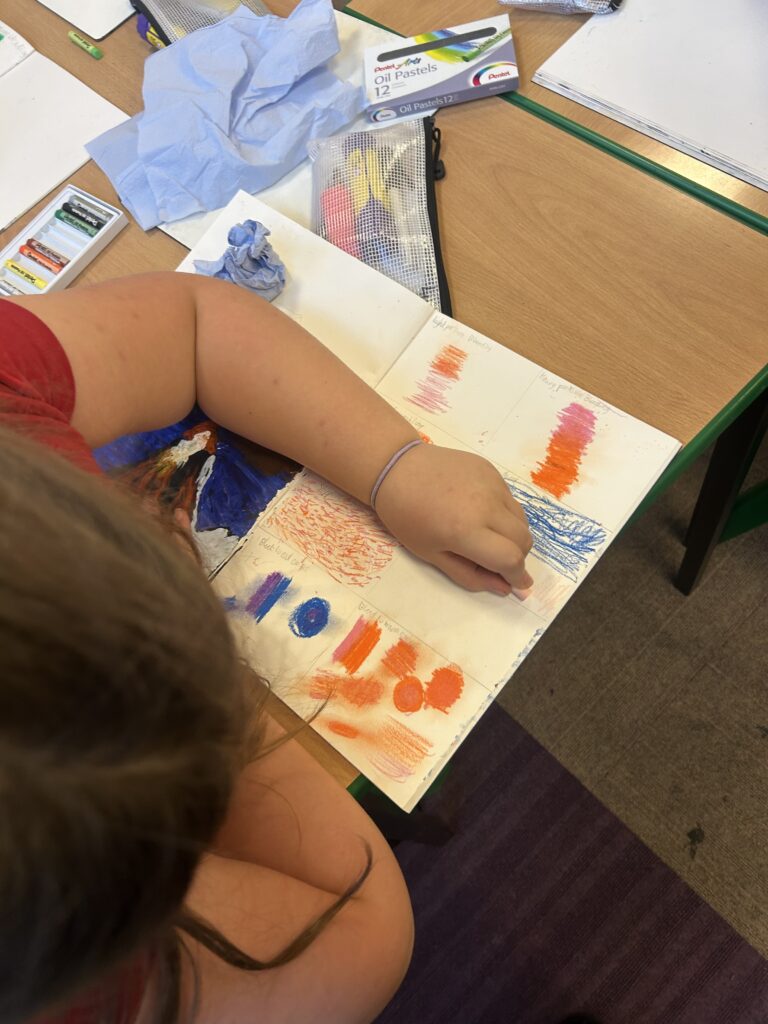
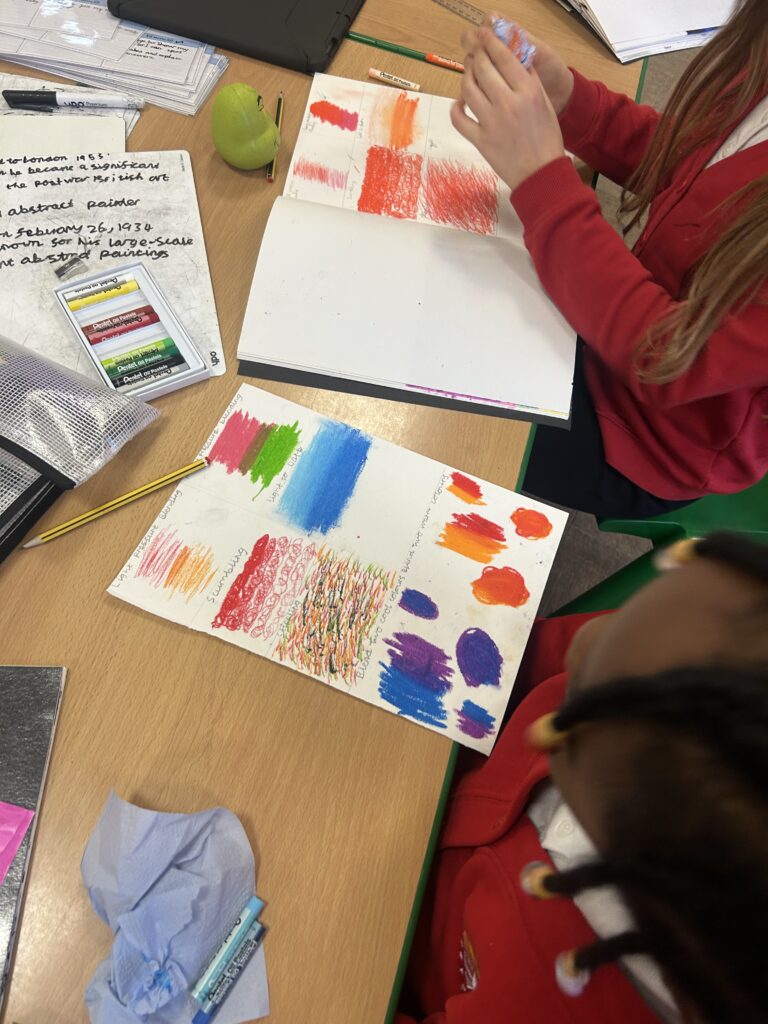
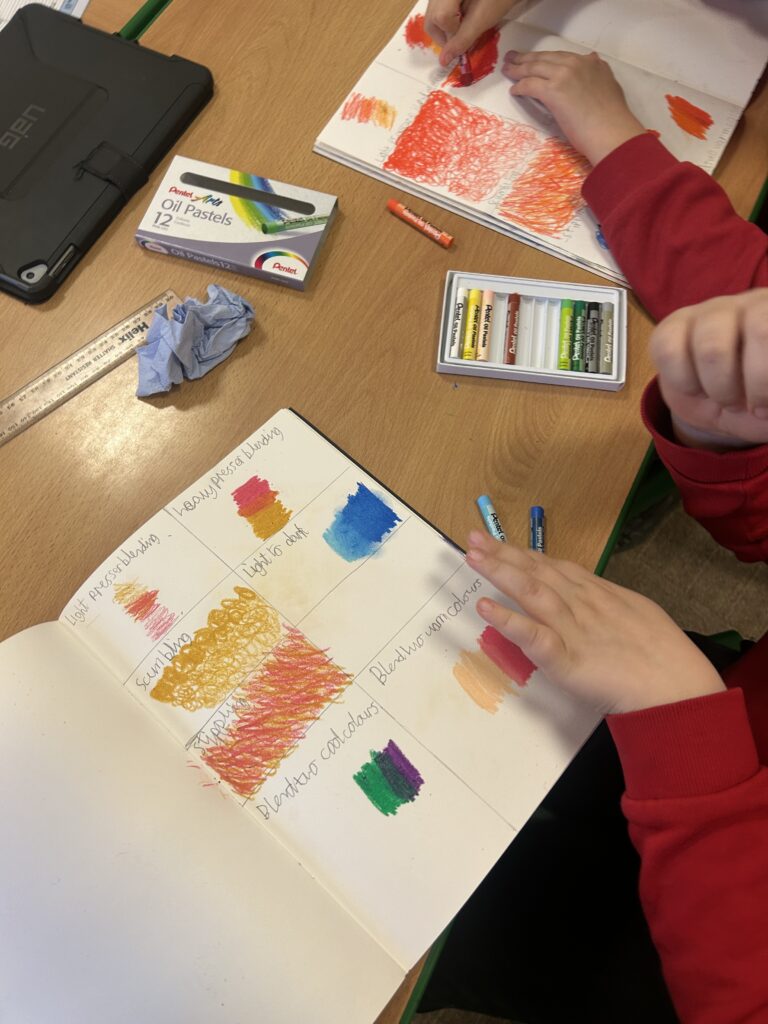
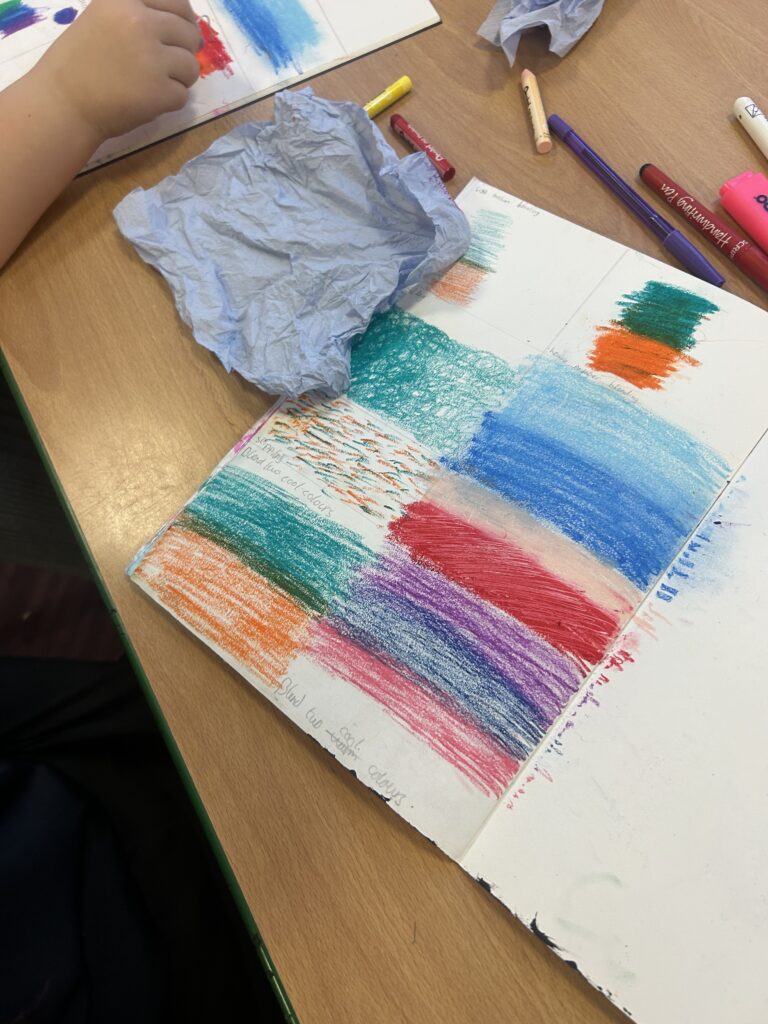
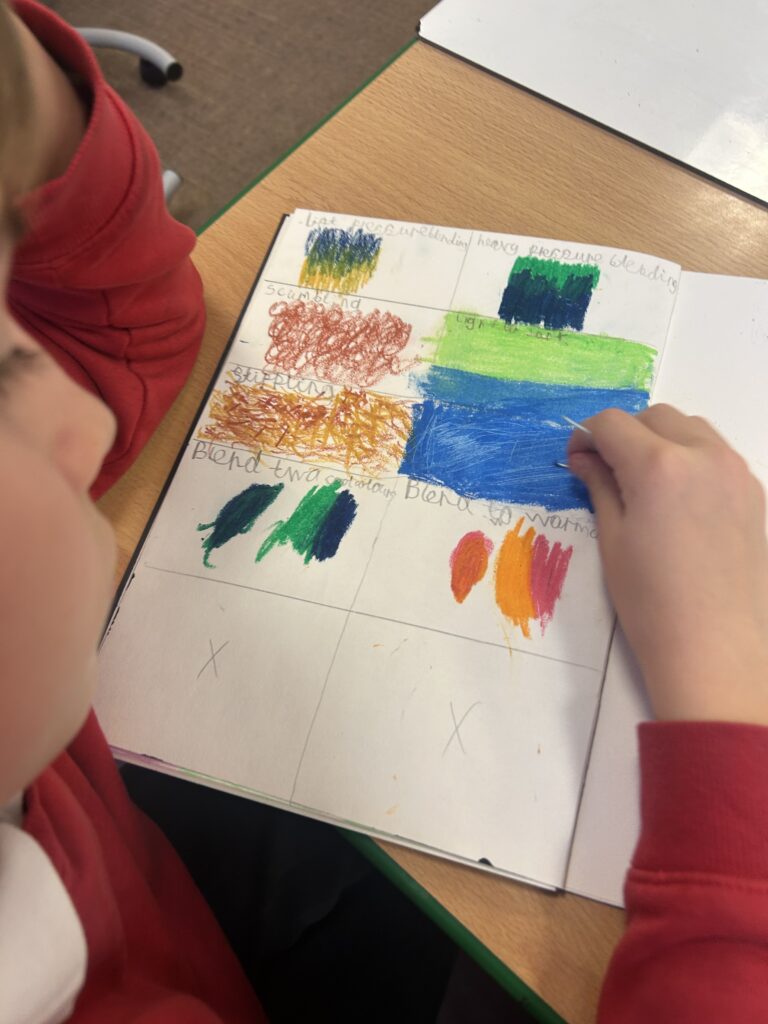
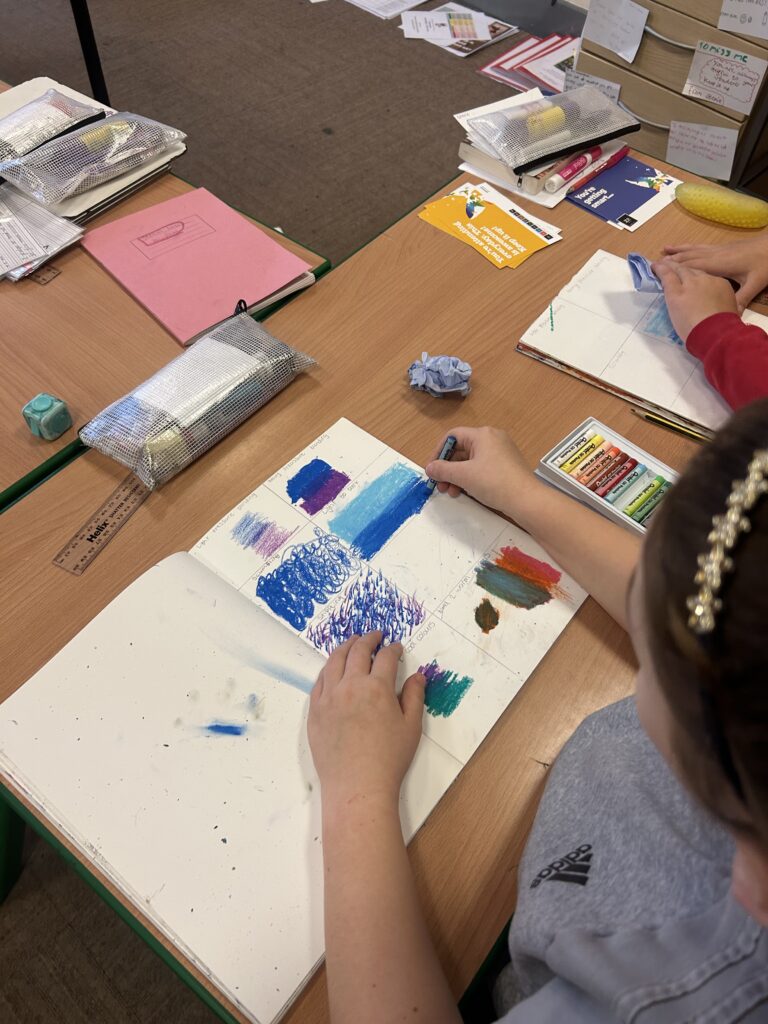
Today, they moved on to researching their artist, Frank Bowling, exploring his vibrant style to inspire their own work. They also spent time practising key oil pastel skills, including sgraffito and blending from light to dark, building a strong foundation for the artwork they’ll create later in the case study.