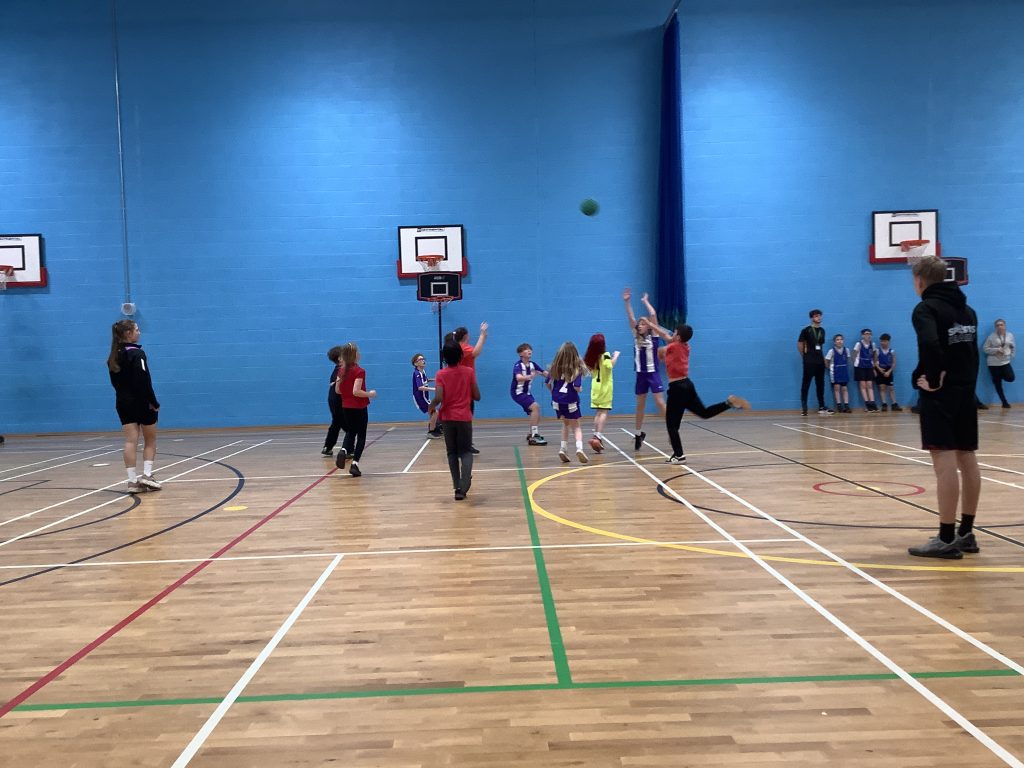
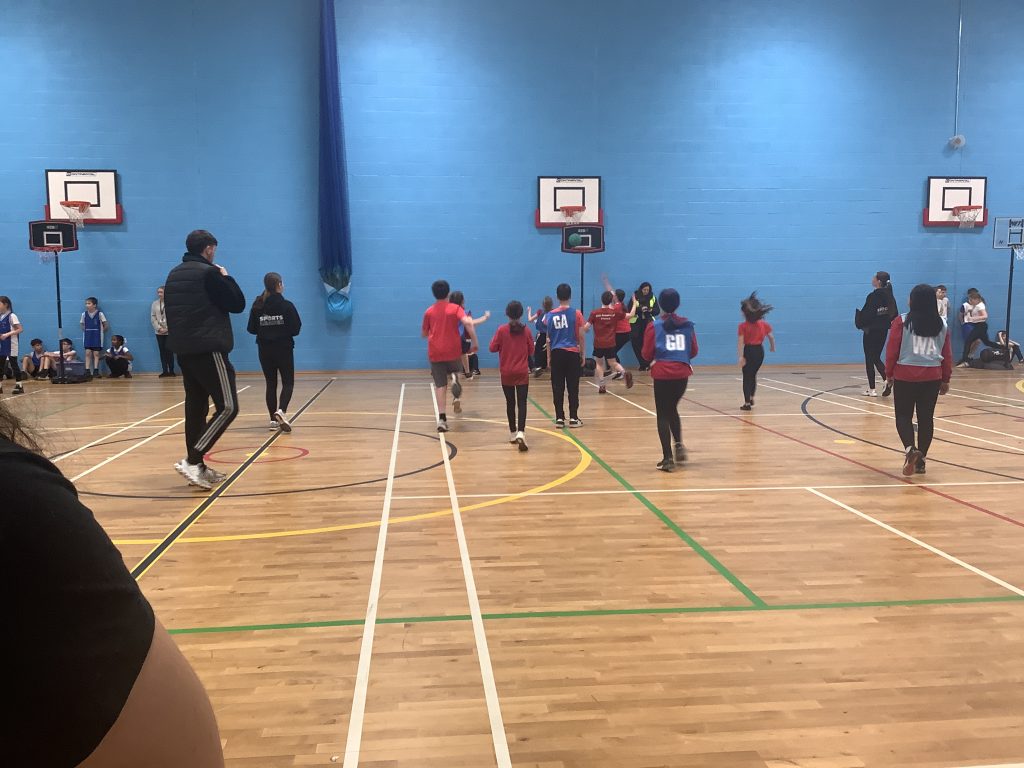
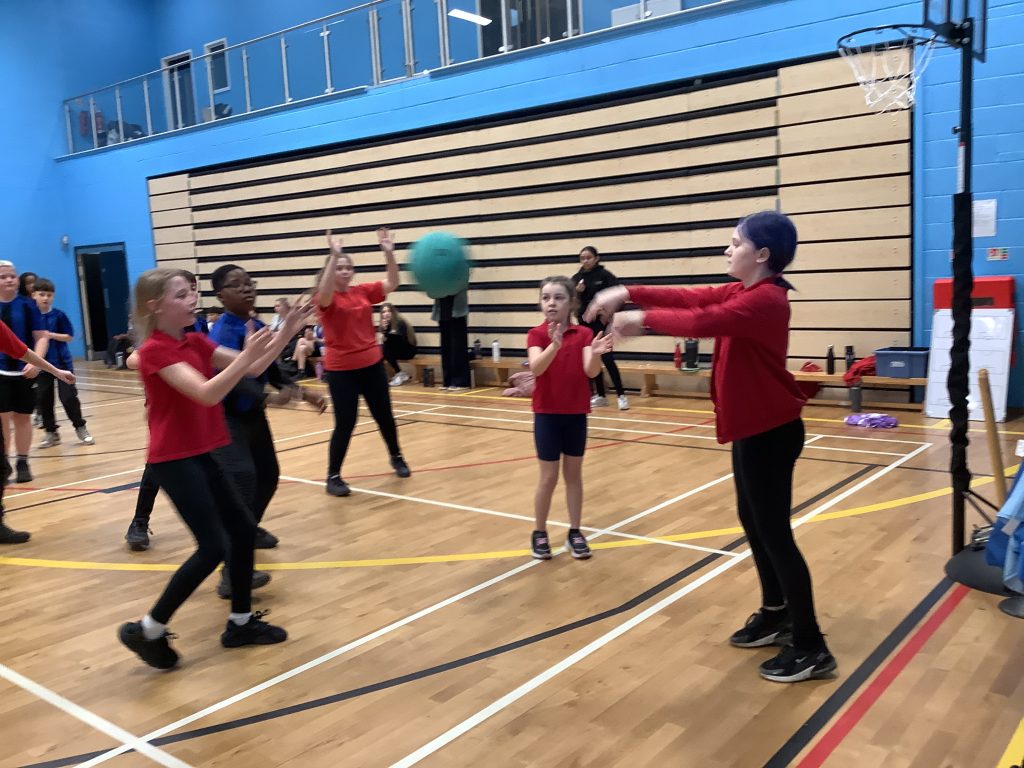
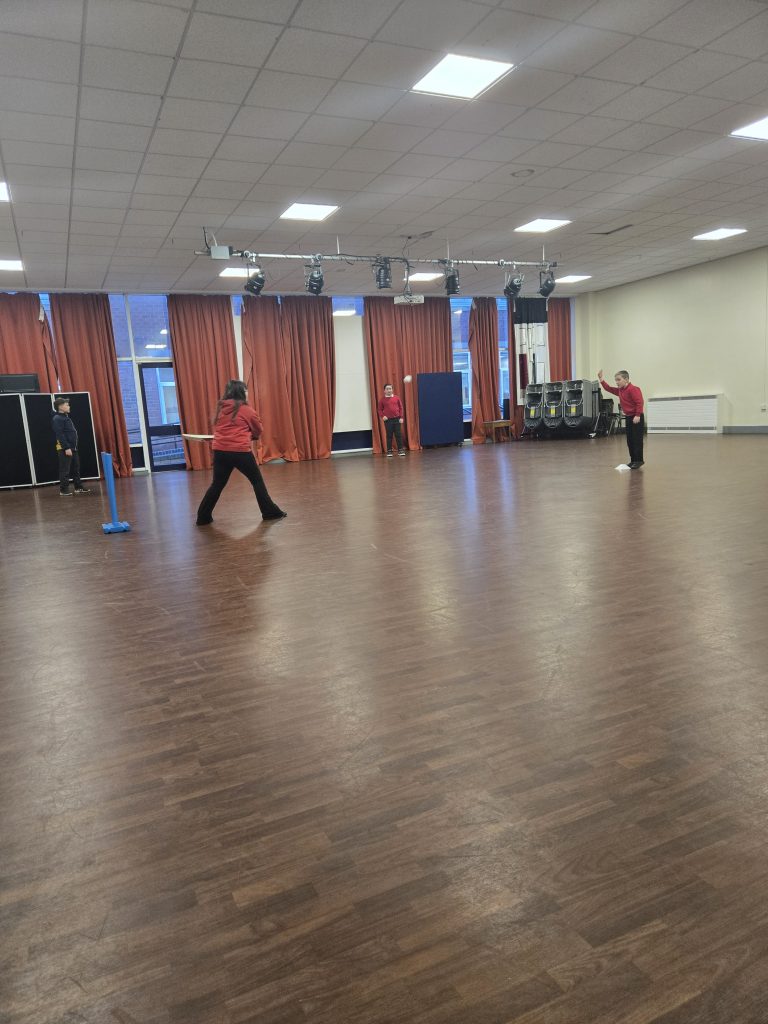
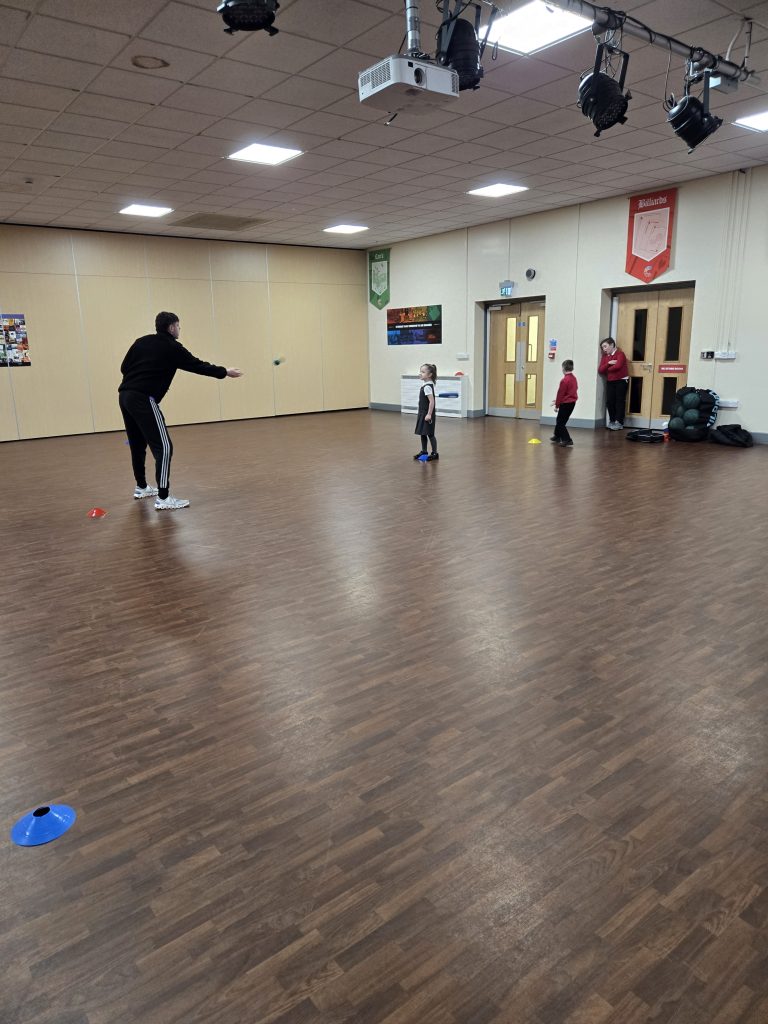
The year 5 and 6 students competed in a basketball tournament last Thursday and were a credit to the school. They worked brilliantly as a team, showed excellent sportsmanship throughout, and gave their best effort in every game. Their attitude and behaviour were outstanding- they were simply amazing.
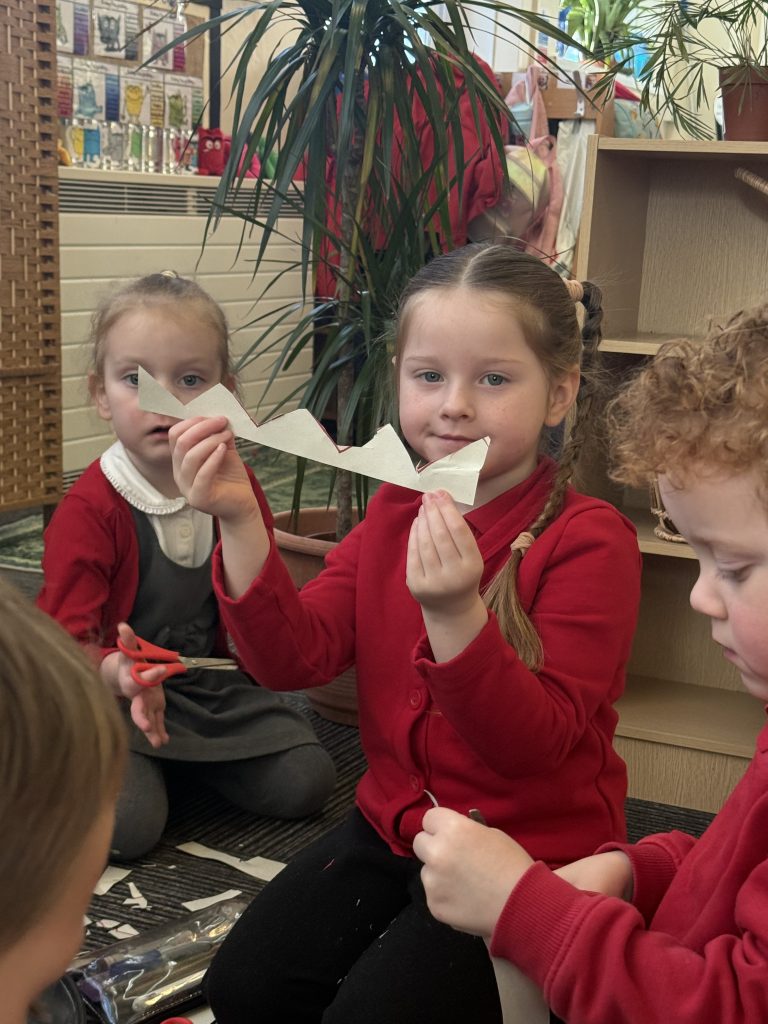
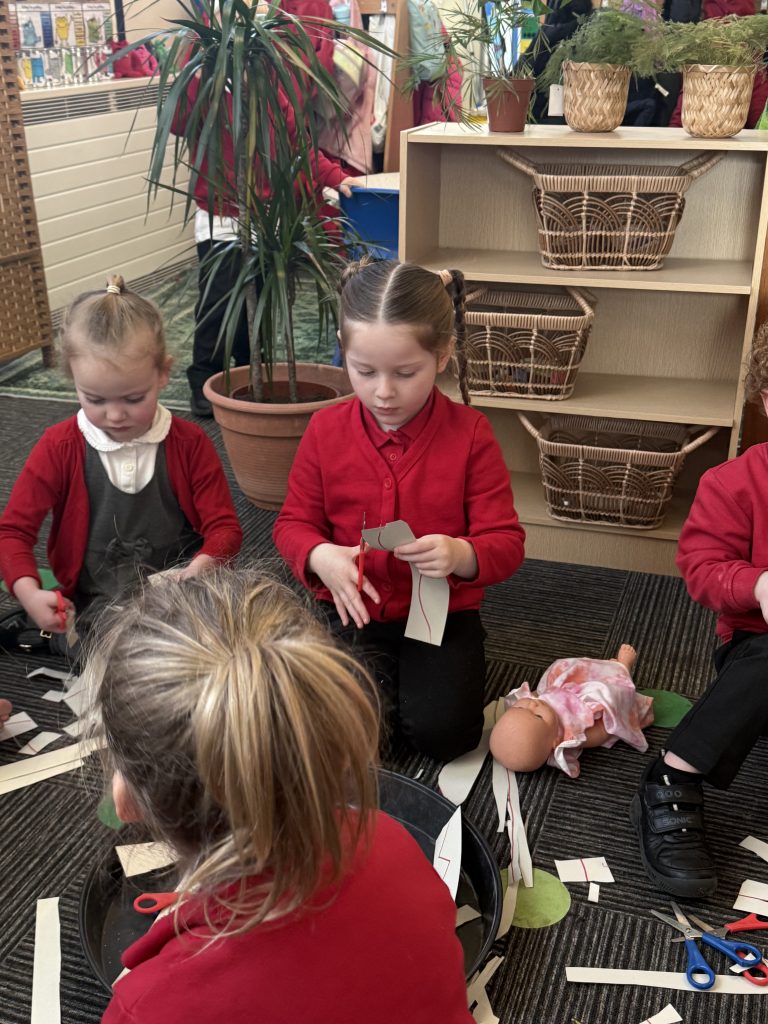
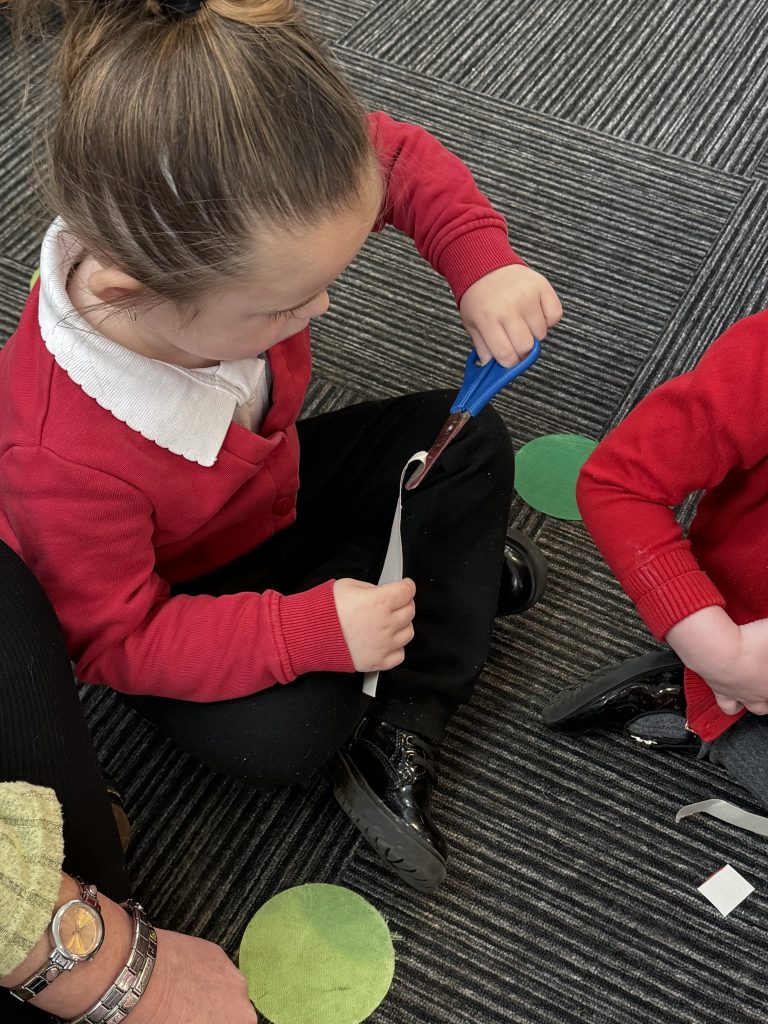
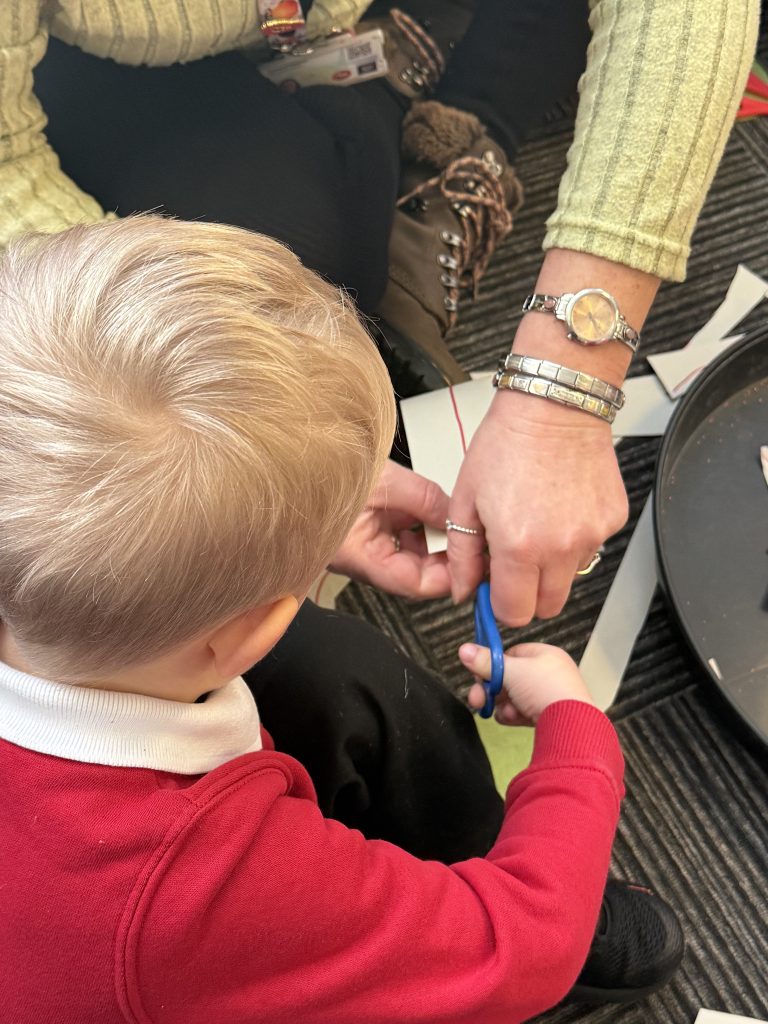
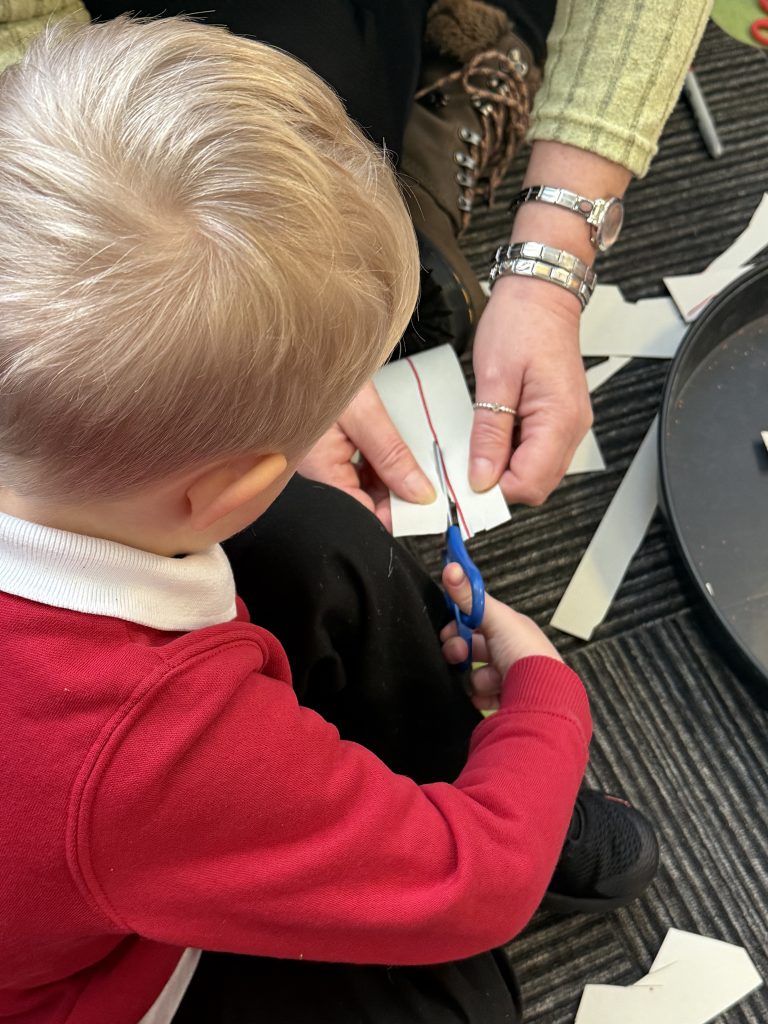
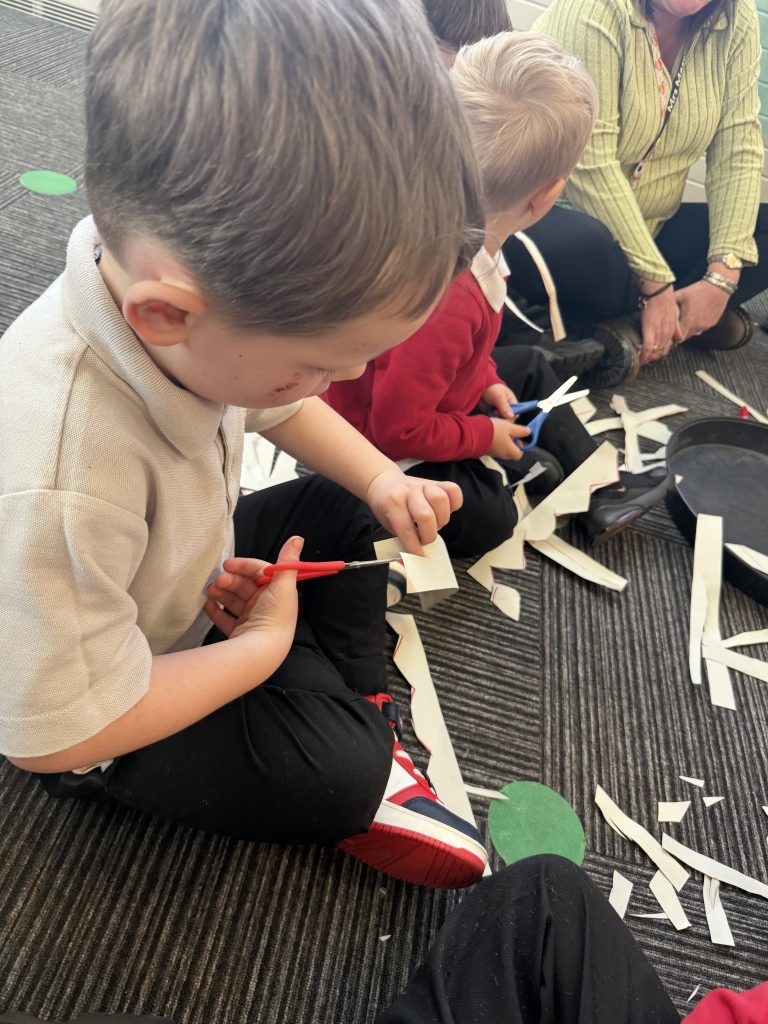
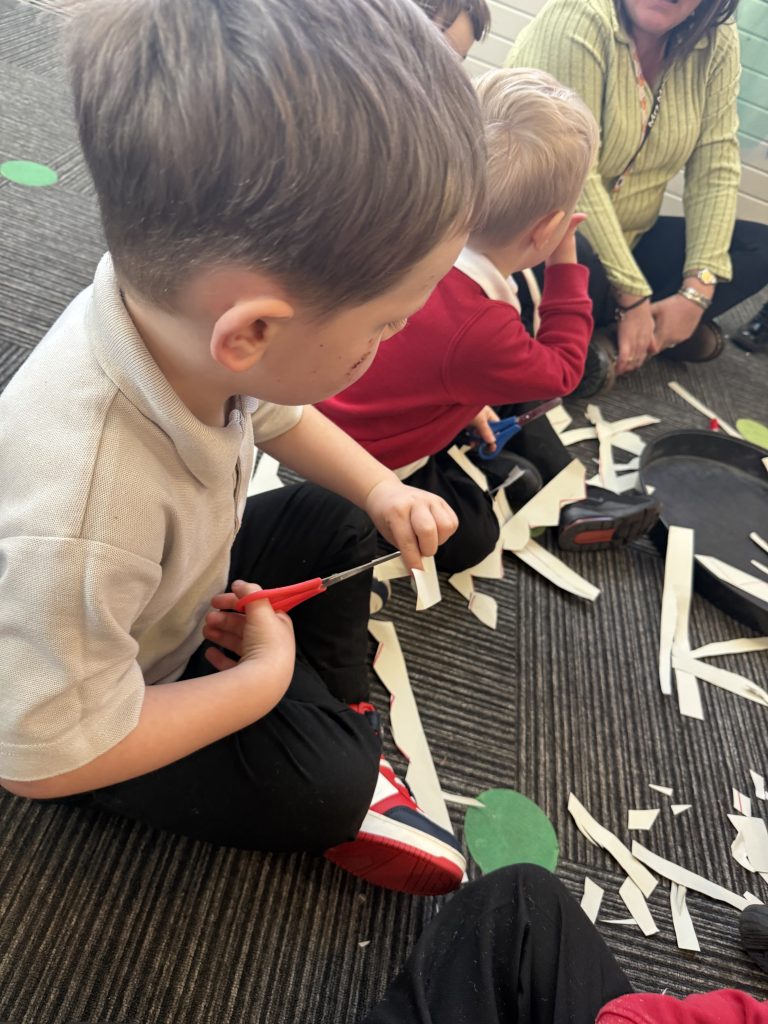
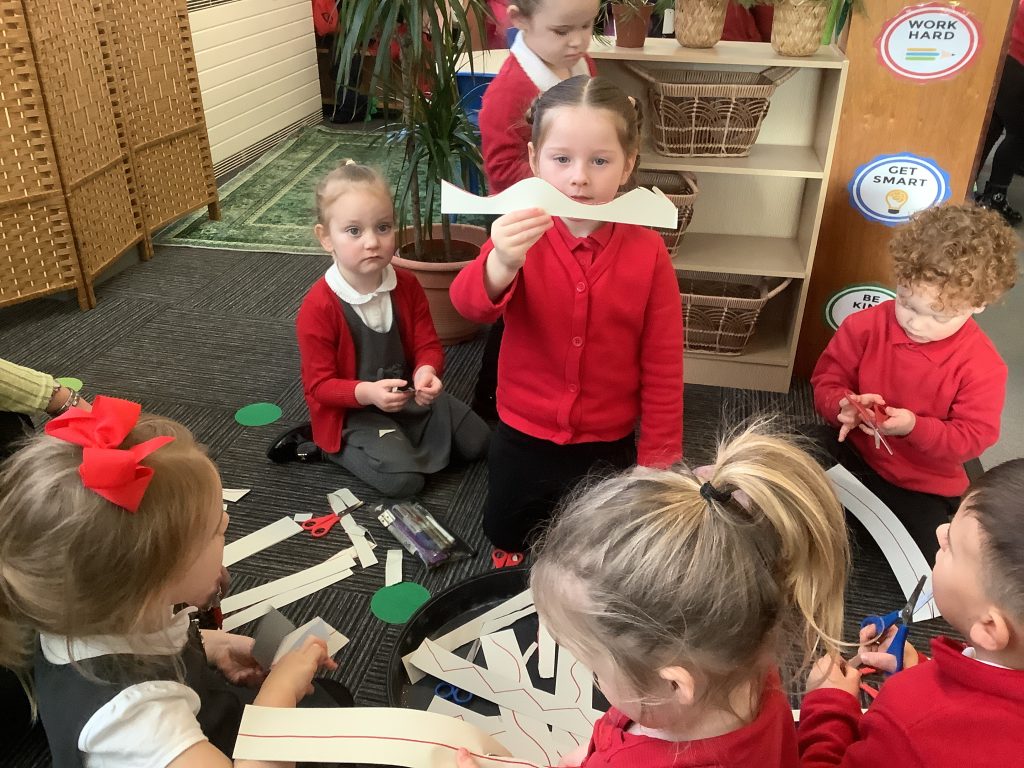
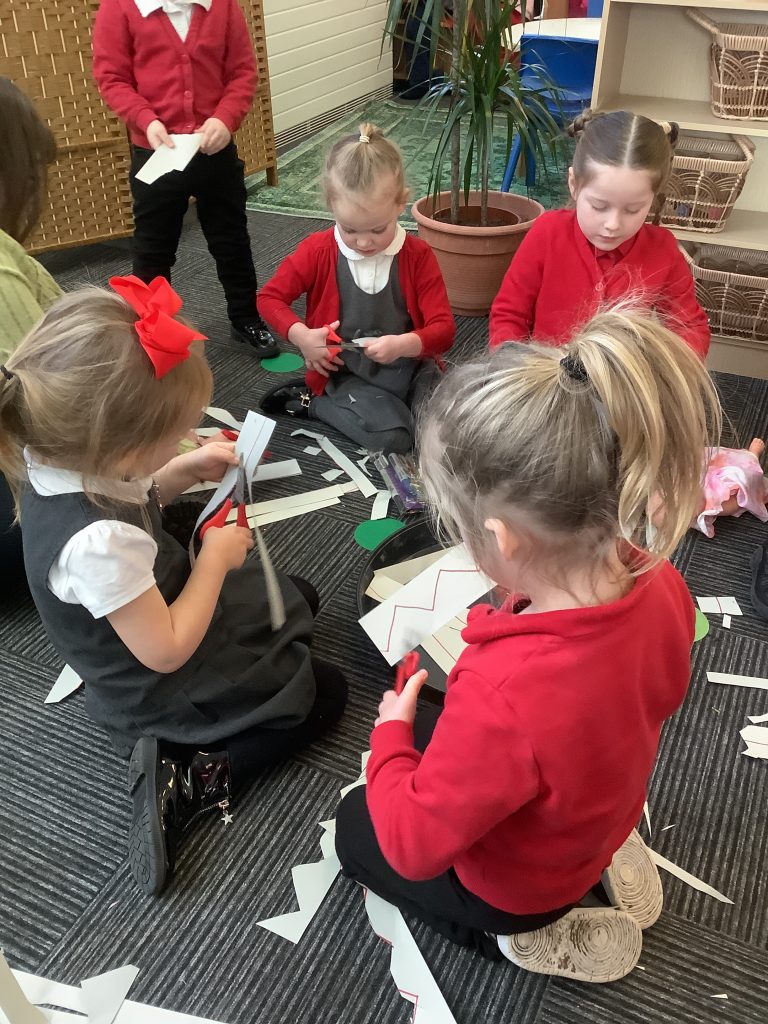
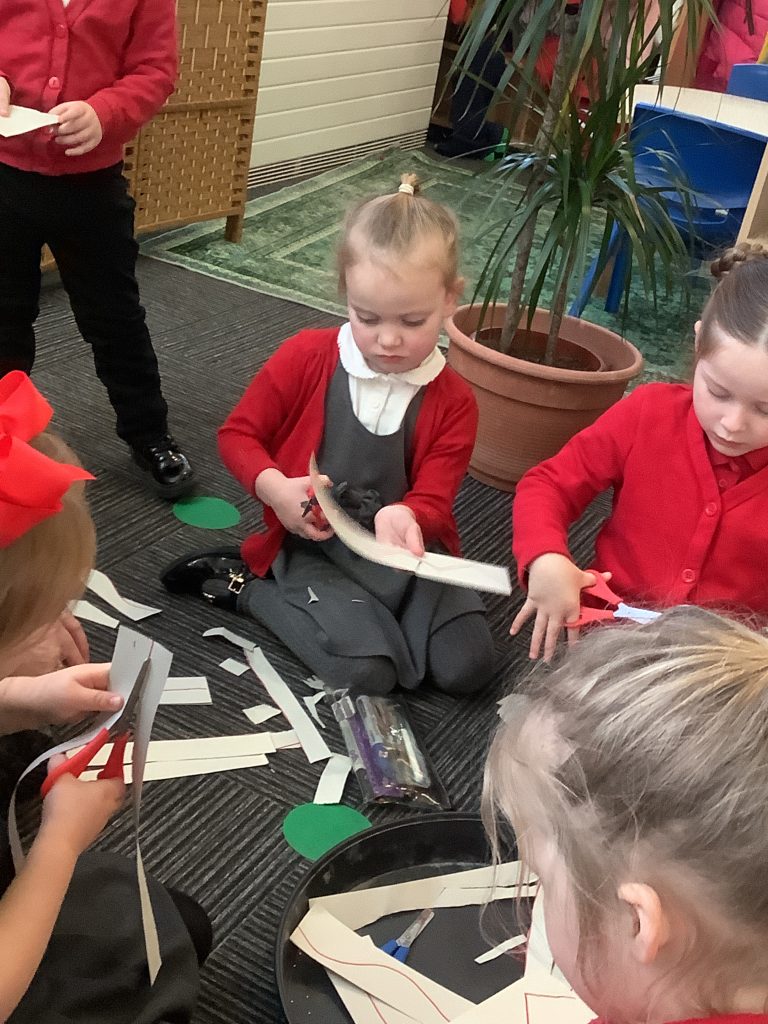
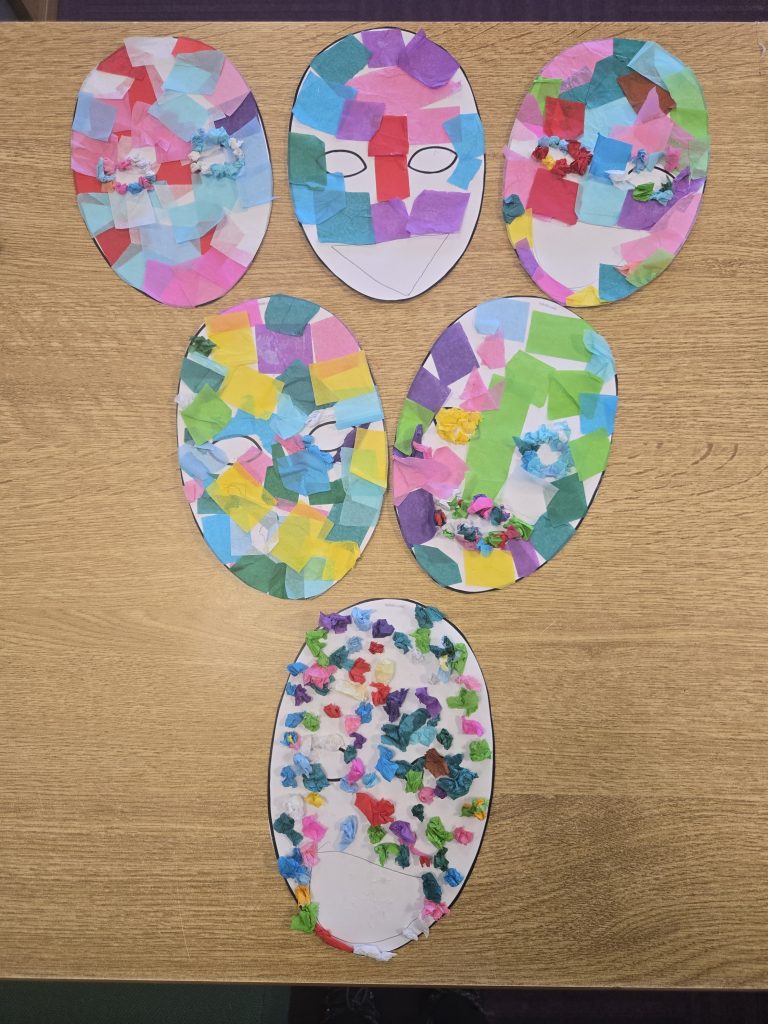
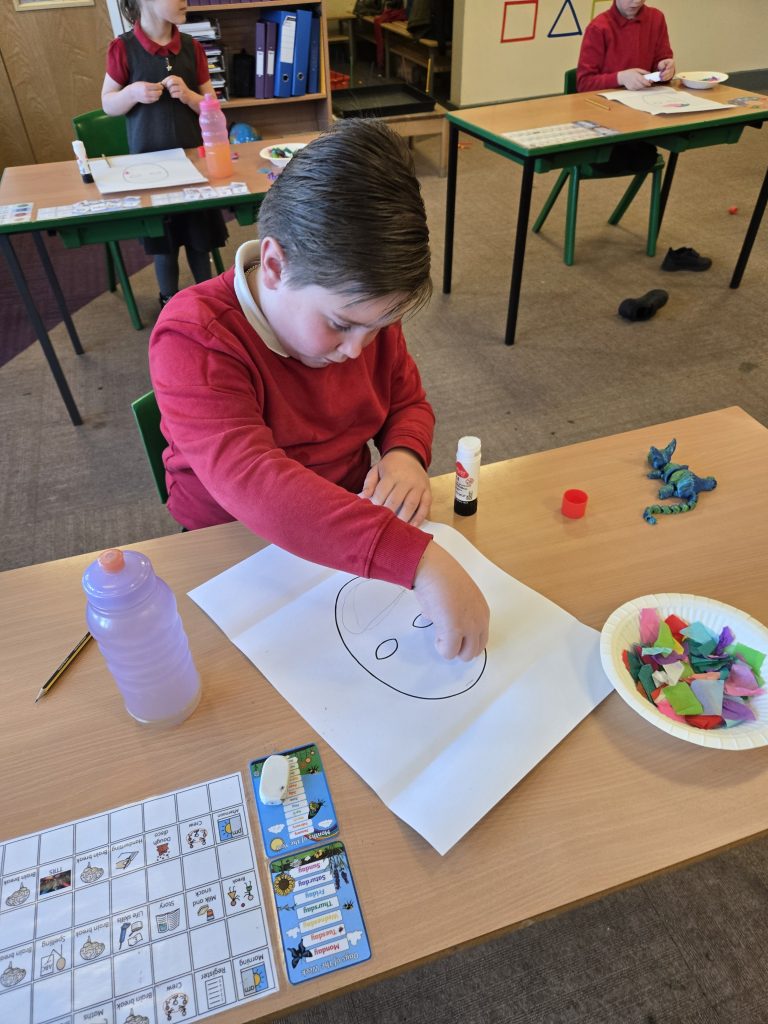
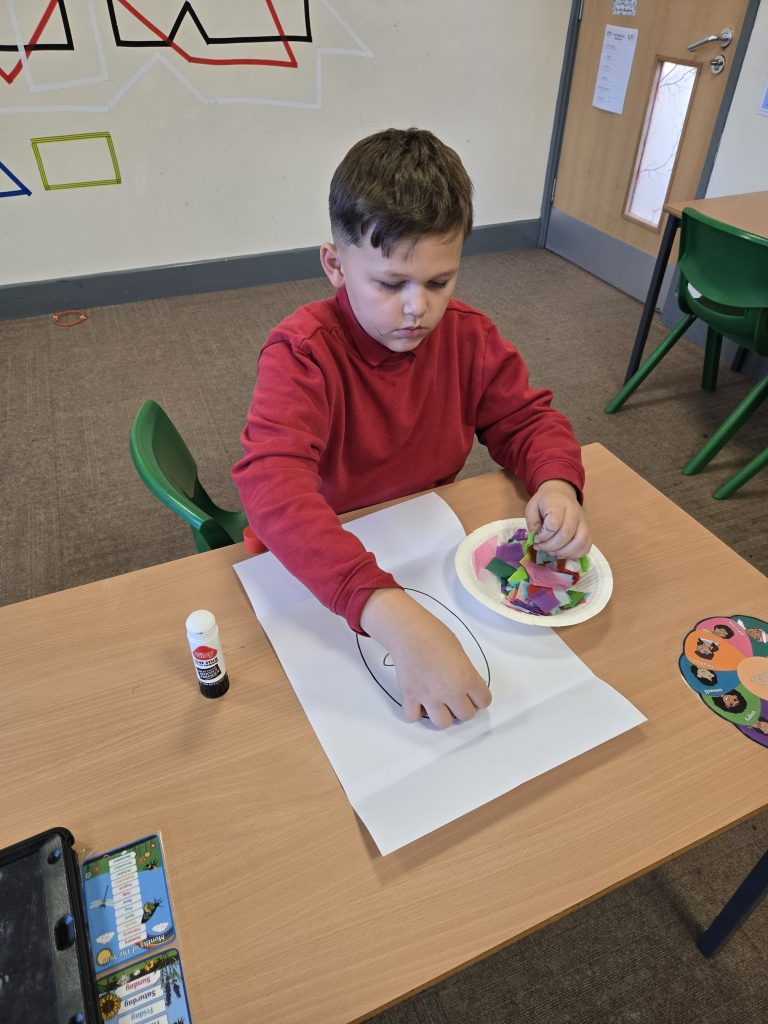
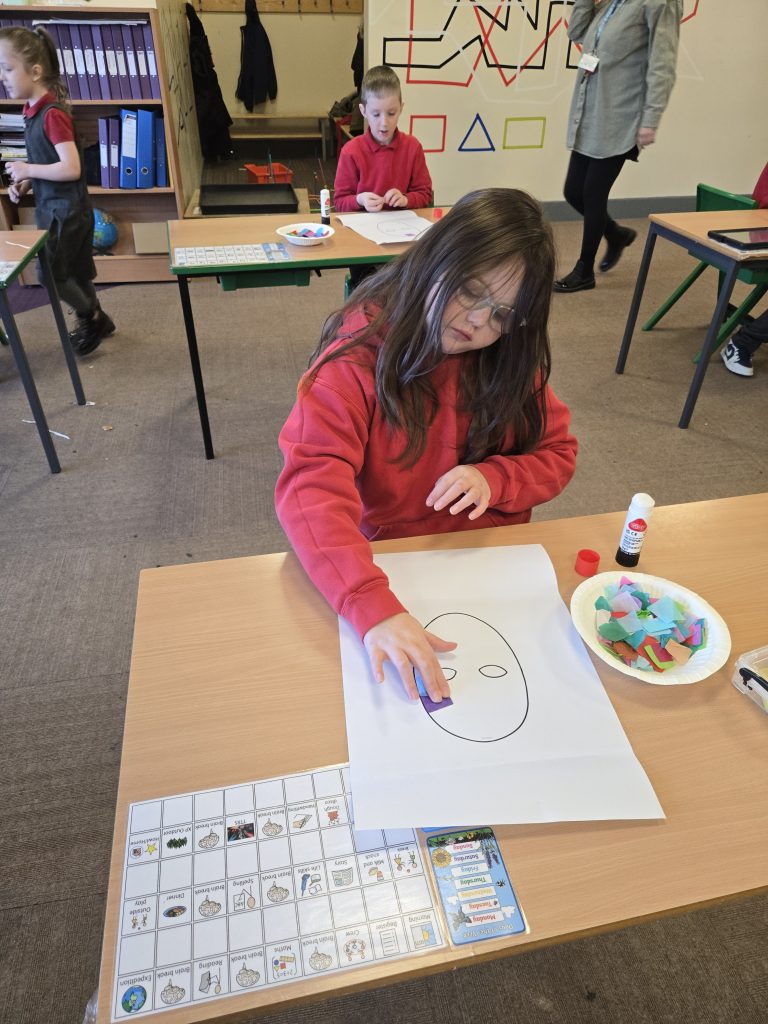
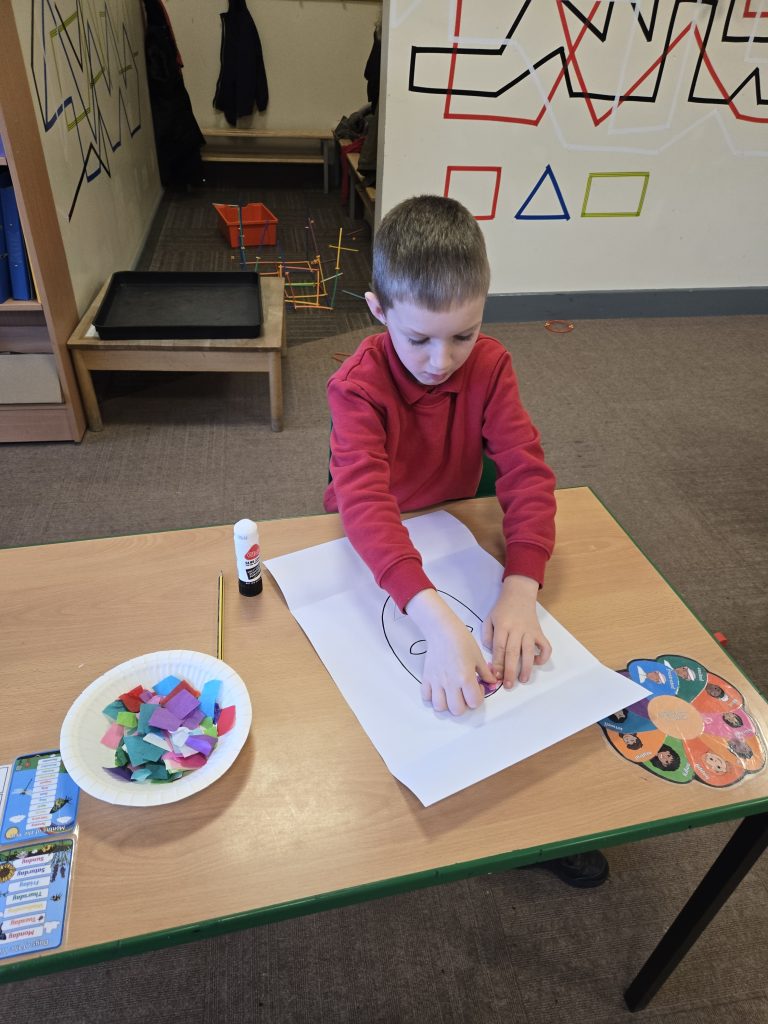
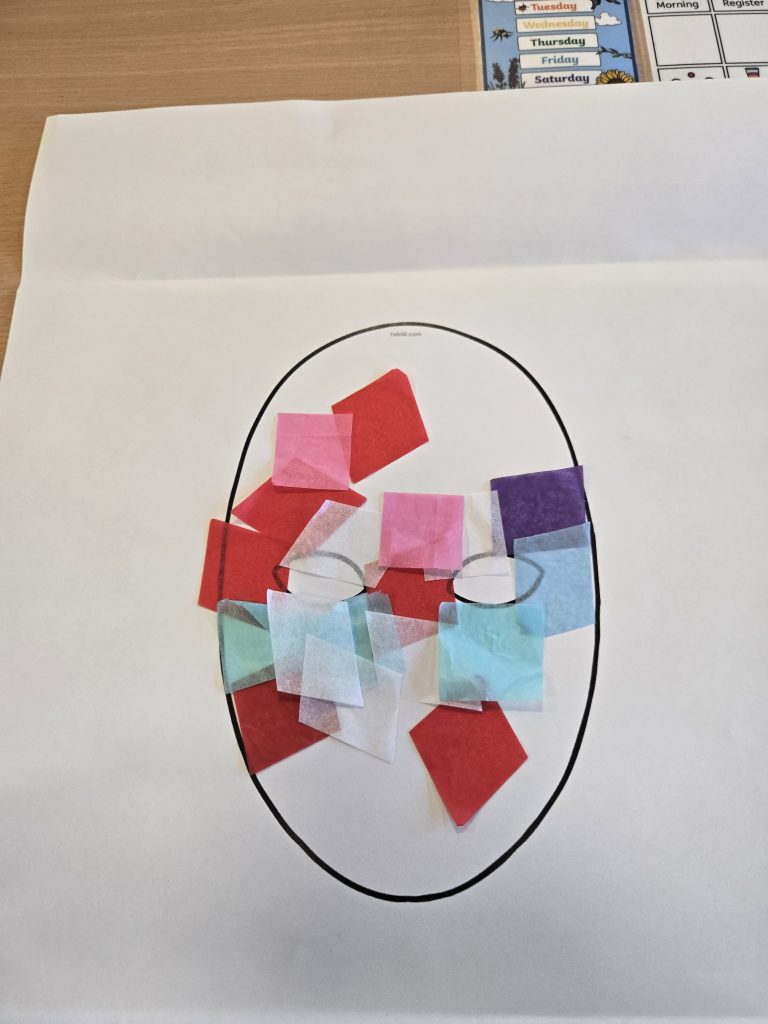
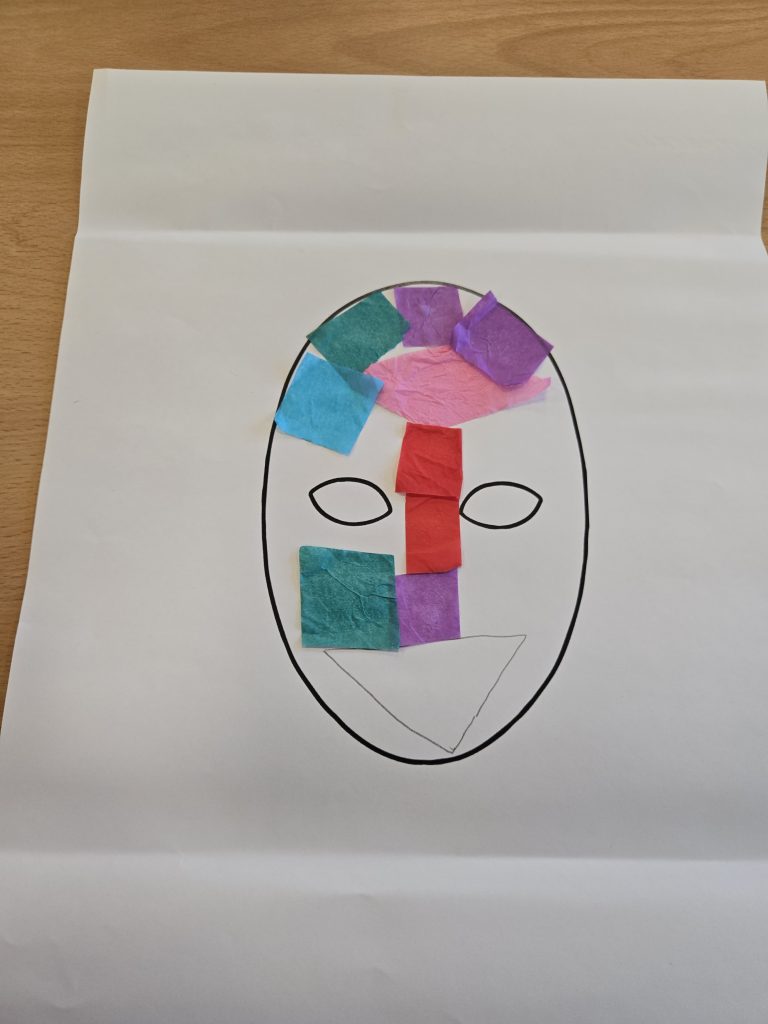
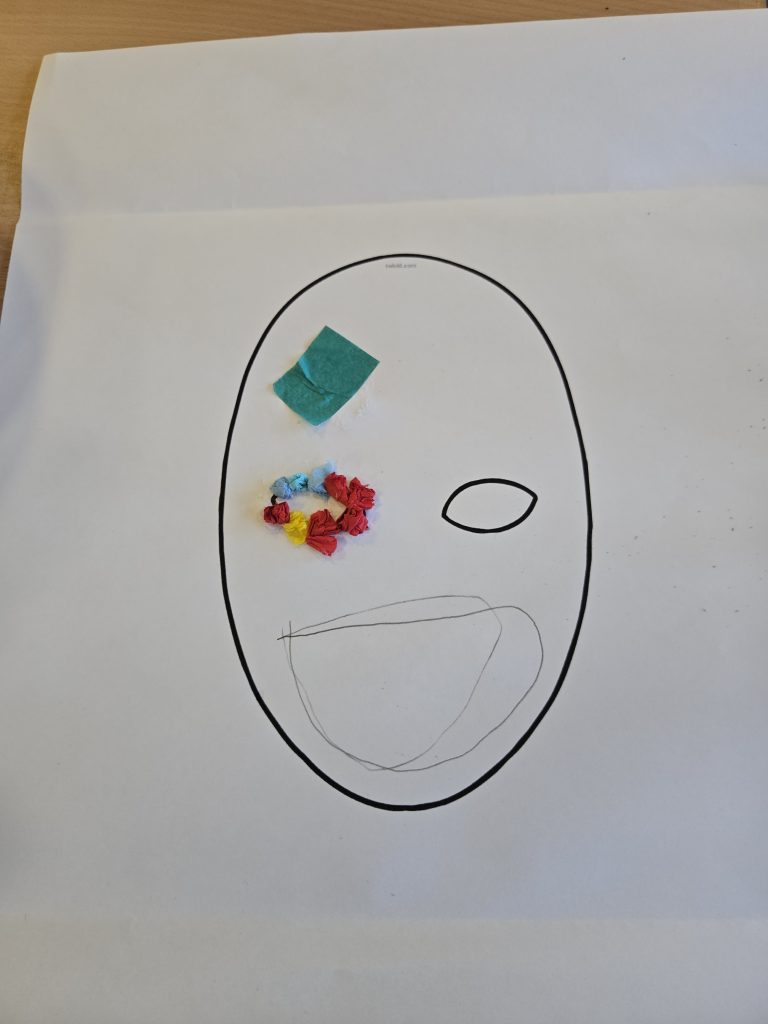
Fine motor skills are very important for your child’s early development. To support the children in this area Crew Frost were offered a wide range of opportunities during their choosing time.
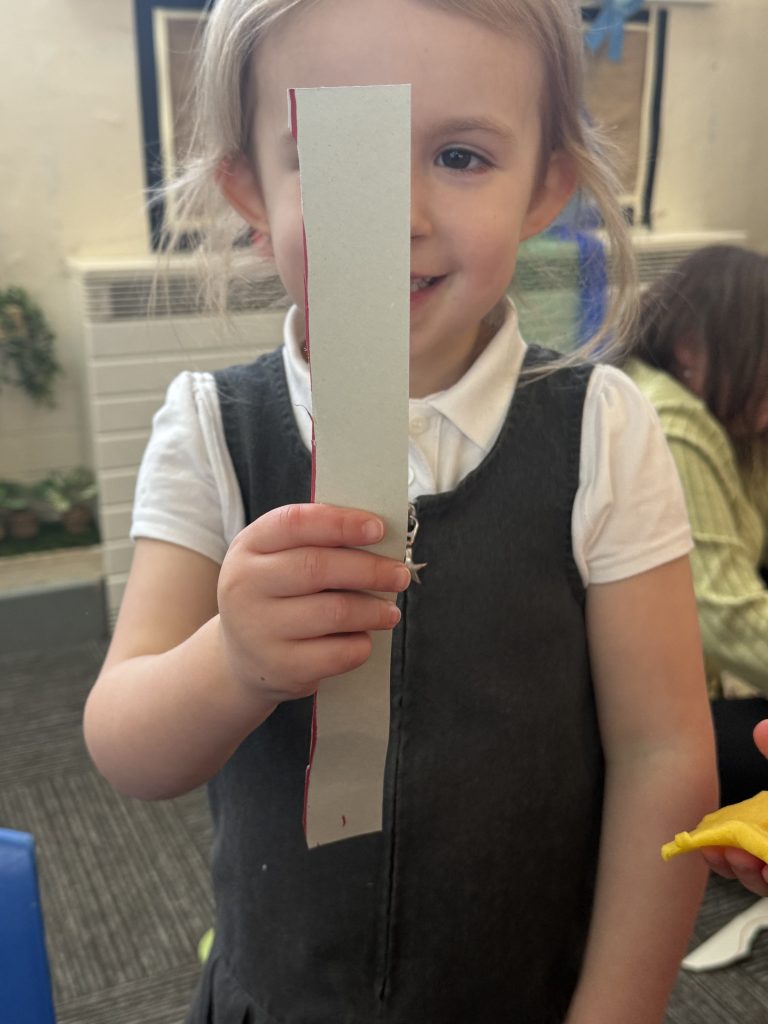
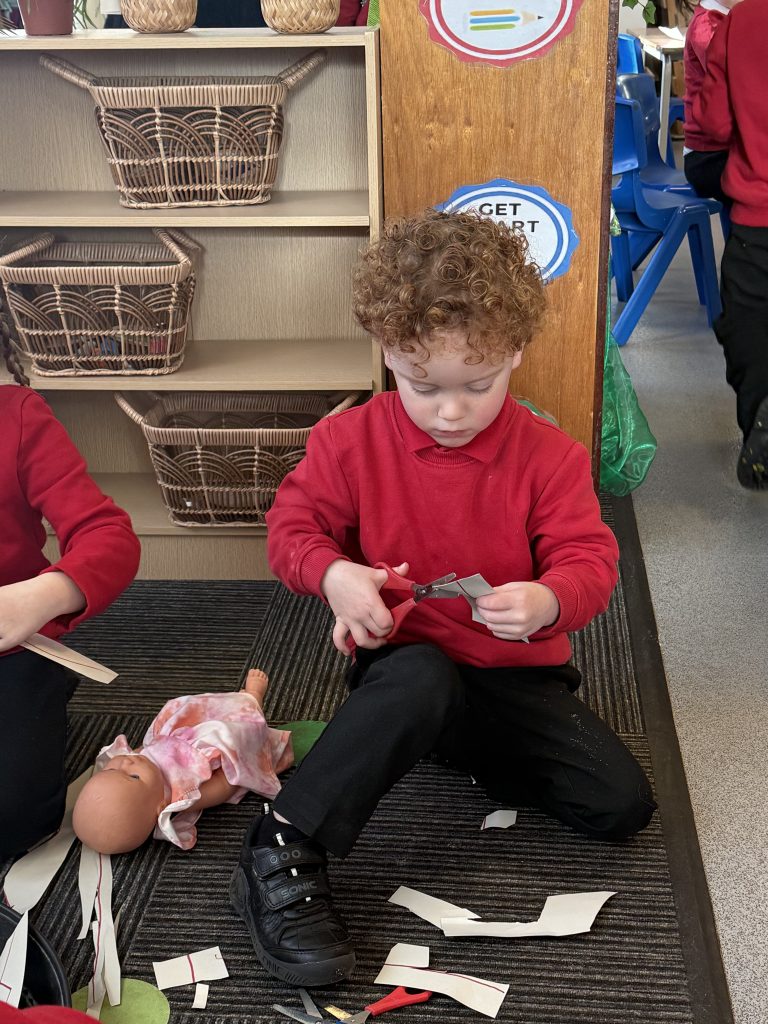
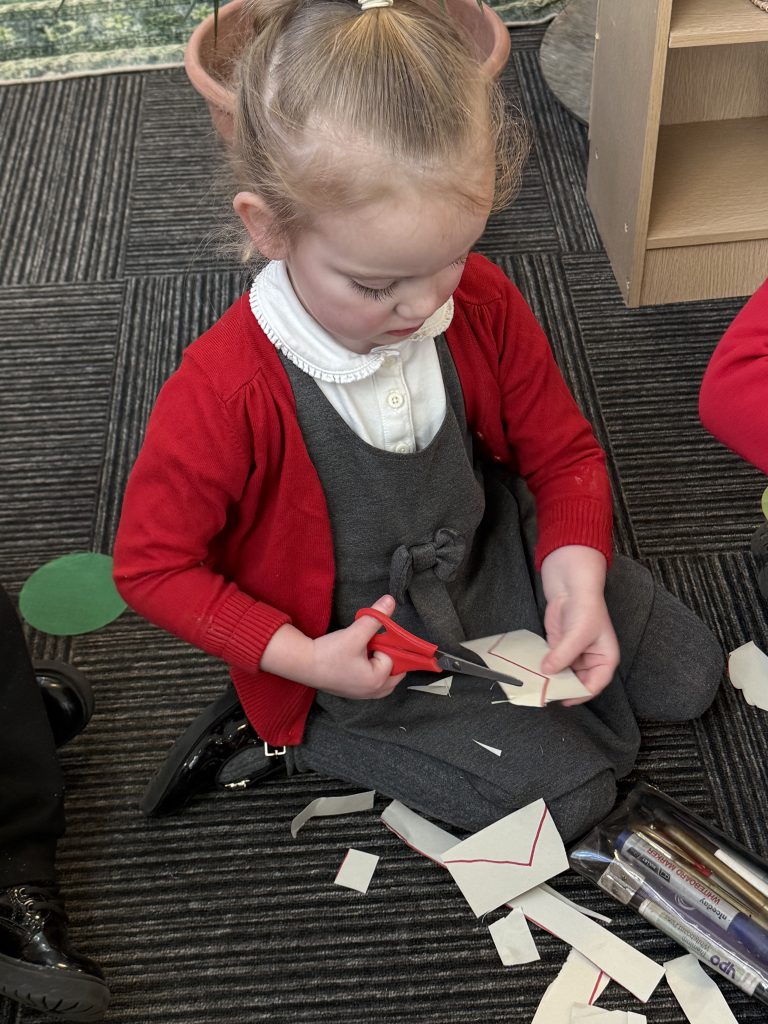
During this session, the children were given the challenge of following pre-made cutting lines. This activity encourages children to think critically and problem-solve as they work their way through the change in directions, how to hold the paper, and cut using one hand while stabilising the other.
This activity also improves hand-eye coordination, introduces new vocabulary, strengthens fine hand muscles, and supports the foundations for early writing by encouraging left-to-right movement. The opportunies are endless with this activity! Super work Crew Frost!
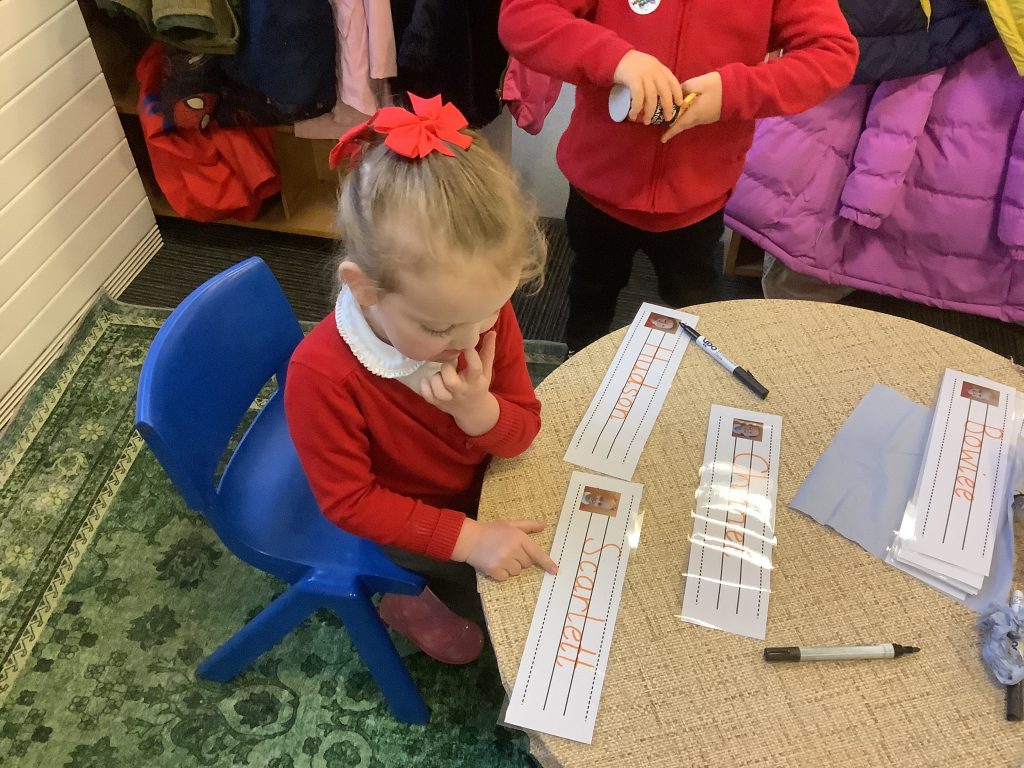
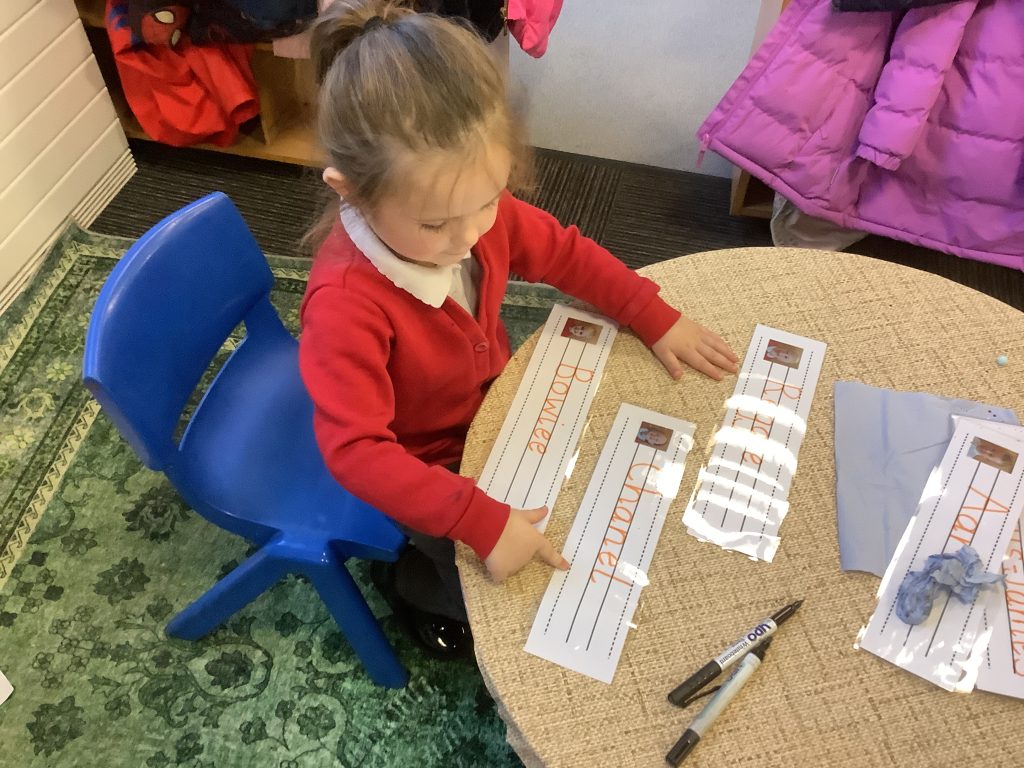
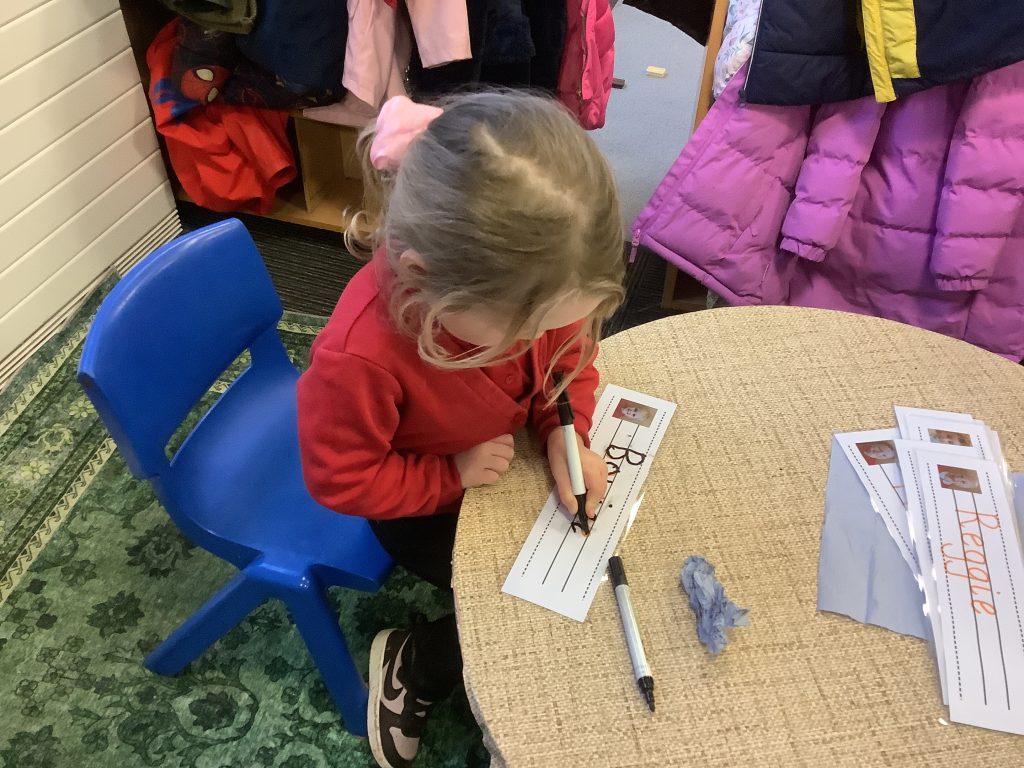
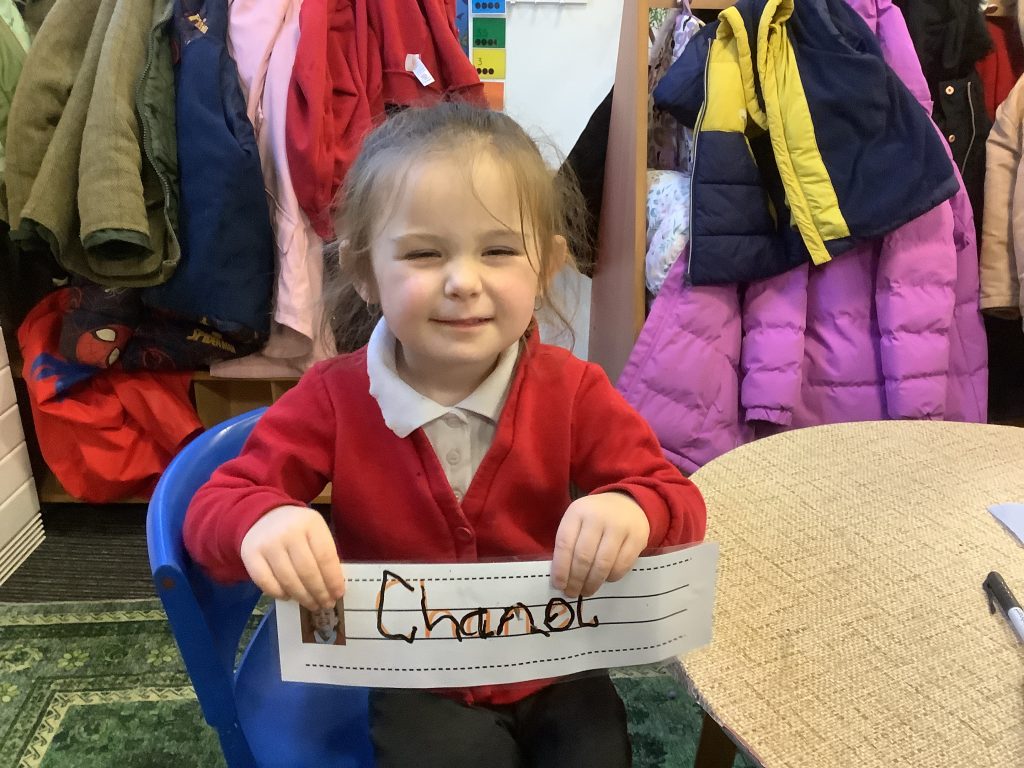
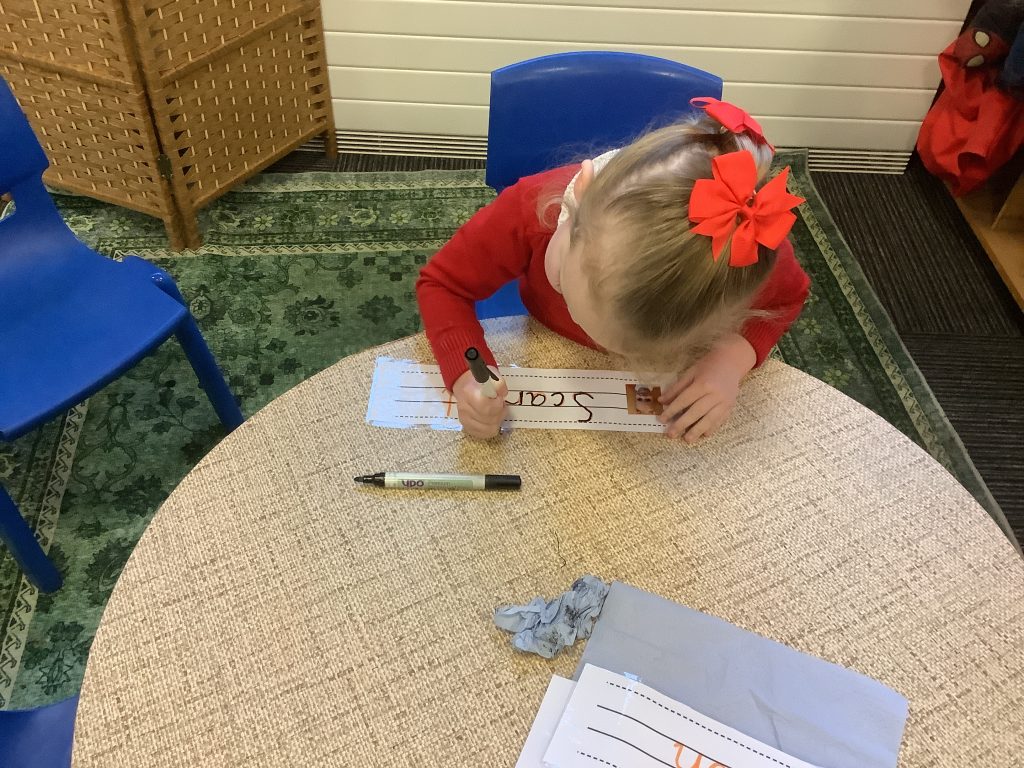
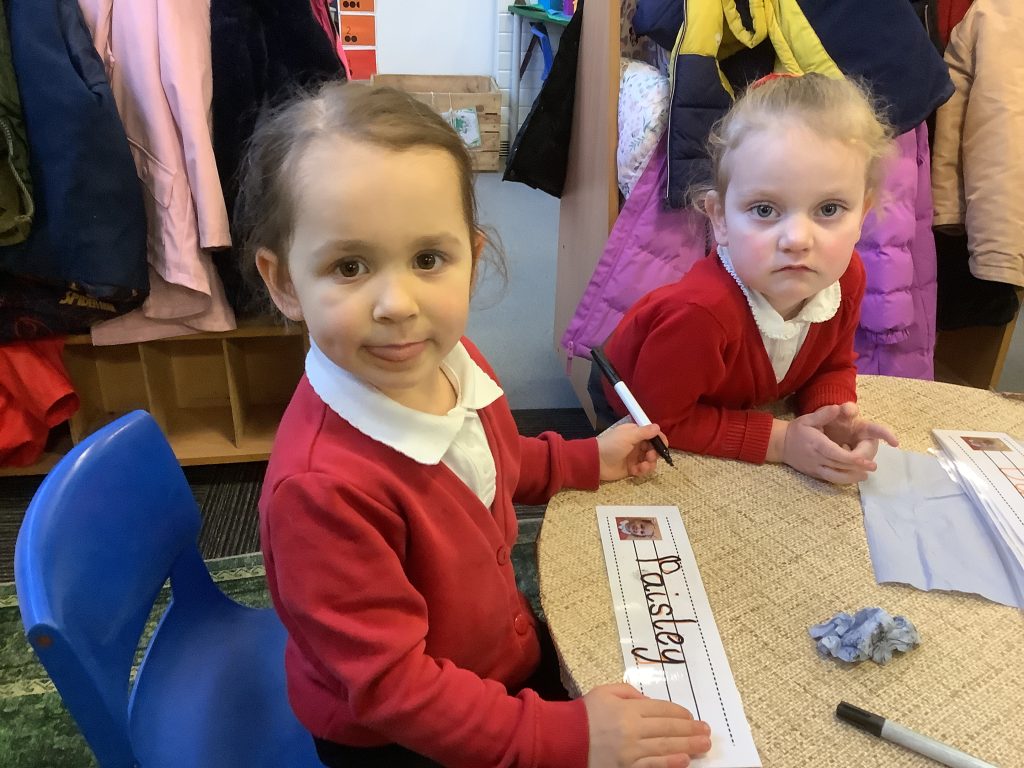
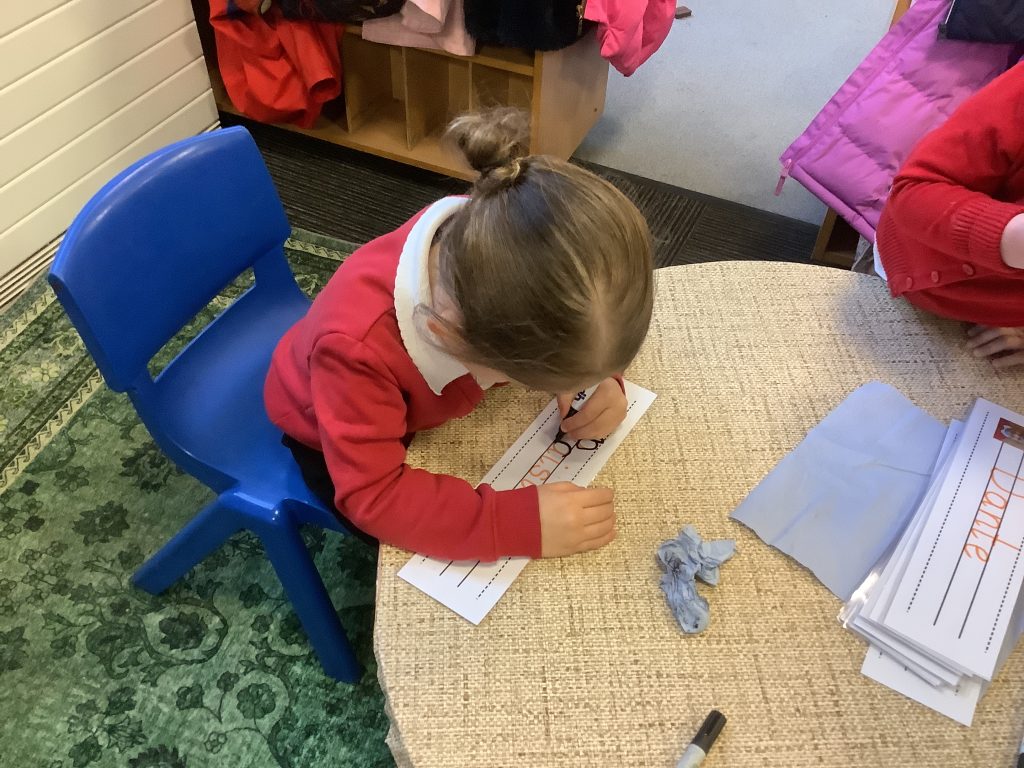
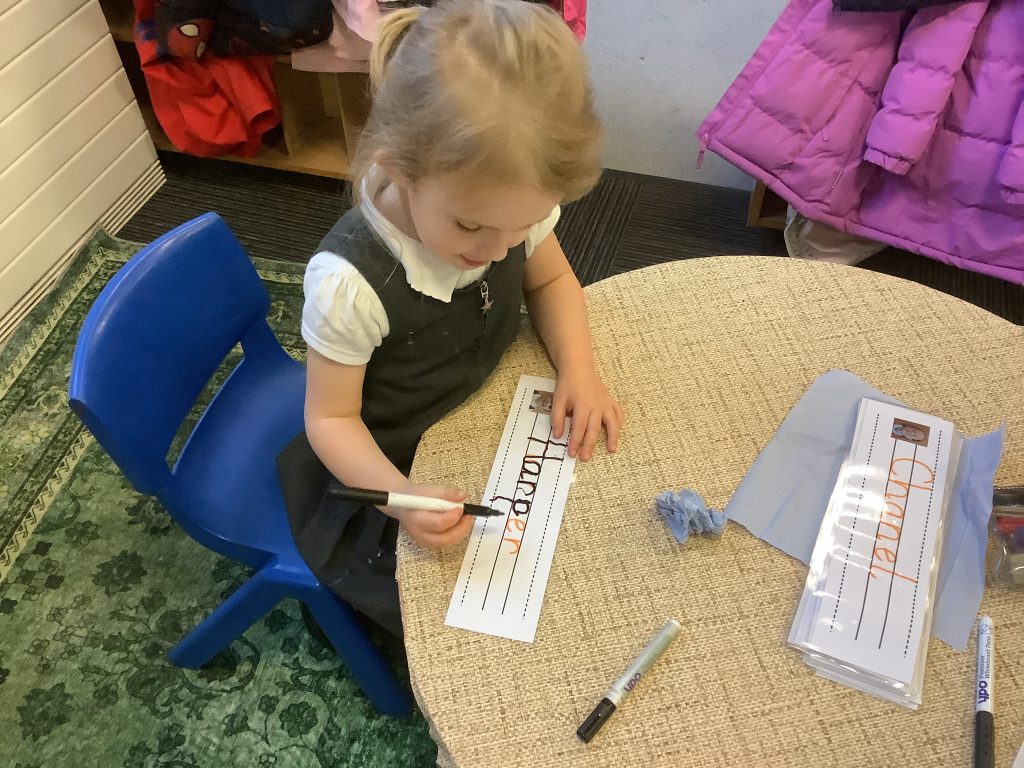
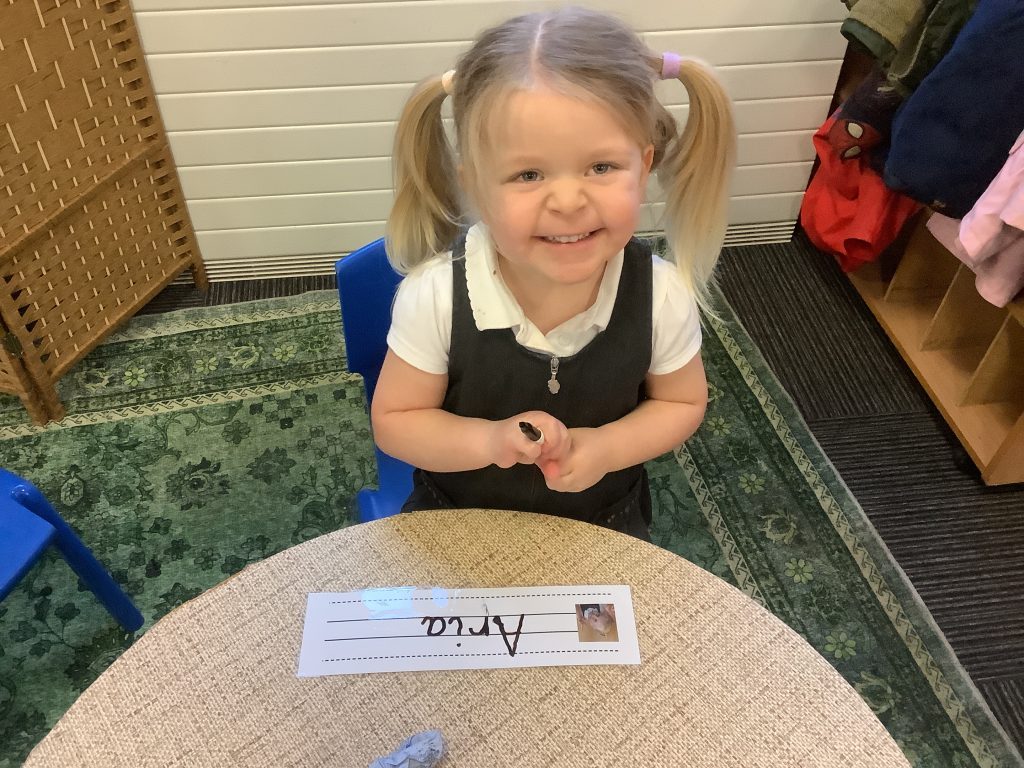
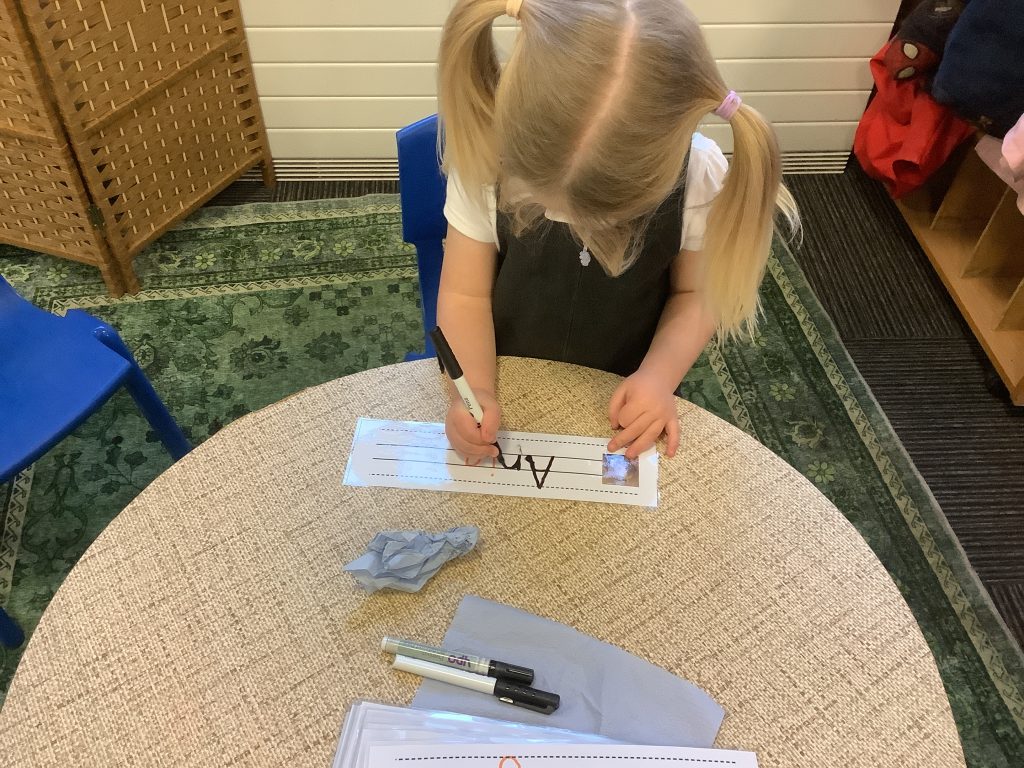
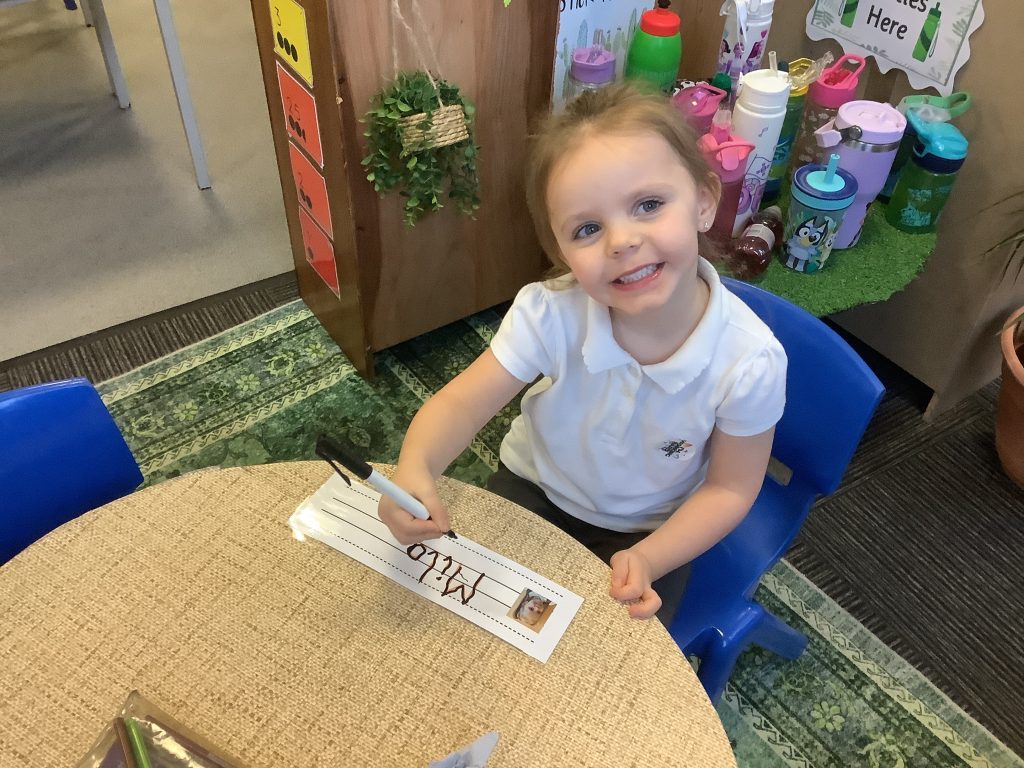
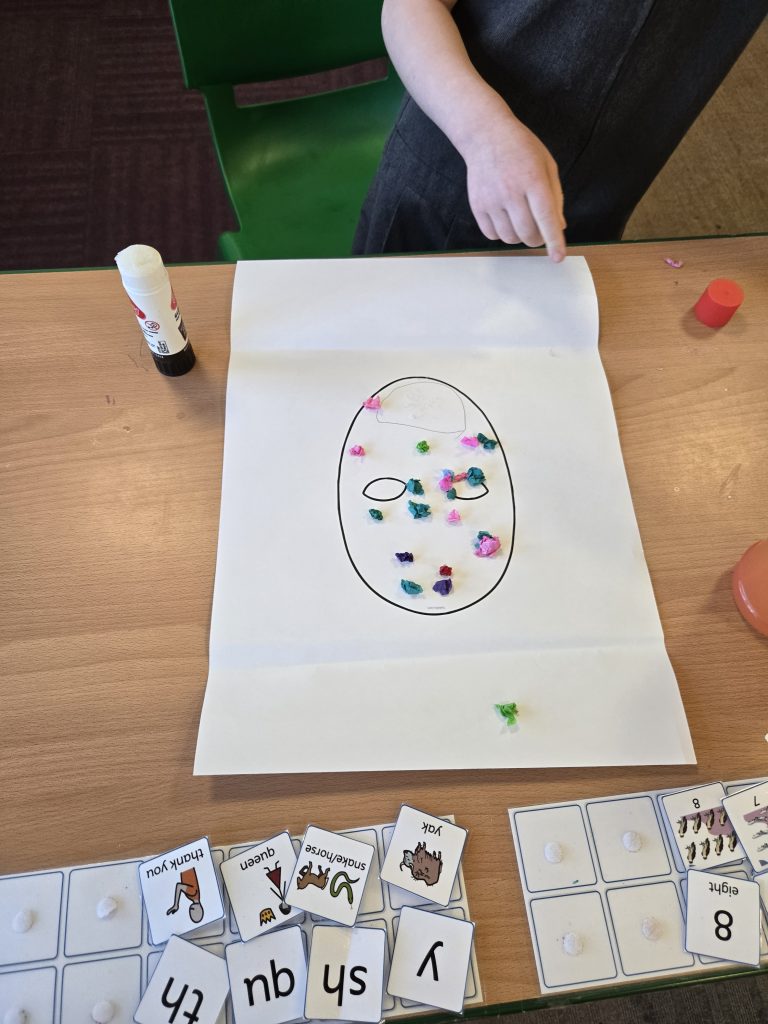
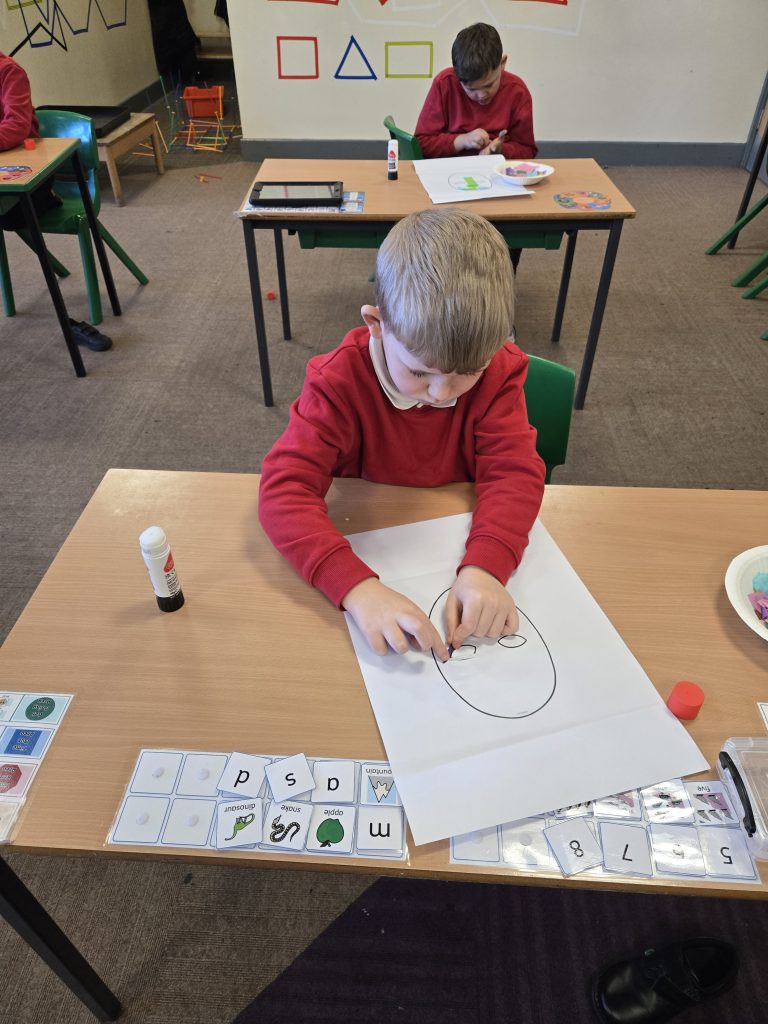
In Crew Frost we like to be prepared! For the summer term, we are aiming for the children to able to recognise their own name and even write some letters for their own name!
To support this, during their choosing time the children are offered opportunities to spot their name, work on their pencil grip, pronounce the first sound in their name, and begin letter formation for their name. They were so excited to see their very own name cards this week, and we can’t wait to do more fun name-recognition games with them. We can wait to see this fine motor skill develop. Well done Crew Frost – you are working very hard!
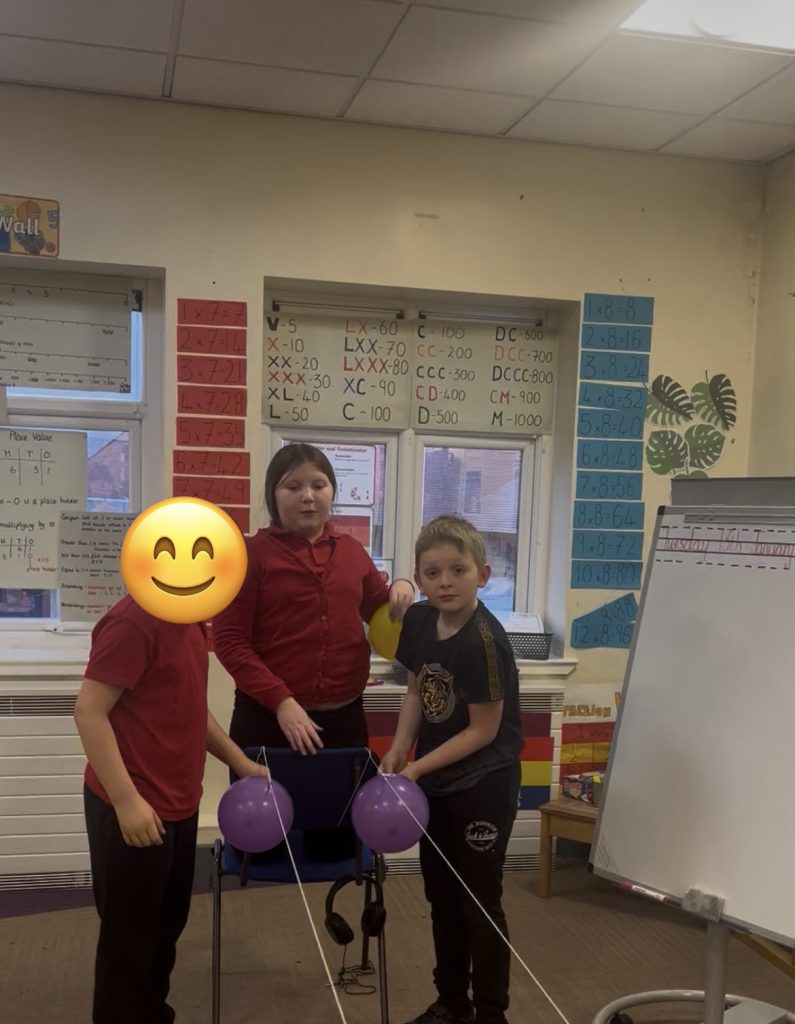
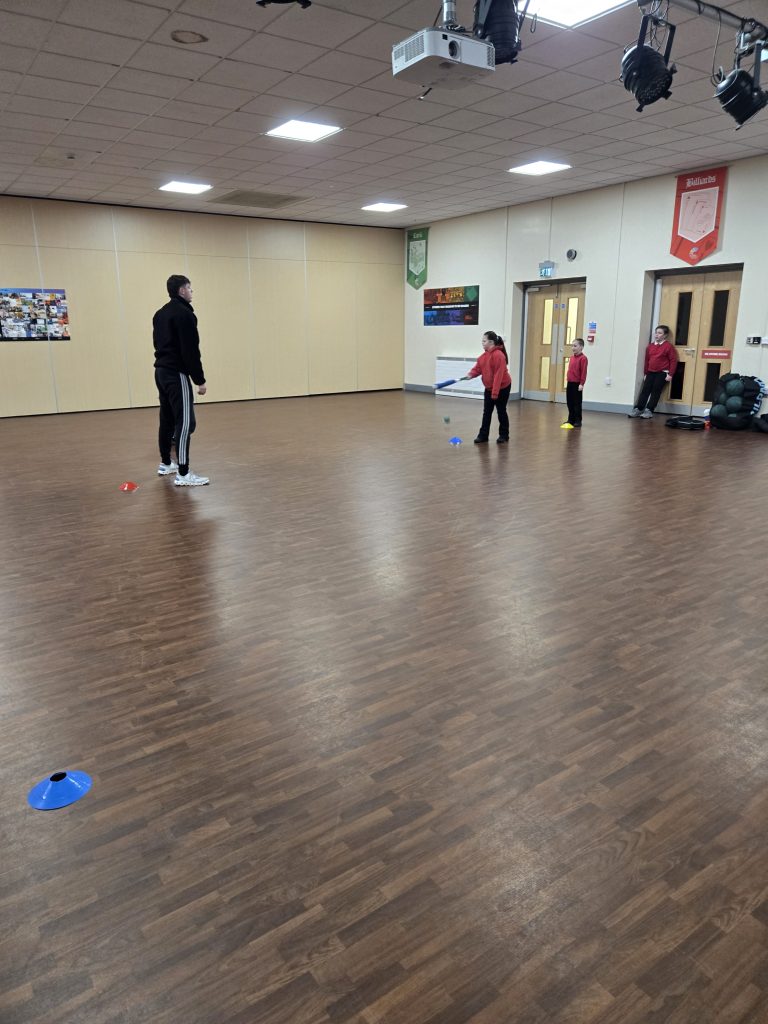
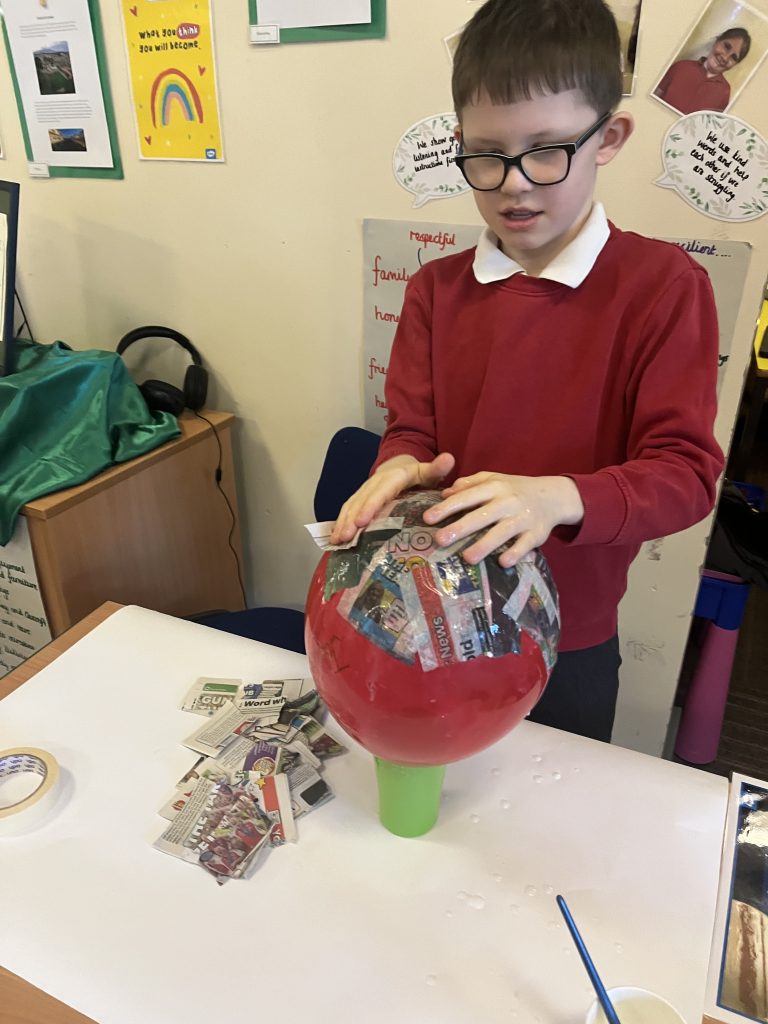
Today, Crew Godley took part in an exciting Balloon Rocket Challenge, exploring ‘Our Place in Space’. They put their scientific thinking to the test as they explored how rockets travel through space and the forces that make them move.
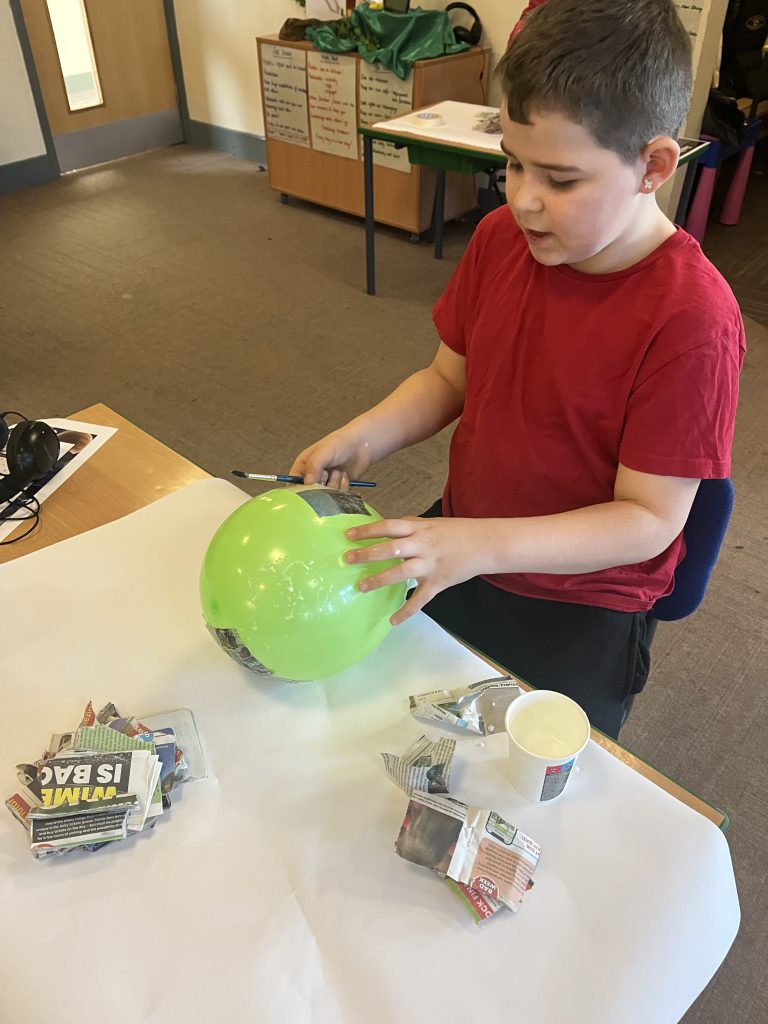
The lesson began with a crew discussion about rockets and space travel. We shared our ideas about how rockets launch and what helps them move. We then worked together to construct balloon rockets. As the balloons were released, children observed how air rushing out created a force that pushed the rocket forward along the string.
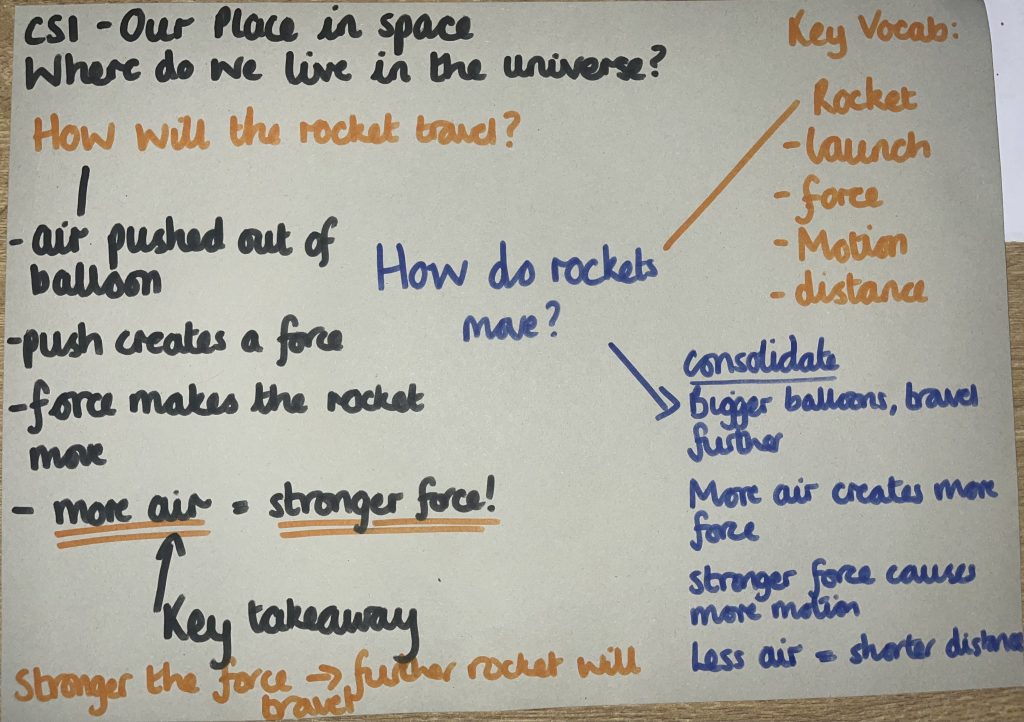
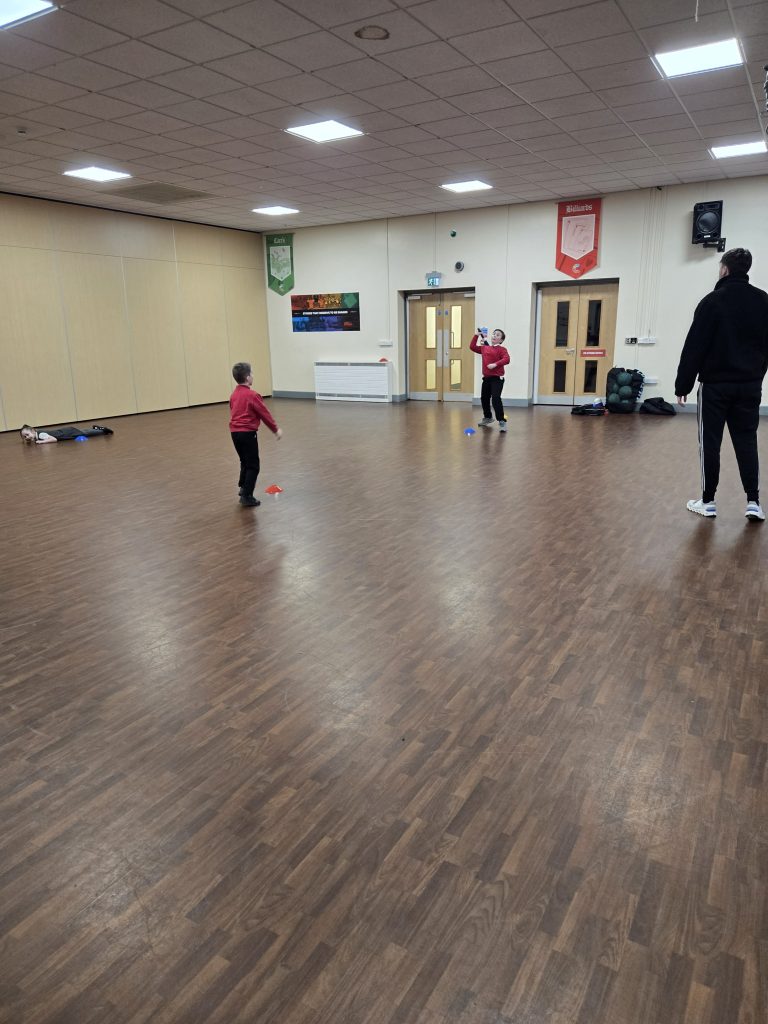
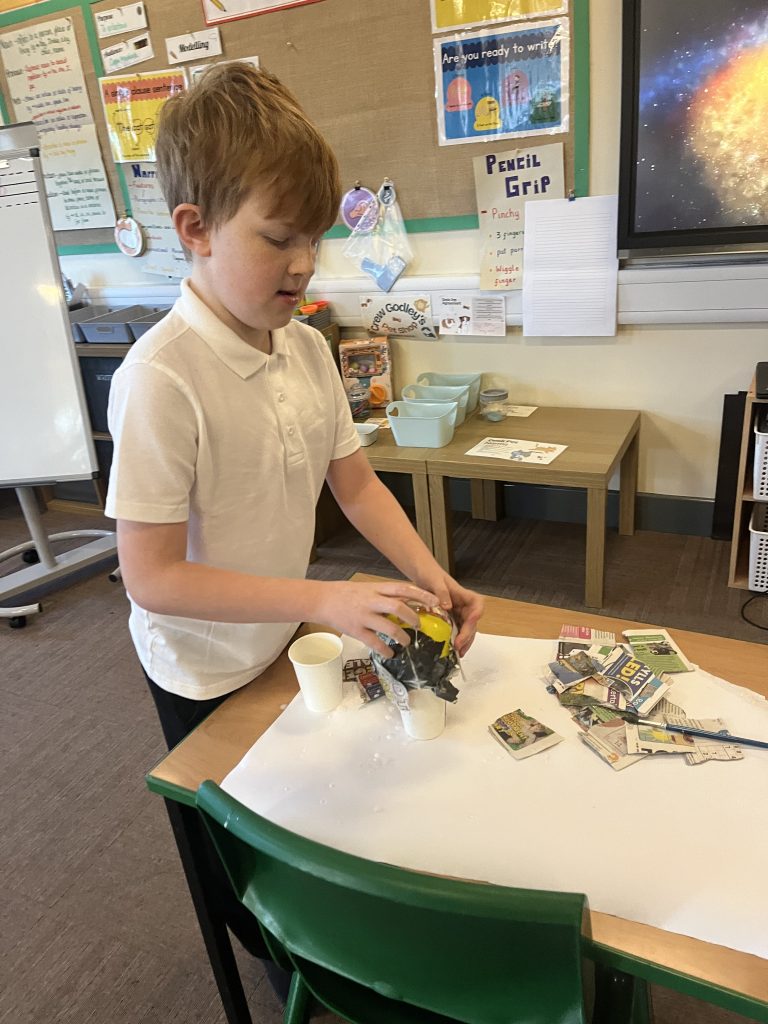
We measured and recorded the distance the rockets travelled, comparing results, noticing that rockets travelled different distances depending on how much air was inside the balloon. This led to thoughtful discussion and excellent use of scientific language.
We concluded that a stronger force created more motion, helping the rocket travel a greater distance.
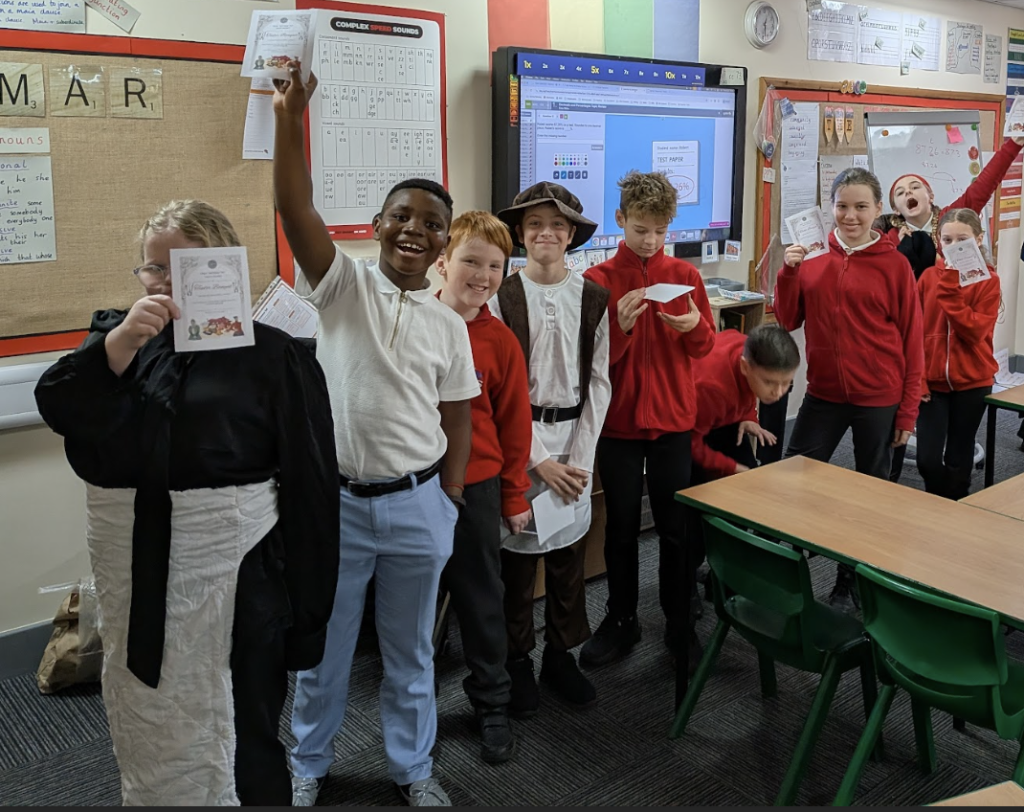
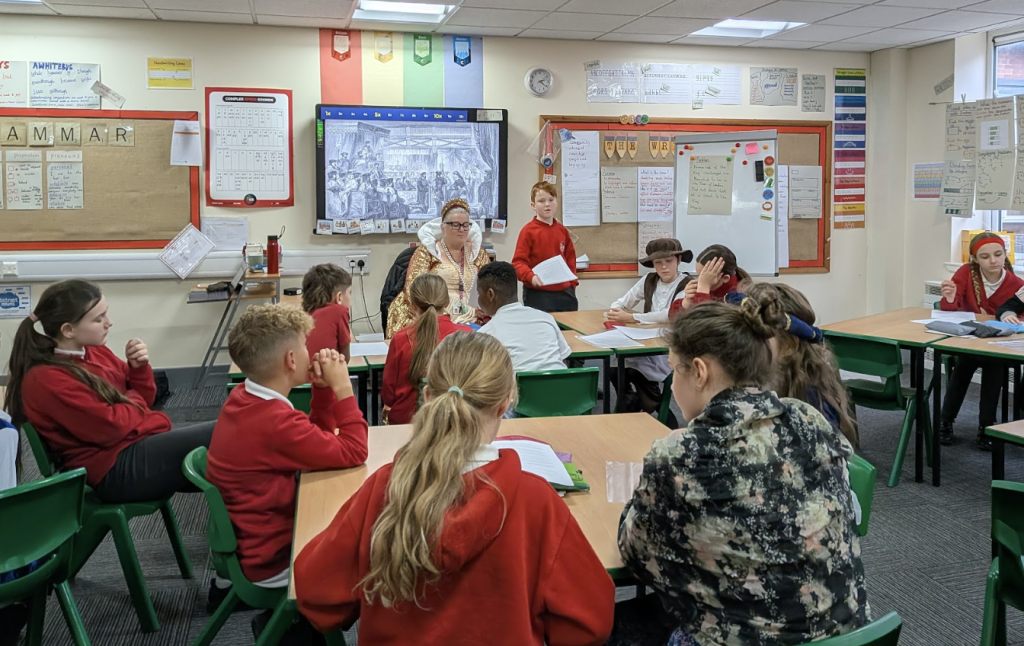
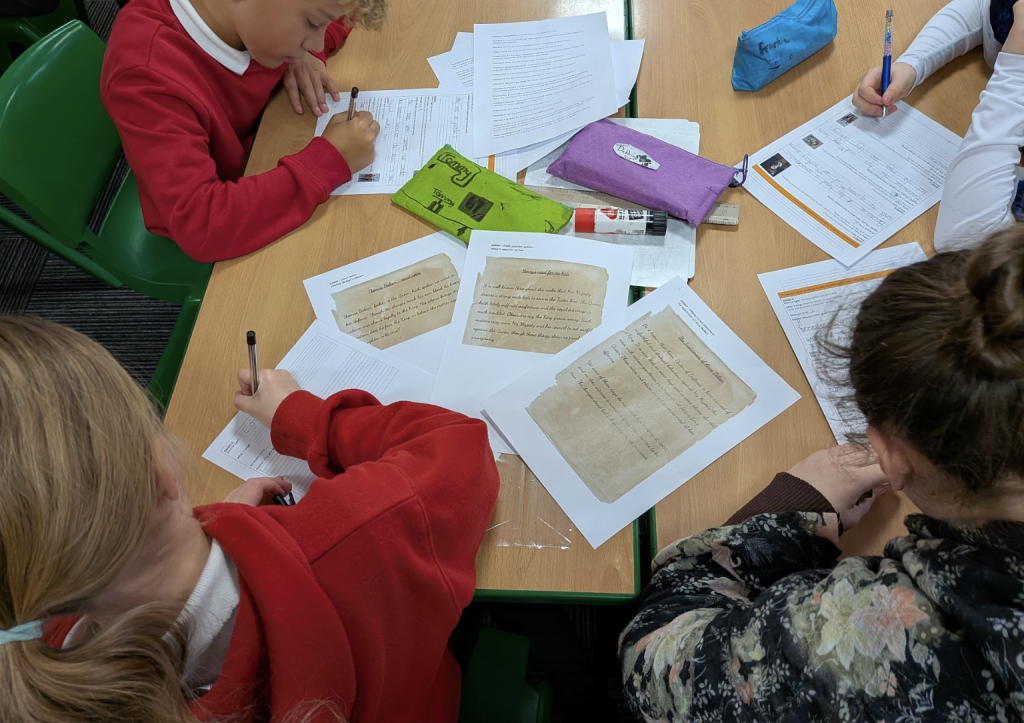
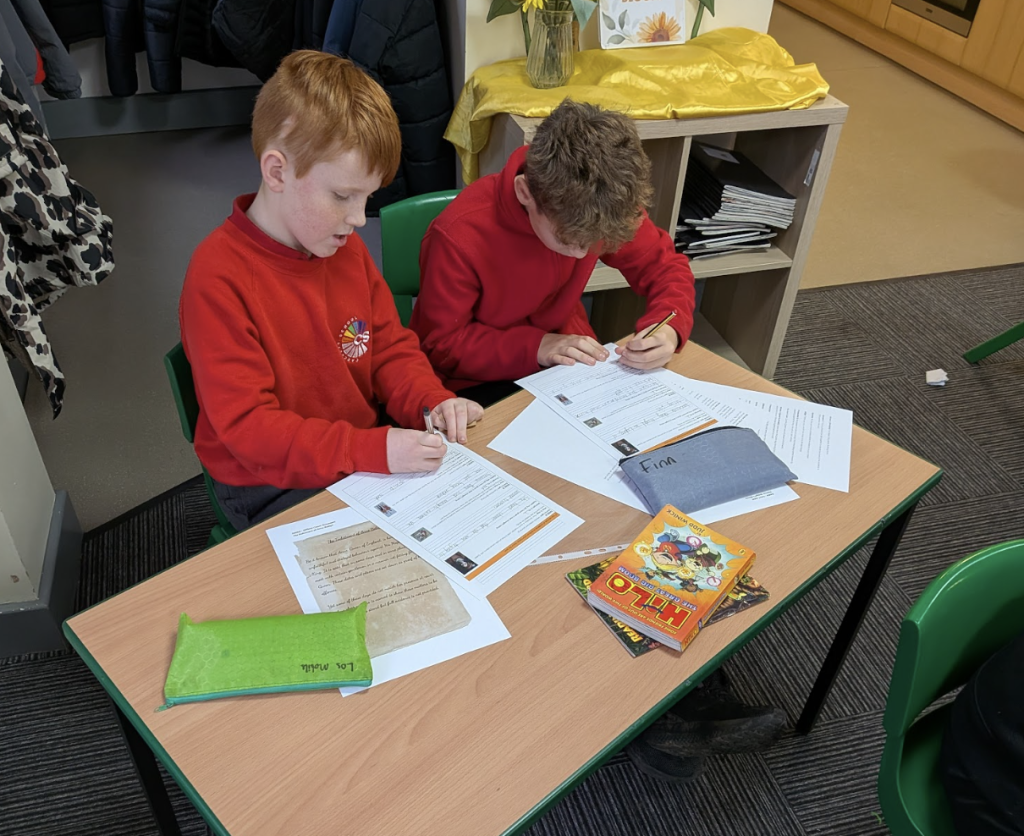
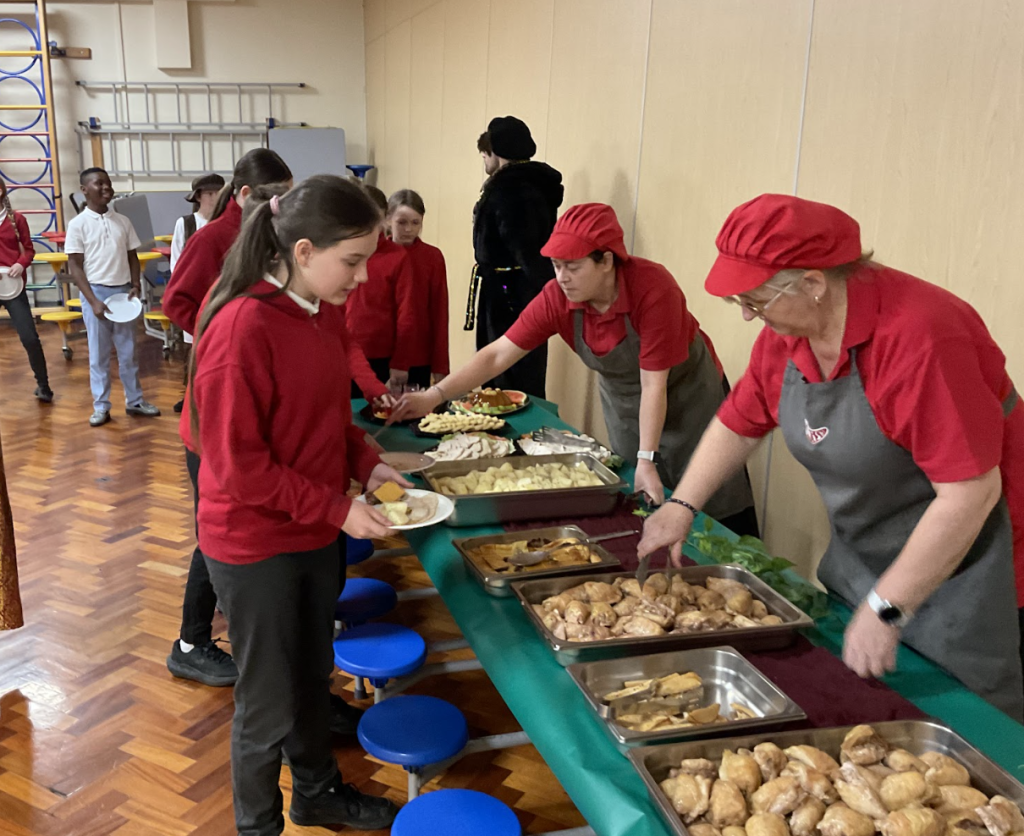
Hook Week launched our learning in unforgettable style as Crew White were thrown straight into the world of the Tudors. The hall was transformed for a Tudor banquet, giving the children a taste of life at court and a chance to imagine the sights, sounds and atmosphere of the period.
The highlight of the week was a powerful mock trial of Anne Boleyn. Taking on different roles, the children interrogated a wide range of evidence, questioned its reliability, and debated how convincing it really was. They were challenged to think critically, weigh up claims, and consider how power and bias may have shaped events.
The level of engagement was fantastic. Children asked sharp questions, justified their opinions and showed real maturity when discussing complex and controversial evidence. Hook Week did exactly what it promised: spark curiosity, excitement and a deep desire to learn more about Tudor England.
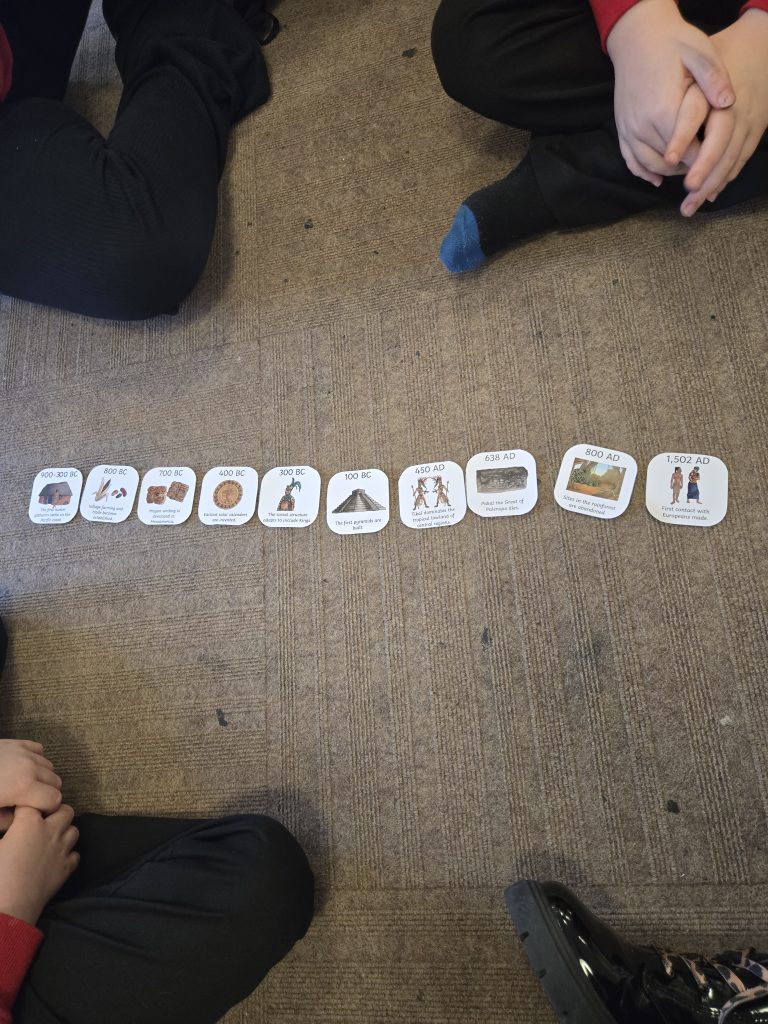
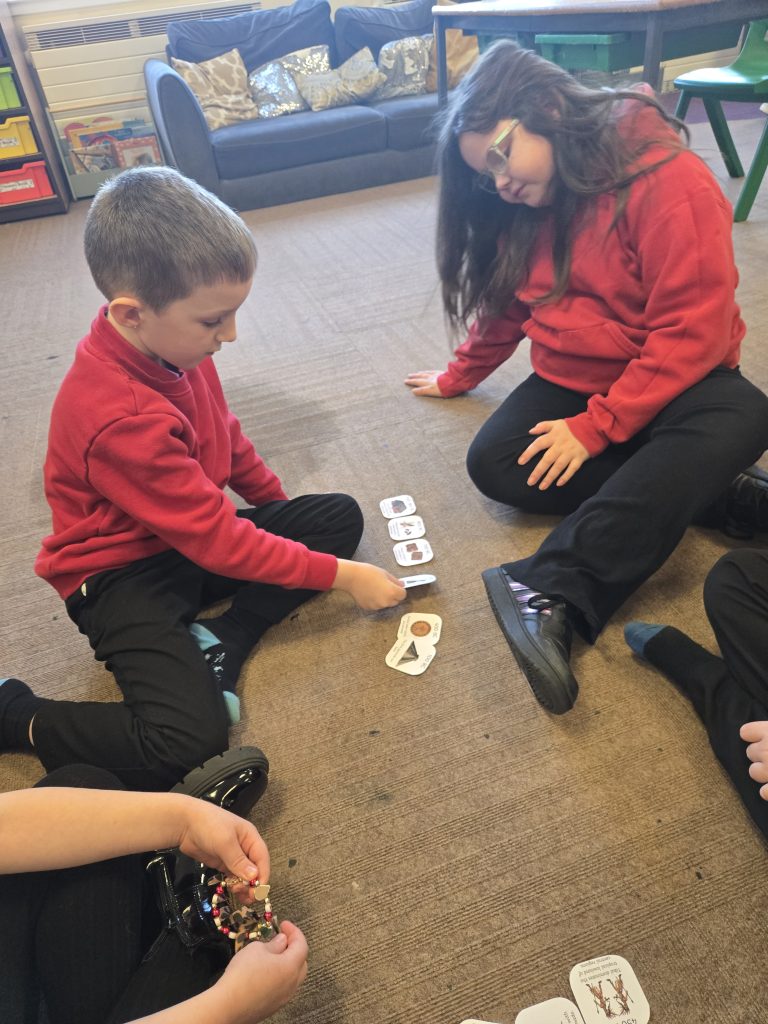
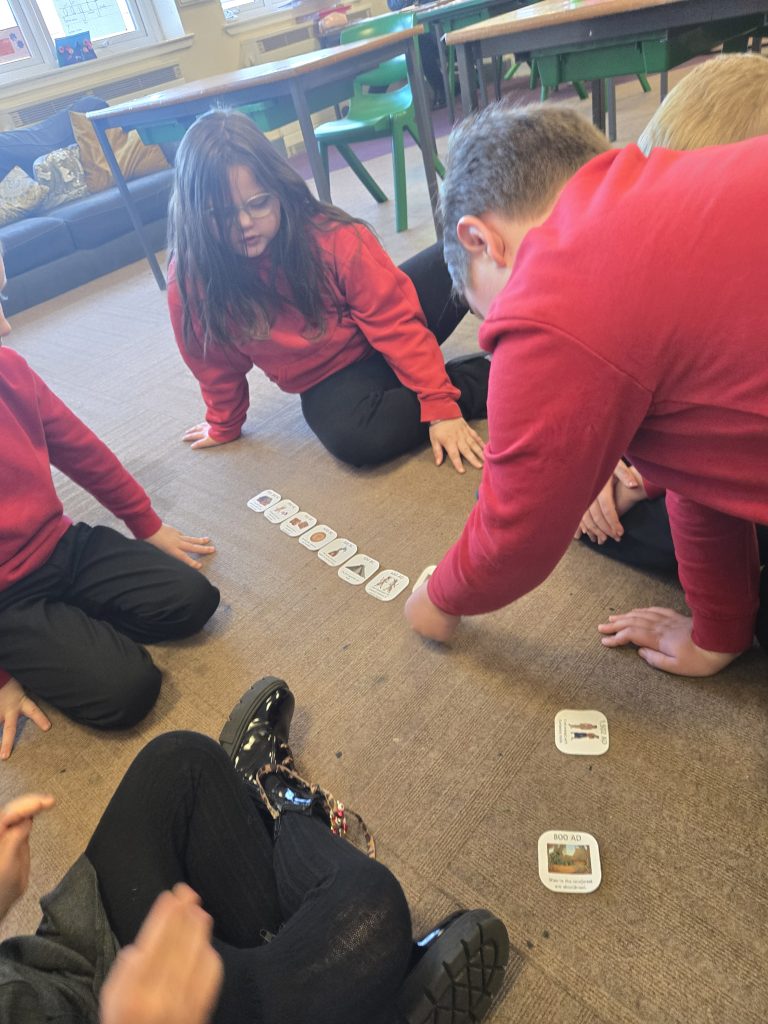
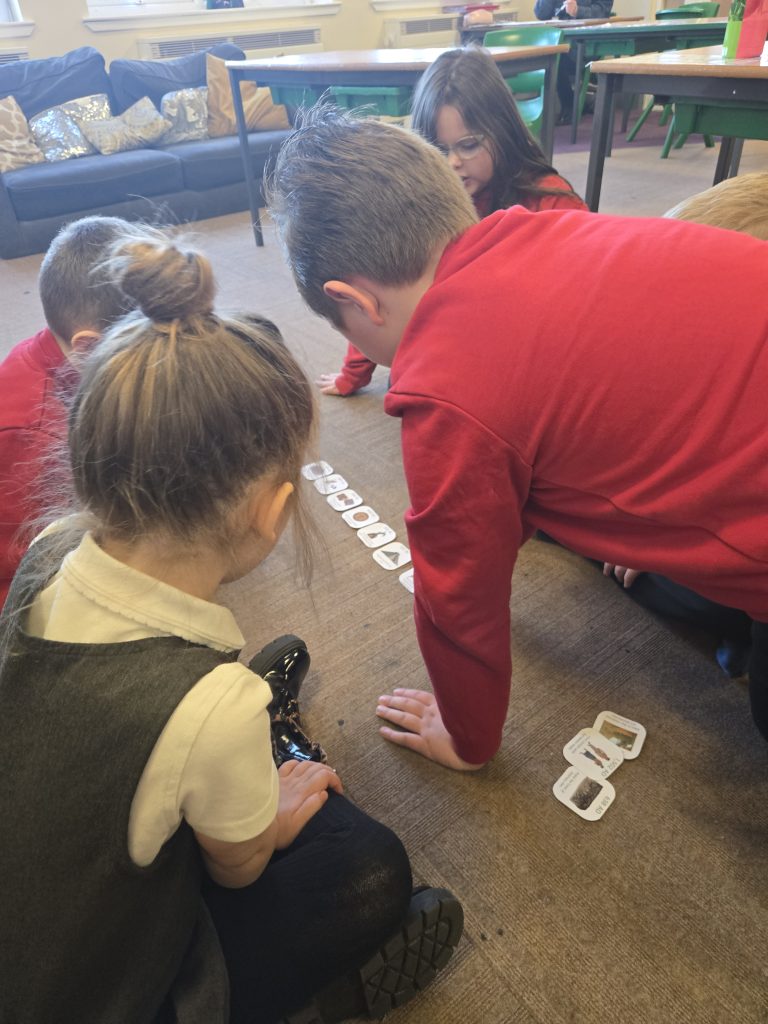
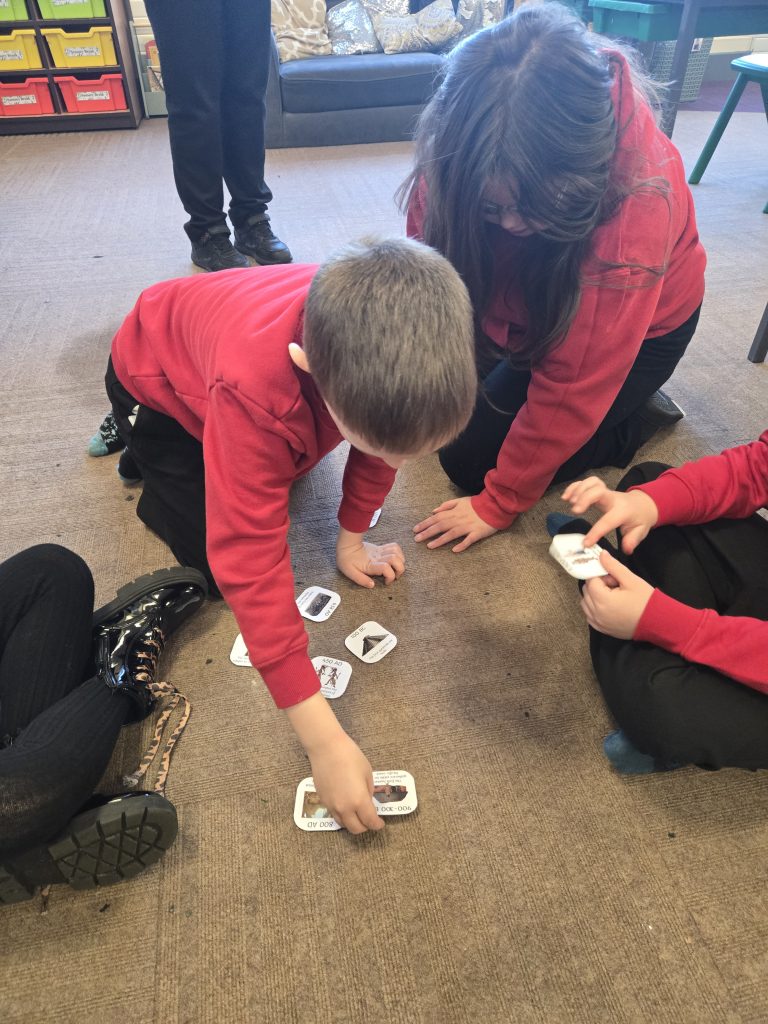
Today we were looking at the timeline in Maya. We looked at what AD and BC stood for. AD stands for Anno Domini, which is Latin for in the year of the Lord. BC refers to the time before Jesus was born.
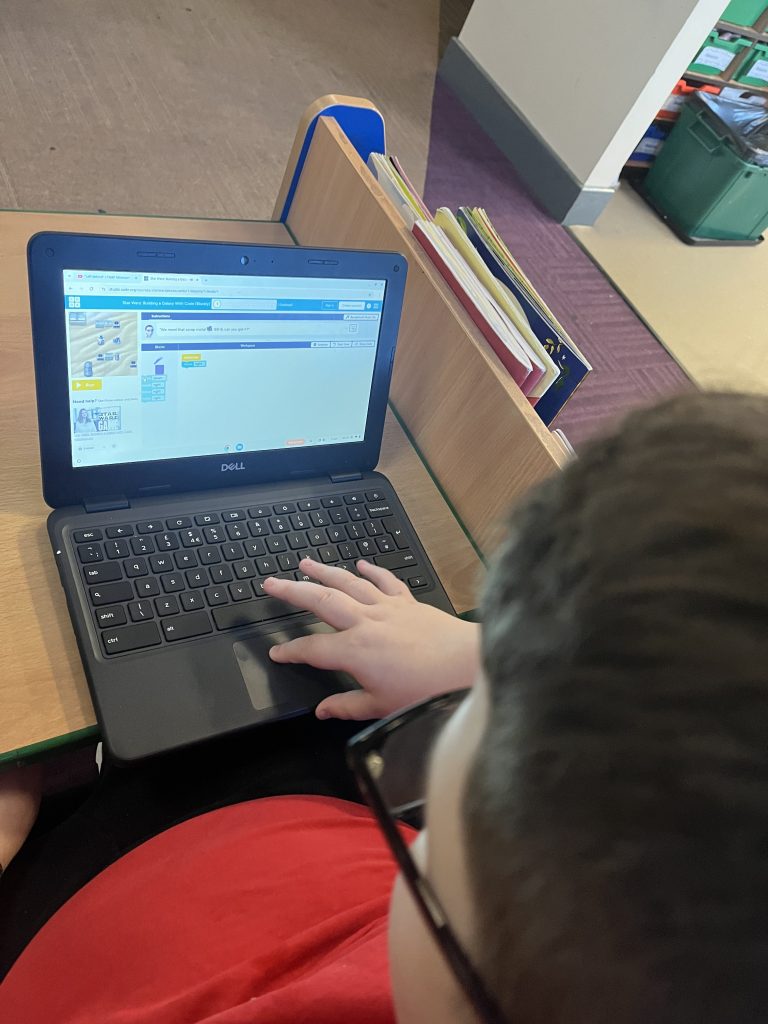
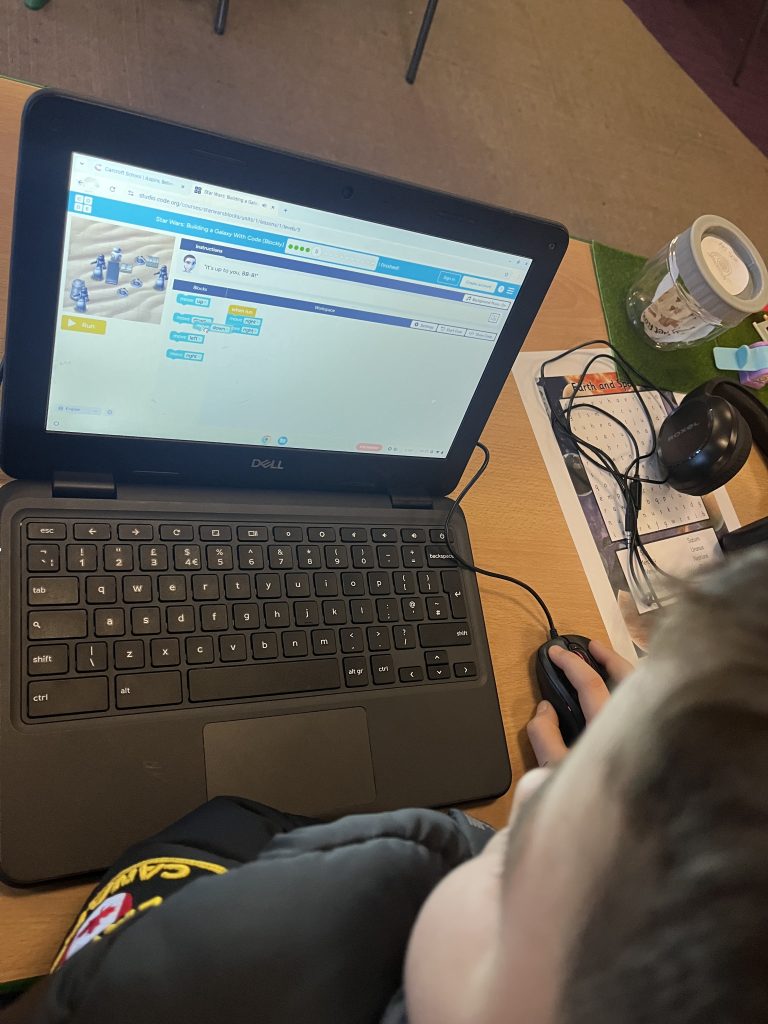
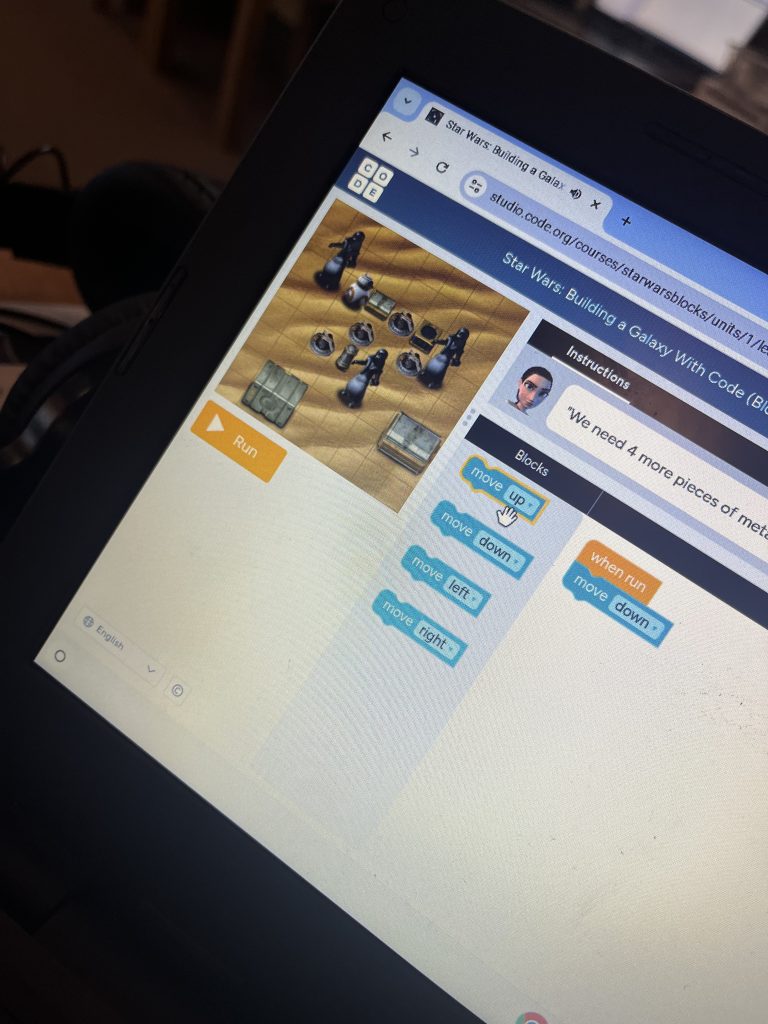
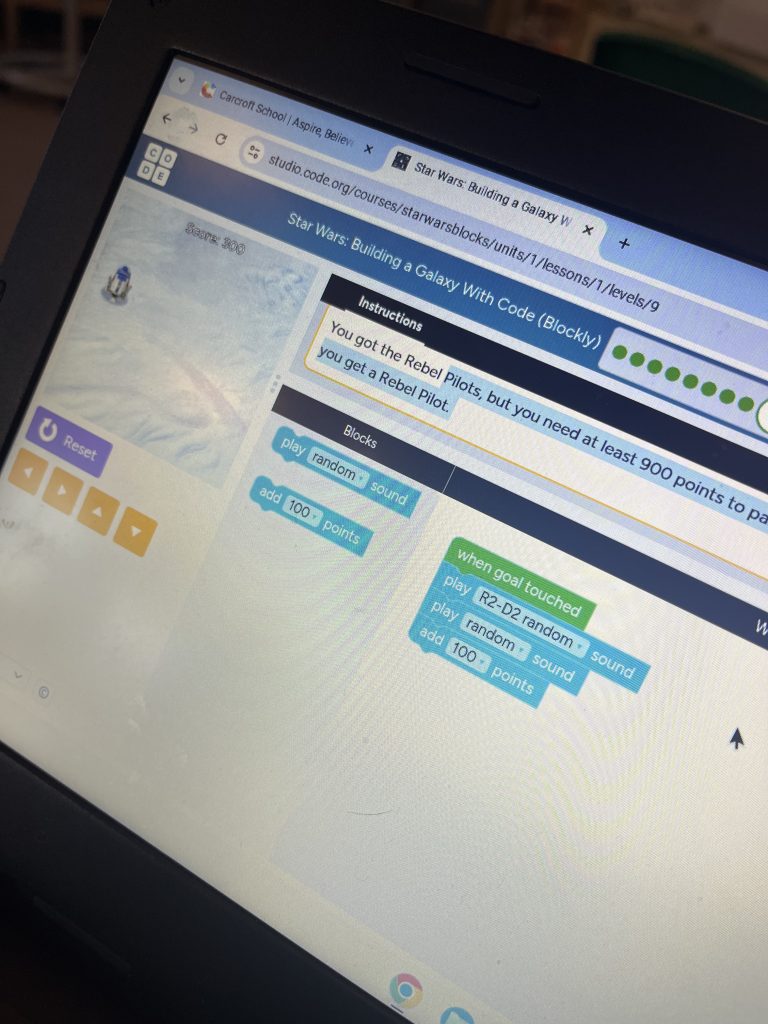
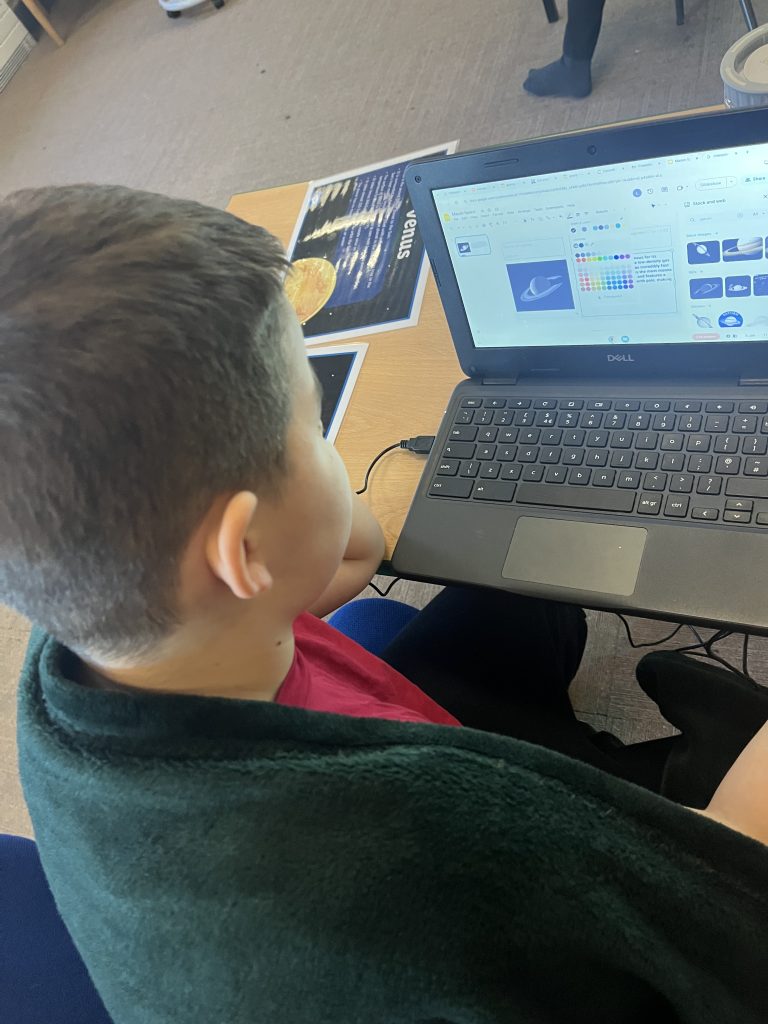
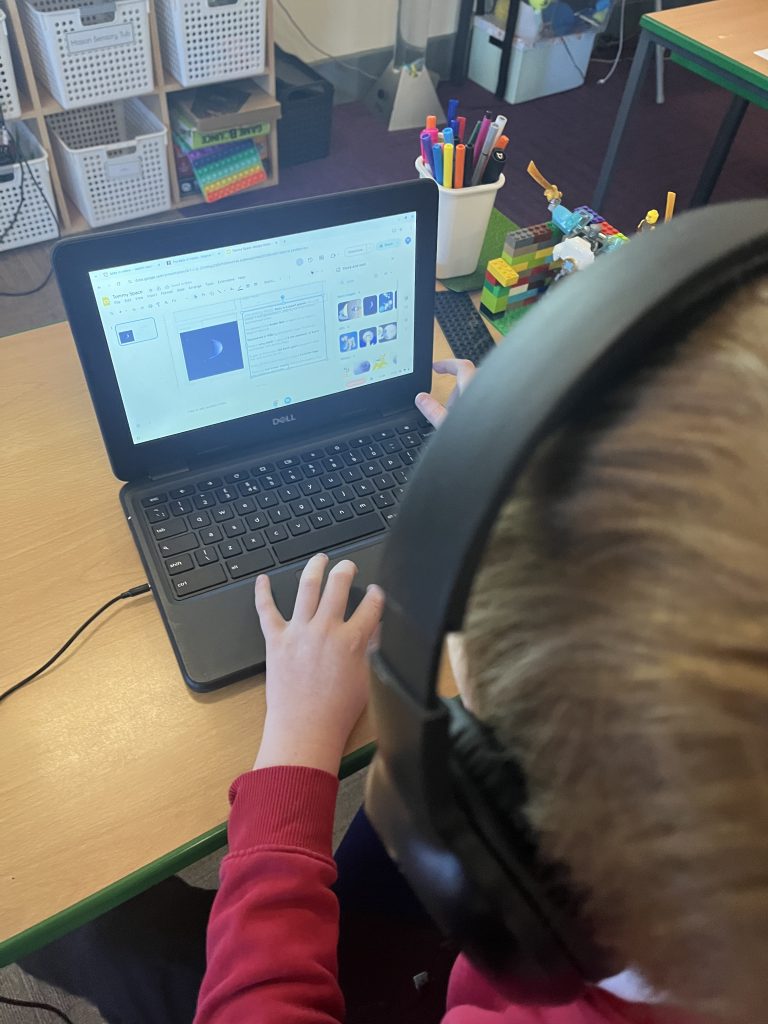
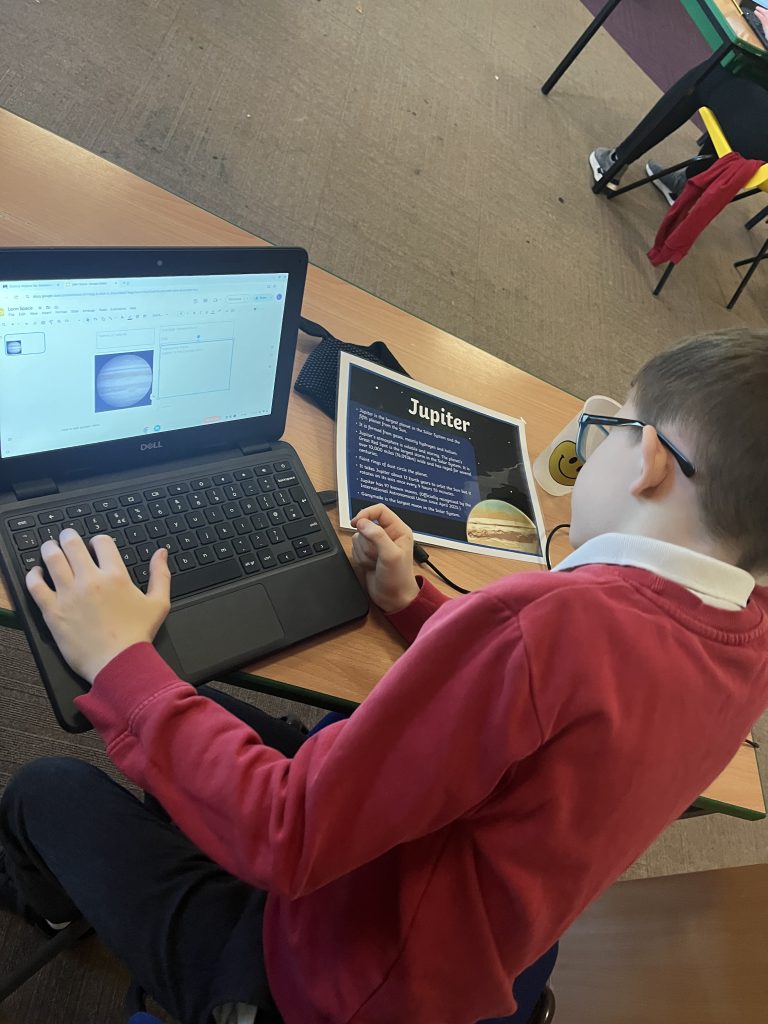
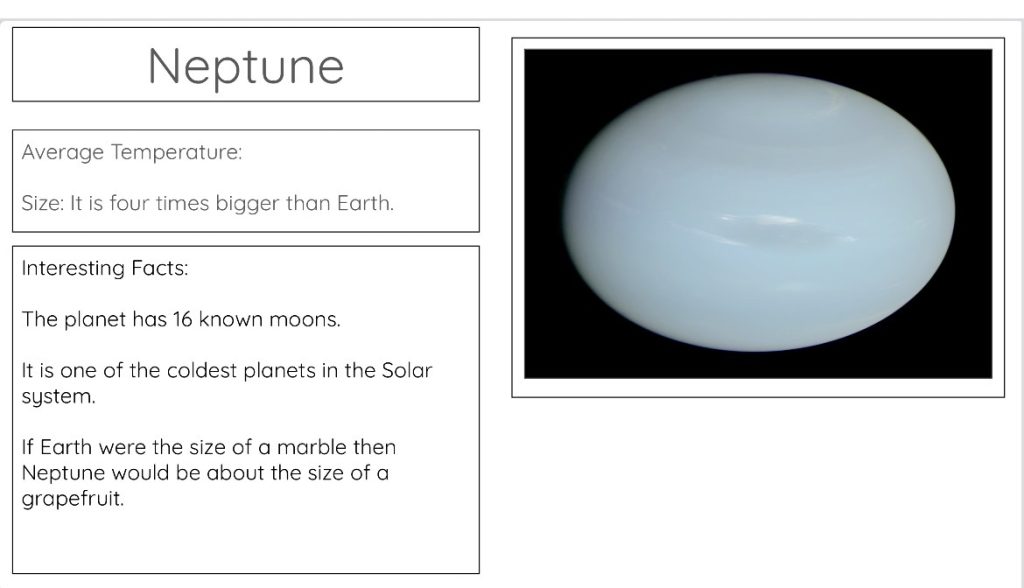
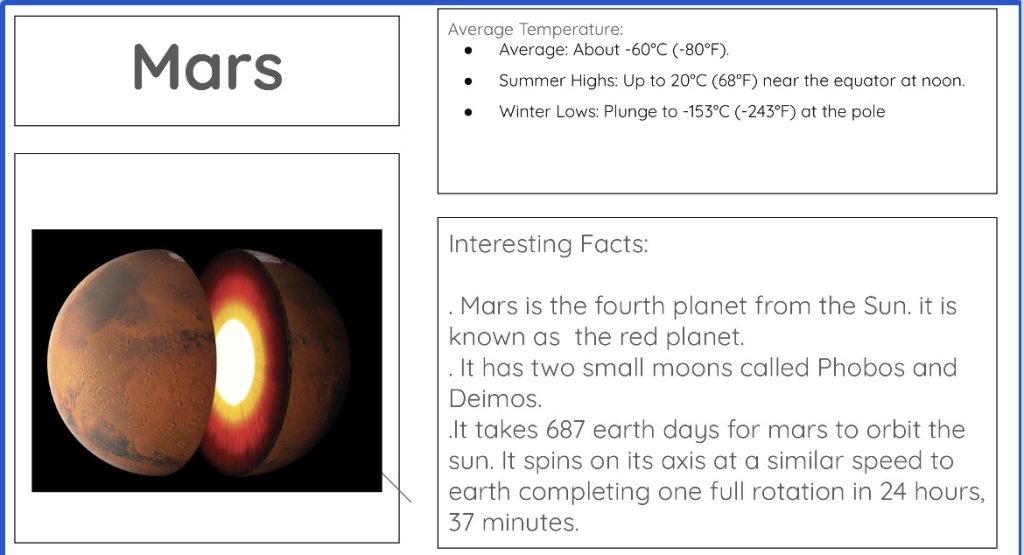
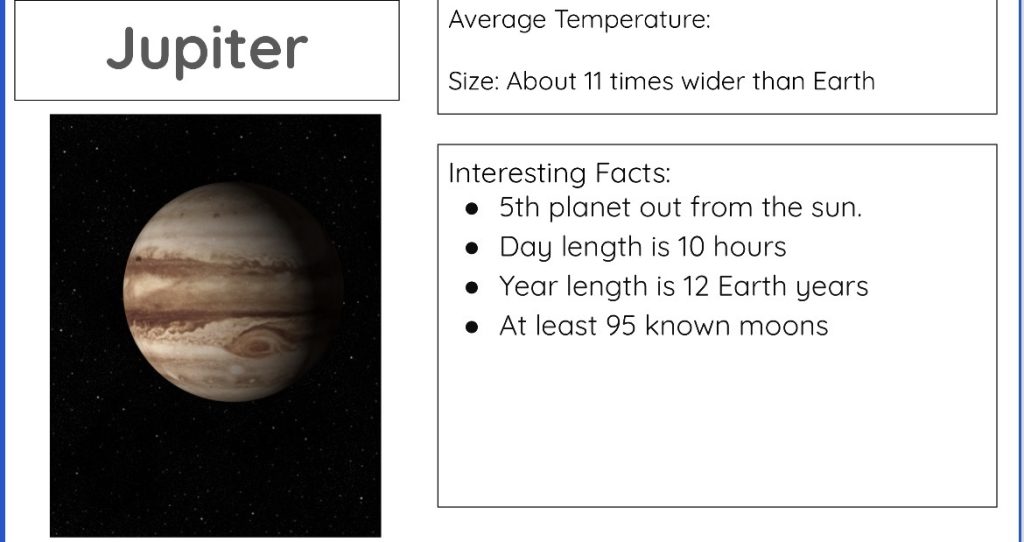
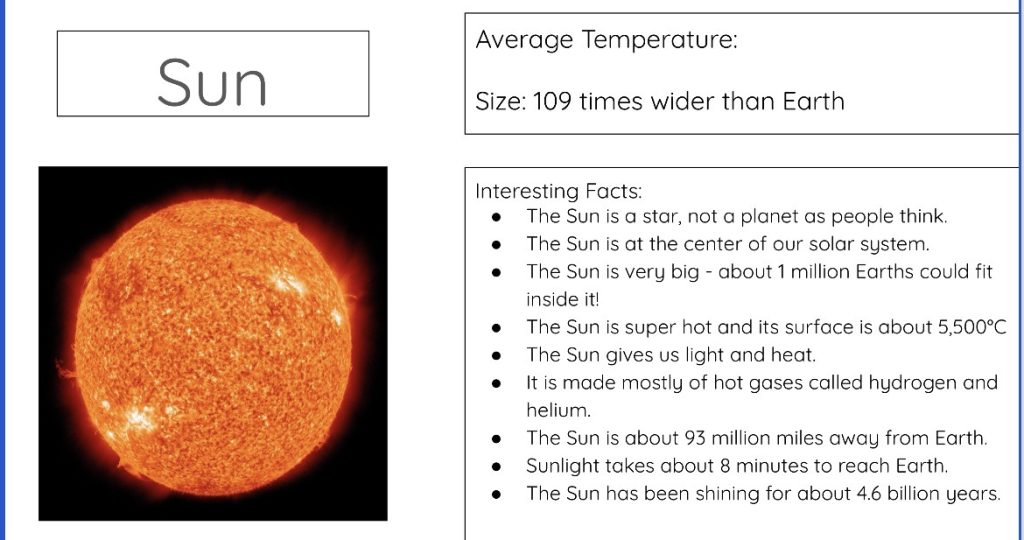
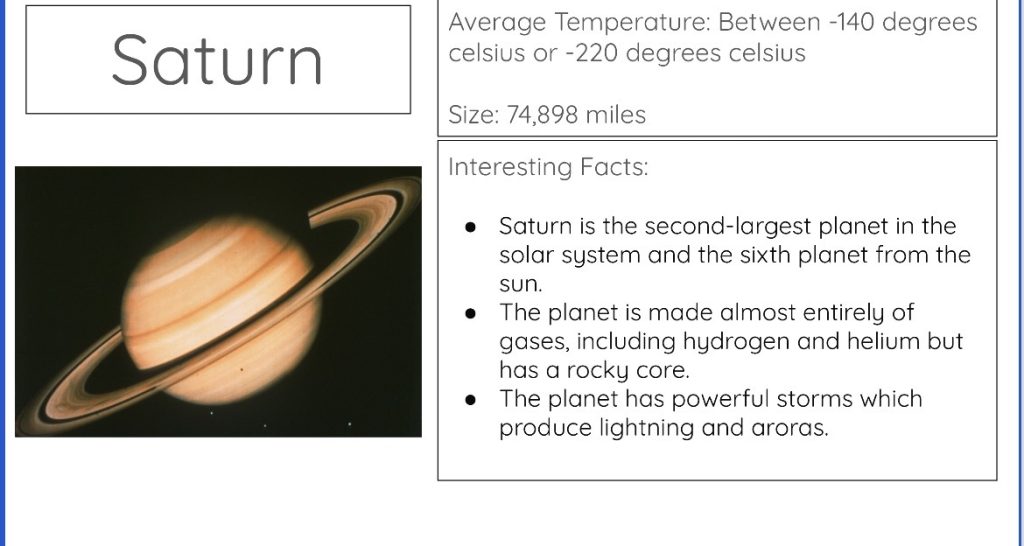
Crew Godley have been blasting off on an exciting journey through the Solar System! We have discovered fascinating facts about the planets and proudly created our own fact files, brought coding to life through fun Star Wars themed projects, and begun designing our very own solar systems. Watch this space to see our solar system evolve!